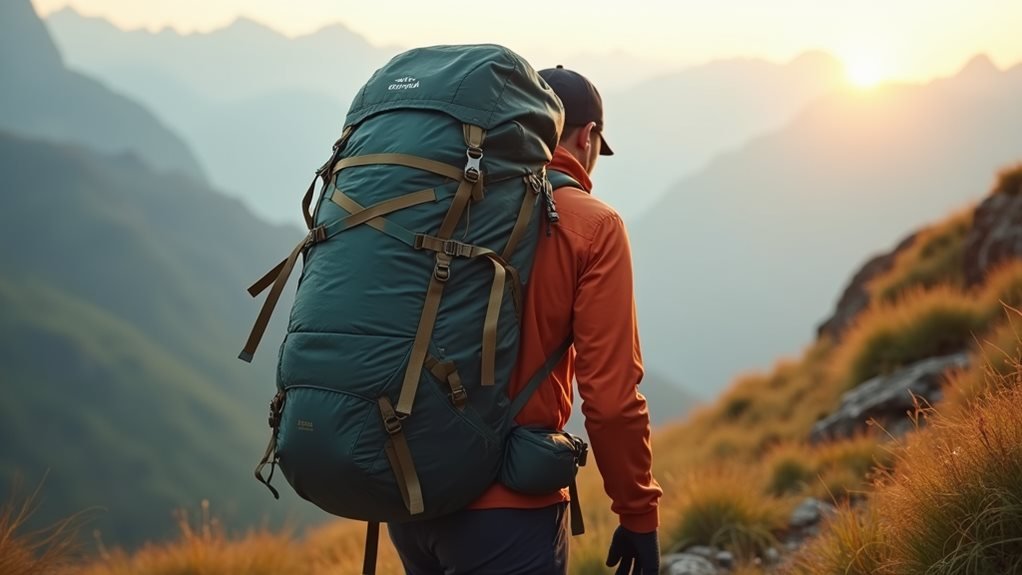
We've all been there – struggling with a sleeping bag that's awkwardly strapped to our pack, swinging side to side with each step on the trail. Whether you're a seasoned backpacker or planning your first overnight hike, the way you attach your sleeping bag can make or break your outdoor experience. While scout leaders teach the basics, they often skip the clever tricks and pro techniques that'll keep your load stable and protected. Let's explore the methods that'll transform your pack from an unwieldy burden into a well-balanced companion for the trail ahead.
Essential Gear and Equipment Needed
The right gear makes all the difference when attaching a sleeping bag to your backpack. We'll show you the essential equipment needed, from traditional options to innovative solutions that'll keep your gear secure on any adventure.
Let's start with carabiners – they're the versatile clips that'll become your best friends on the trail. While they're our go-to choice, we've found some great carabiner alternatives like sturdy bungee cords that offer more flexibility. For those seeking lightweight gear options, webbing straps provide a minimalist approach without sacrificing security. Having extra attachment points on your backpack gives you more versatility in securing your sleeping bag.
We're big fans of compression sacks, which not only protect your sleeping bag but also make it easier to attach to your pack. Don't have one? No problem! We can create DIY solutions using strong cord or rope to fashion custom attachment points.
The key is finding what works best for your specific setup – whether that's using multiple attachment methods or sticking to one reliable system. Remember, we want our gear secure but also easily accessible when we need it most.
Traditional Straps and Buckles Method

Most backpackers rely on traditional straps and buckles as their primary method for attaching sleeping bags, and for good reason. This lightweight, compact option offers reliable security while keeping your gear within easy reach.
We'll show you how to master this tried-and-true technique that's perfect for carrying both your sleeping bag and sleeping pad. Using the right techniques helps prevent down loss through seams over time.
Let's start by laying your pack flat on the ground with the front side down. Look for the built-in loops at the bottom – these are your attachment points.
Now, take your compressed sleeping bag and position it horizontally across these loops. If you're bringing insulation or a sleeping pad, you can bundle these together with your sleeping bag using compression straps.
Thread the backpack's bottom straps through the sleeping bag's loops or compression sack attachments. Pull them snug, but don't overdo it – we want to secure the bag without crushing its loft.
Adjust the sliding buckles until everything feels balanced and stable. Give your pack a good shake to test the security. If anything shifts, simply readjust the straps until your gear stays put.
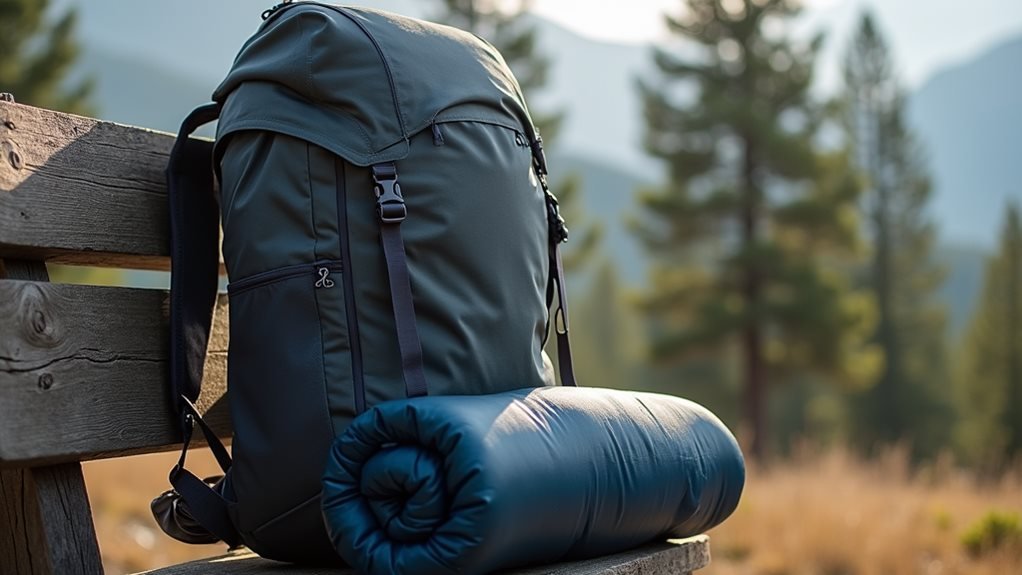
Compression Sack Storage Technique
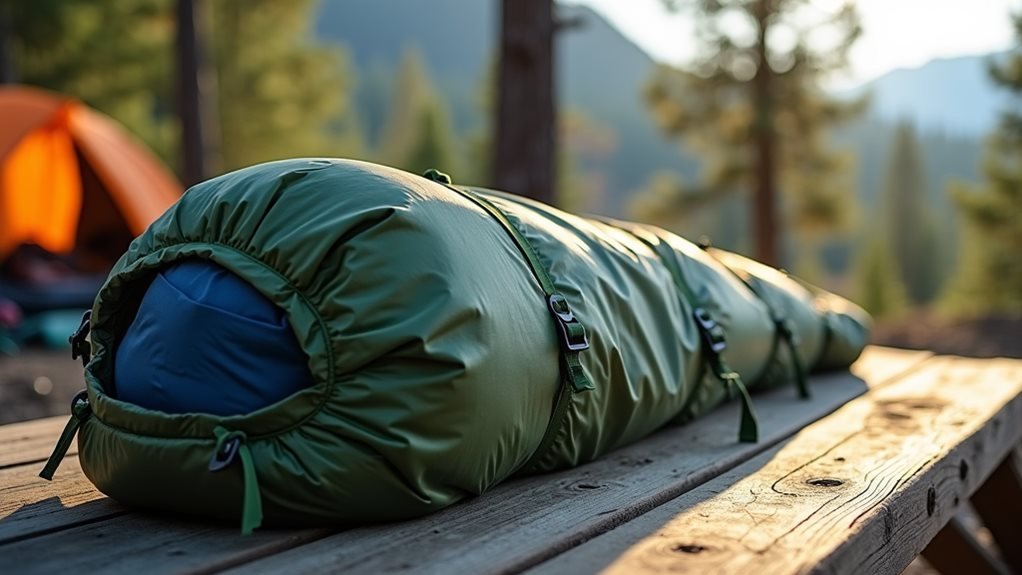
Inside a well-chosen compression sack, your sleeping bag transforms from a bulky burden into a compact, protected bundle ready for adventure. Let's master some space saving techniques that'll make your backpacking experience feel like you've got a vacuum seal for your gear.
Some compression sacks include purge valves to help release trapped air more efficiently. First, we'll want to fill the compression sack at least halfway – this guarantees we're getting the most out of our compression power. As we stuff the sleeping bag in, we'll make sure to push it all the way to the bottom, eliminating those pesky air pockets.
When we're ready to seal it up, we'll tighten those compression straps evenly from top to bottom, just like closing a sandwich bag.
Here's a pro tip: don't get overzealous with compression. While it's tempting to squish that sleeping bag as small as possible, we want to avoid damaging the fill. Think of it like giving your sleeping bag a snug hug, not a death grip.
For longer trips, we recommend using multiple smaller compression sacks rather than one large one – it's easier to distribute weight and keeps your gear organized.
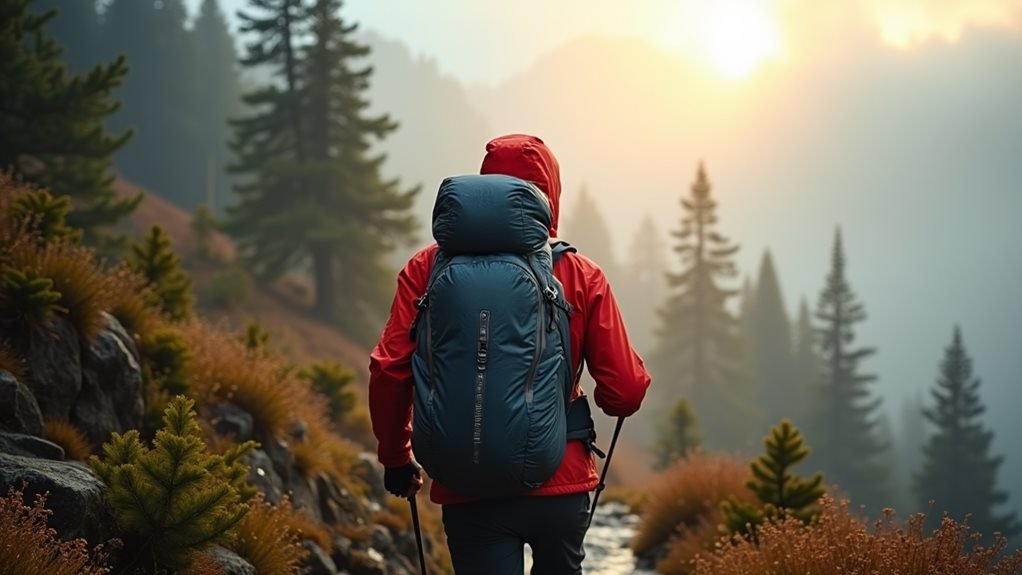
Internal Frame Backpack Solutions
While internal frame backpacks come equipped with various attachment points, securing your sleeping bag requires strategic use of built-in features. We'll help you master weight distribution and guarantee your sleeping bag stays firmly in place during your adventures. Unlike external frame advantages that offer obvious attachment points, internal frames need a more thoughtful approach to maintain proper balance. Molle attachments offer easy integration of webbing and loops for gear.
Let's explore these proven methods for attaching your sleeping bag, considering both sleeping bag size and compatibility considerations:
- Thread compression straps through the bottom loops of your pack, creating a secure cradle for your sleeping bag
- Use sliding adjusters to fine-tune the tension without crushing your gear
Connect additional webbing straps to the side attachment points for extra stability
Utilize carabiners on gear loops when you need quick-release options
Remember to test the security of your attachments before hitting the trail. We've found that proper weight distribution makes all the difference in comfort during long hikes. If your sleeping bag's too bulky, try using a compression sack first – it'll make attachment easier and keep your load streamlined. By following these steps, you'll maintain freedom of movement while keeping your gear secure.
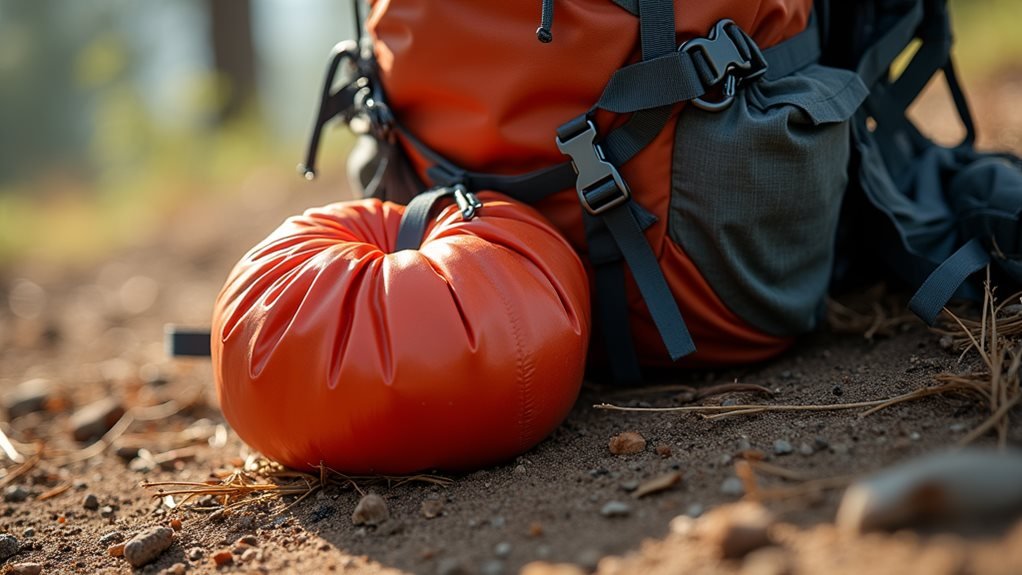
Weather Protection While Hiking
Protecting your sleeping bag from harsh weather elements is just as important as securing it properly to your backpack. We'll help you master essential waterproofing techniques that'll keep your gear dry and ready for adventure.
First, let's wrap that sleeping bag in a waterproof compression sack – it's your first line of defense against unexpected rain and moisture. An internal frame backpack provides the most stable attachment points for your sleeping bag.
For ideal gear maintenance, we always recommend using weather resistant materials like dry bags or rain covers as extra protection. Don't forget to seal those seams!
We've learned that positioning your sleeping bag away from direct exposure to rain and wind makes a significant difference. Secure it tightly using bungee cords or carabiners combined with webbing straps.
When it comes to emergency preparedness, we never hit the trail without checking weather forecasts and packing repair kits. Keep your sleeping bag at the bottom of your pack, but make sure it's properly secured.
Remember to let your bag dry completely before packing it away – this prevents mildew and extends its life. By following these steps, you'll have a weather-ready setup that keeps your sleeping bag protected mile after mile.
Common Attachment Mistakes
Ever wonder why your sleeping bag keeps sliding off your backpack during hikes? We've all been there, and it's usually because we're making some common errors that can easily be rectified. Let's delve into the most frequent mistakes hikers make when securing their gear and how to avoid them.
Pre-trip preparation is essential, and we can't emphasize enough how important it's to practice your attachment methods before hitting the trail. Safety factors should always be your top priority, which means checking your straps and ensuring proper gear compatibility before every adventure. Using a compression sack method will significantly reduce your sleeping bag's bulk for easier attachment.
Here are the biggest errors we see people make:
- Using straps that are too short or weak for their sleeping bag
- Forgetting to contemplate weather protection and weight distribution
- Not verifying gear compatibility between backpack and sleeping bag
- Skipping essential pre-trip inspections of attachment points
When it comes to freedom on the trail, nothing's worse than constantly adjusting a poorly secured sleeping bag. That's why we recommend testing different attachment methods until you find what works best for your setup. Remember to bring backup straps and regularly inspect your gear – it's better to catch problems at home than on the trail.
Advanced Tips for Heavy Loads
A heavy sleeping bag presents unique challenges when it comes to backpack attachment. We'll show you advanced load distribution techniques that'll keep you moving freely on the trail while protecting your gear.
Let's start with weatherproofing strategies – always use waterproof compression sacks to shield your sleeping bag from moisture and dirt. When it comes to securing methods, we recommend using multiple attachment points with sturdy straps or carabiners. Double-strap your load for extra security, and don't forget to check those straps regularly during your journey. Compression straps are essential for minimizing bulk and maintaining a compact profile.
For ergonomic considerations, we've found that balancing the weight is vital. Use bottom loops and gear attachments to distribute the load evenly across your pack. If you're carrying a particularly heavy bag, consider threading webbing straps through multiple points and securing them with quick-release clips. These load distribution techniques will help maintain stability while you're hiking.
Remember to think about customization – if your pack lacks sufficient attachment points, don't hesitate to add extra loops or reinforced straps. Your comfort on the trail depends on how well you secure and balance your gear.
Frequently Asked Questions
Can I Attach Two Sleeping Bags to One Backpack?
While we can attach two sleeping bags, let's focus on smart weight distribution and bulk management. We'll need strong attachment points and compression sacks to keep our load balanced and secure.
Does Attaching a Sleeping Bag Outside Affect My Balance While Hiking?
We'll see our balance affected when carrying sleeping bags outside, but proper weight distribution helps. Let's focus on comfort level, weather protection, and accessibility while keeping our packs stable.
How Do I Prevent My Sleeping Bag Straps From Squeaking While Walking?
Like silencing a creaky door, we'll tackle those noisy straps. Let's maintain them with silicone spray, add padding wraps, and keep connections snug for peaceful trails ahead.
Should I Remove My Sleeping Bag During Short Rest Breaks?
Let's keep our sleeping bags attached during short breaks unless we're adjusting comfort level or weight distribution. Quick stops don't justify the hassle of undoing secure storage options.
What's the Maximum Recommended Weight for External Sleeping Bag Attachment?
Let's not beat around the bush: we recommend keeping external sleeping bag weight under 5 pounds. Watch your backpack's total capacity and maintain safe weight distribution for best freedom while hiking.
Conclusion
We've covered everything you need to know about attaching your sleeping bag safely and securely. Did you know that 40% of hiking injuries come from improperly balanced backpacks? That's why getting this right matters so much. Whether you're using compression sacks, traditional straps, or carabiners, we're confident you'll head out on your next adventure with your sleeping bag perfectly secured and your pack properly balanced.