Last weekend, my friend Sarah struggled for 20 minutes trying to secure her sleeping mat to her backpack before a mountain trek, eventually resorting to awkwardly stuffing it inside her already full pack. We've all been there – wrestling with our camping gear when there's a much simpler way to handle it. Whether you're using a foam pad, self-inflating mat, or air mattress, knowing the proper attachment techniques can save you time, protect your equipment, and make your hiking experience more comfortable. Let's explore the professional methods that'll transform how you carry your sleeping mat on your next adventure.
Essential Tools and Materials
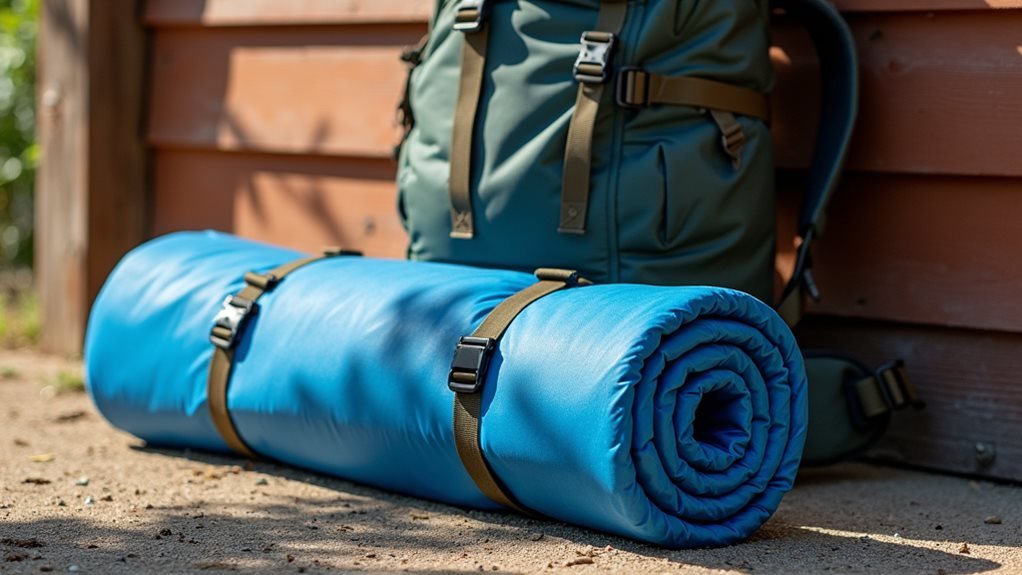
To safely secure your sleeping mat to your backpack, you'll need the right combination of tools and attachment methods. We've found that DIY attachment solutions work great when you've got the basics covered – carabiners, paracord, and bungee cords are must-haves for any camping enthusiast. Regularly checking attachment points before each hike helps prevent gear loss and damage during your adventure.
When it comes to mat securing techniques, we'll want to match our gear organization approach to our backpack type. Hiking backpacks often come with built-in loops and straps that make sleeping pad setup a breeze. If you're working with a travel or hybrid backpack, don't worry – we can easily add compression straps or carabiners to create secure attachment points.
Let's talk about what works best in different situations.
Compression sacks with straps are fantastic for keeping your mat dry and compact, while paracord gives us endless flexibility for custom attachments. We love using quick-release knots for easy access to our gear.
Common Sleeping Mat Types

When choosing a sleeping mat for camping, you'll encounter four main types: air pads, foam pads, self-inflating pads, and hybrid pads. Let's explore the Foam vs Air debate that many campers face when making their selection.
Air pads offer excellent comfort and pack down tiny, but they can be vulnerable to punctures and require inflation time. Modern air pads have achieved impressive warmth-to-weight ratios. In contrast, foam pads are virtually indestructible and ready to use instantly, though they're bulkier to carry and less comfortable. Self-inflating pads strike a nice balance, combining foam's durability with air's comfort, but they're typically heavier than pure air pads.
We're particularly excited about the Hybrid advantages that modern designs offer. These innovative pads blend the best features of different types, delivering impressive comfort while maintaining durability. They often include special materials and designs that boost insulation and comfort.
For example, the NEMO Tensor All-Season offers excellent warmth without excessive weight, while Sea to Summit's Ether Light XT includes stretch fabric for enhanced comfort. Whatever your camping style, there's a sleeping mat that'll match your needs perfectly.
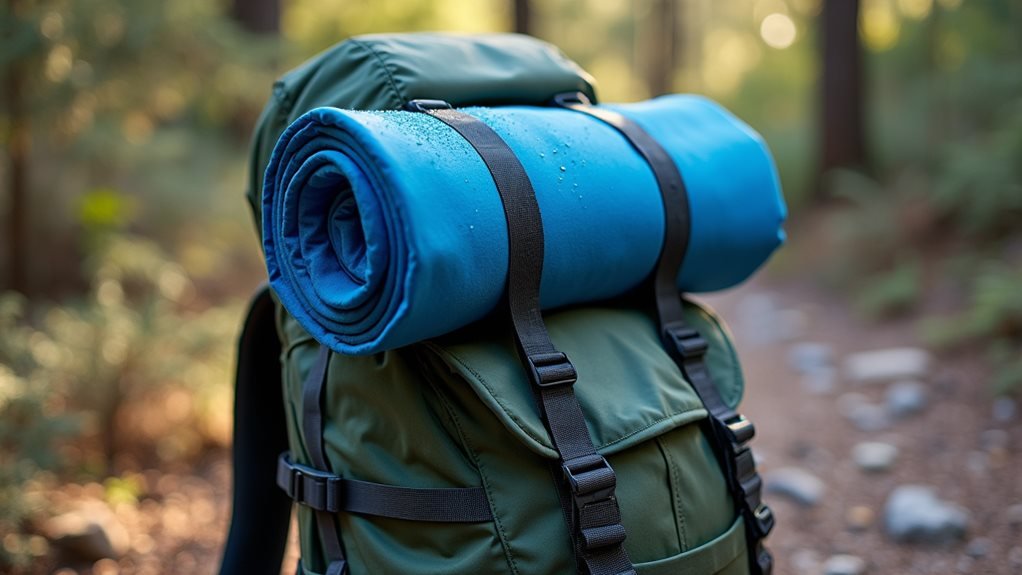
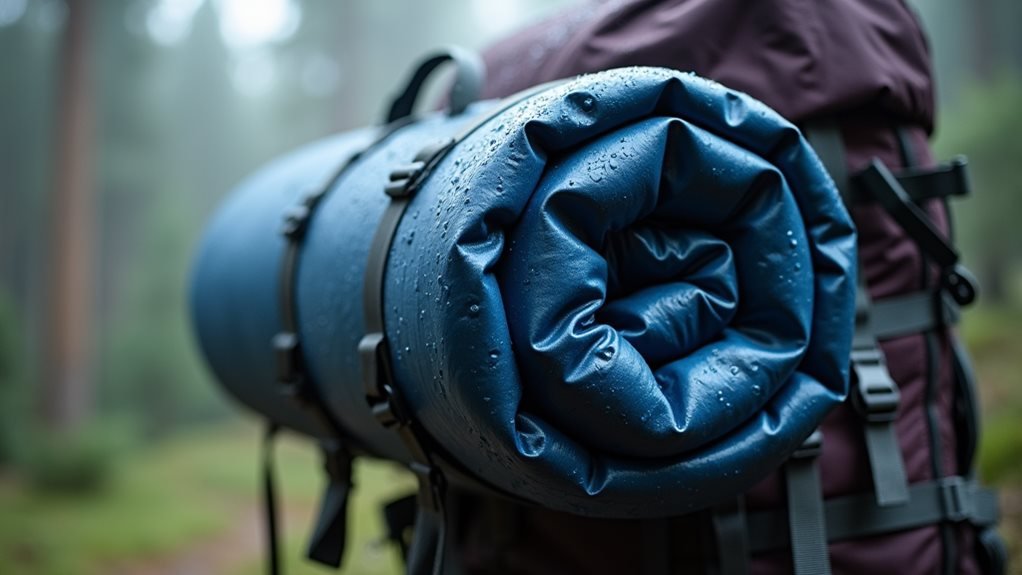
External Attachment Points
Now that you've selected your ideal sleeping mat, proper attachment to your backpack can make or break your camping experience. Let's explore the various securing techniques and gear options available to ensure your mat stays firmly in place throughout your adventure.
Most hiking backpacks come equipped with built-in attachment points, typically found at the bottom or sides. Inspecting these points daily will help prevent gear loss on the trail. We'll want to use these strategically for proper alignment and best weight distribution. Look for compression straps, external loops, or dedicated sleeping pad attachments – these are your best friends for a secure setup.
If your pack doesn't have enough built-in options, we've got plenty of alternatives. Carabiners, bungee cords, and additional compression straps can transform any backpack into a mat-carrying champion.
When attaching your mat, we recommend securing it to the bottom of your pack – this keeps your center of gravity low and stable. Remember to thread straps through the mat's loops or compression sack, pulling them snug but not too tight.
Always double-check your attachments before hitting the trail, as a swaying or loose mat can throw off your balance and dampen your outdoor experience.
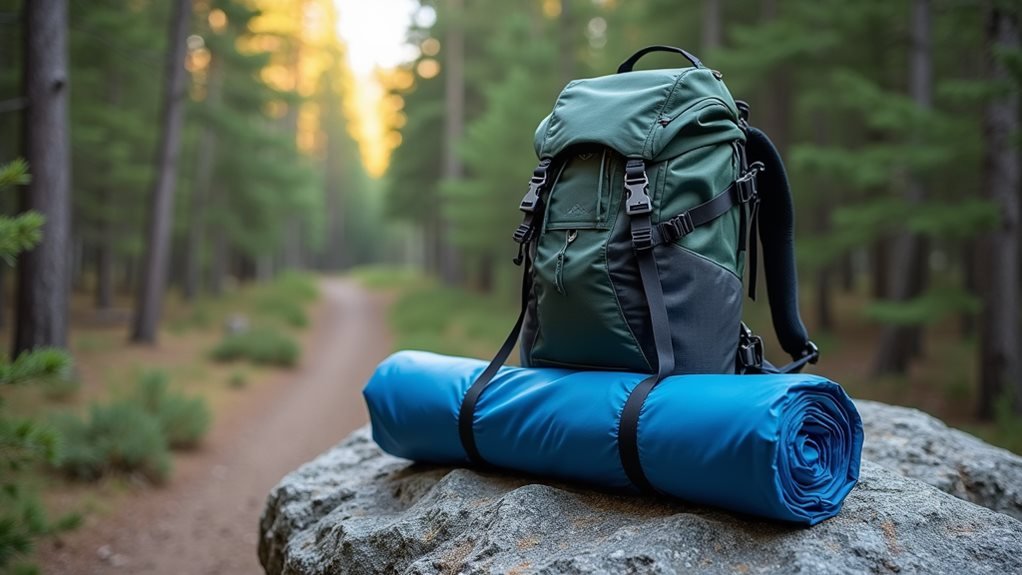
Top Loading Method
At nightfall, accessing your sleeping pad quickly can mean the difference between comfort and frustration. When we're using the top loading method, we'll want to focus on easy access while maintaining proper weight distribution throughout our pack.
Let's start by checking if our backpack has a floating lid or secure attachment points on top. We'll position the sleeping pad centrally under the lid, making sure it doesn't hang over the sides where it could catch on branches. A properly balanced pack helps prevent wobbling while hiking on rough terrain.
Next, we'll use the lid straps to fasten the pad tightly – and don't forget to double-check those connections before hitting the trail.
We've found that weather protection is essential for top-mounted sleeping pads. Consider using a protective bag or rain cover to shield your pad from moisture and trail debris.
It's also smart to conduct a quick balance check once everything's secured. If the pack feels off-kilter, we'll adjust the pad's position until the weight distribution feels natural. Remember, we can always fine-tune the straps while we're walking to maintain comfort throughout our journey.
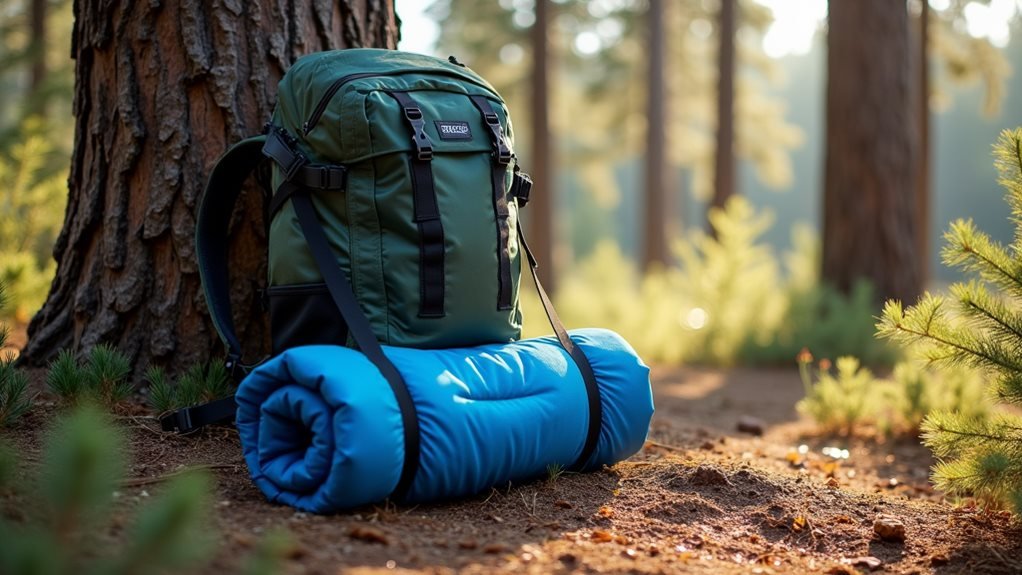
Side Compression Strap Technique
Though side compression straps are often overlooked, they offer one of the most reliable methods for attaching a sleeping mat to your backpack. Let's explore how to use these straps effectively to ensure your mat stays securely in place throughout your adventure.
For optimal comfort while camping, it's crucial to choose a lightweight and packable solution for your sleep setup. We'll start by laying our backpack flat and rolling our sleeping mat as compactly as possible. Proper alignment is essential here – we want the mat to run parallel to the backpack's side, keeping the weight distribution even.
Next, we'll identify the compression straps on our pack and thread them through any available loops on the sleeping mat.
Now comes the secure fastening part. We'll pull the straps tight, using the sliding adjusters to achieve a snug fit. If we're heading into rough terrain, we might want to add a carabiner or some paracord for extra safety.
Before hitting the trail, we'll give the mat a good tug to test our handiwork. Remember, we should check these attachments periodically during our hike – there's nothing worse than losing gear on the trail!
Bottom Roll Mounting
Bottom roll mounting provides one of the most stable ways to carry your sleeping bag while hiking. We'll show you how to master this weight distribution strategy while exploring some clever DIY gear modifications. Regular inspection of straps ensures your gear stays secure throughout your journey.
When it comes to sleeping bag alternatives and rope tying techniques, we've got plenty of options to keep your gear secure and balanced.
- Use compression sacks to reduce bulk and protect against moisture
- Thread straps through built-in loops for maximum stability
- Consider quick-release carabiners for easy access during breaks
Let's start by laying your pack flat and positioning your sleeping bag across the bottom loops. If your pack doesn't have built-in attachments, don't worry – we can create our own using paracord or bungee cords. The key is ensuring everything stays centered and doesn't sway while you're moving.
Thread your straps through the compression sack's loops or directly around your sleeping bag, then tighten everything down. For extra security, check that the weight feels evenly distributed across both sides. Remember, a stable bottom roll means better balance on the trail, which helps you move more freely through challenging terrain.
Weather Protection Tips
During wet weather conditions, protecting your sleeping mat from moisture becomes essential for maintaining comfort on the trail. Let's explore some waterproofing techniques that'll keep your gear dry and ready for use.
We recommend using waterproof compression sacks as your first line of defense, combined with strategic placement at the bottom of your pack where it's less exposed to rain. Having learned from extensive hiking in the Smokies' rainy conditions, this protection is crucial for multi-day treks.
When considering mat size considerations, we'll want to position the sleeping mat in a way that maintains proper weight distribution on your pack. We've found that securing it with water-resistant straps or carabiners provides excellent stability while keeping moisture at bay.
For the best fastening methods, we use quick-release clips or sturdy knots, making sure to check them regularly during our hikes.
Don't forget to think about how your mat's placement affects your pack's balance. We always make sure other gear doesn't block access to our sleeping mat, and we position it so it won't expose our pack's opening to rain.
If you're hiking in particularly wet conditions, consider adding an extra protective layer between your mat and backpack for enhanced protection.
Frequently Asked Questions
How Long Can a Sleeping Mat Stay Compressed Before It Gets Damaged?
We recommend not keeping our sleeping mats compressed for more than 24 hours. For storage options that maintain compression durability, let's store them unrolled or loosely rolled with open valves.
Can I Stack Multiple Sleeping Mats Together on My Backpack?
Like stacking poker chips, we can pile multiple mats, but watch the total thickness and material durability. We recommend limiting it to two mats to maintain your pack's wild, unrestricted movement.
Should I Remove My Sleeping Mat During Short Rest Breaks?
Let's keep our sleeping mats attached during quick rest breaks – the comfort level isn't worth sacrificing packing efficiency. We'll save more energy maintaining our quick setup for longer stops.
What's the Maximum Recommended Weight for Sleeping Mats on Ultralight Backpacks?
We recommend keeping sleeping mats under 16 ounces for ultralight backpacks, though weight limits vary. Don't stress about storage time or compression damage – modern mats handle stacking and compression well.
Does Attaching a Sleeping Mat Affect My Balance While Hiking?
Yes, we'll notice a balance impact while hiking if our sleeping mat isn't properly secured. Let's focus on weight distribution and comfort by using side straps for better stability on the trail.
Conclusion
We've covered everything you need to know about attaching your sleeping mat like a true camping expert. But isn't it amazing how such a simple skill can make such a big difference in your outdoor adventures? By following these methods and keeping your mat secure, we'll help you stay organized and comfortable on the trail. Remember to check those attachments regularly, and you'll be ready for countless nights under the stars.