We've all felt that dreaded shoulder ache and back strain from a poorly packed backpack, but it doesn't have to be this way. Whether you're planning your first overnight trek or you're a seasoned hiker, mastering the art of weight distribution can transform your outdoor experience from painful to pleasant. By understanding the science behind load placement and applying proven packing techniques, we'll show you how to make your pack work with your body instead of against it. Let's explore the essential principles that'll keep you comfortable on the trail.
Understanding Your Pack's Compartments
When organizing a backpack for the trail, understanding your pack's distinct compartments is essential for efficient weight distribution and accessibility.
Let's break down the three main zones of your pack and how we'll use them for ideal pack organization.
Think of your pack like a three-story building. The core zone, which sits in the middle of your back, is where we'll place our heaviest items like food, cookware, and bear canisters. This creates a stable foundation that'll keep us comfortable on the trail. Internal frame packs provide the best stability for this setup.
The top zone is perfect for items we'll need throughout the day – things like rain gear, snacks, and first aid supplies should live here for easy access.
Don't forget about those handy accessory pockets! We'll use these for compartment usage that makes sense – storing frequently needed items like maps, sunscreen, and water bottles where we can grab them quickly.
Bottom Zone Packing Essentials
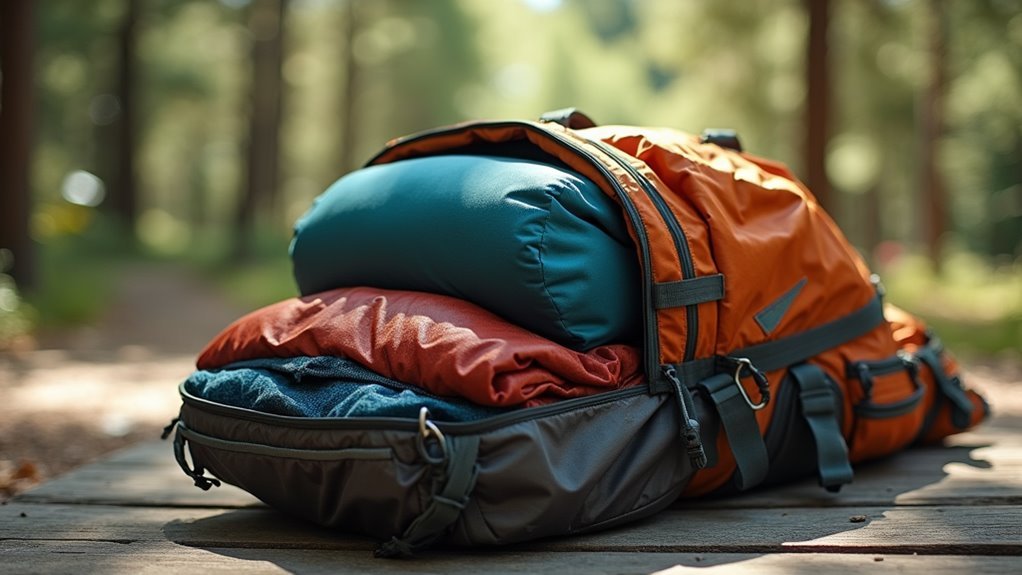
Packing your bottom zone correctly creates the foundation for a well-organized backpack.
Let's start with the essentials: your sleeping gear should form the base, with your sleeping bag compressed in a stuff sack to save space. We'll want to position your sleeping pad alongside it, creating a stable platform for everything else. Fill nooks and crannies with socks or other small items to maximize space efficiency.
We've found that the bottom zone works perfectly for items you won't need until you're setting up camp. Your camp shoes, sleeping clothes, and lightweight tarp can fill any gaps, providing extra cushioning and preventing gear from shifting during your trek.
Remember, we're aiming for a shock-absorption system here – these softer items protect your gear from impacts while you're on the move.
When using these packing techniques, we always recommend laying out all your gear first. This helps us visualize how everything will fit together.
Let's keep heavier items out of this zone – they'll work better higher up in your pack. Instead, focus on lightweight, bulky items that can be compressed or molded to fill available spaces. Your bottom zone should feel full but not overly tight.
Core Zone Weight Distribution
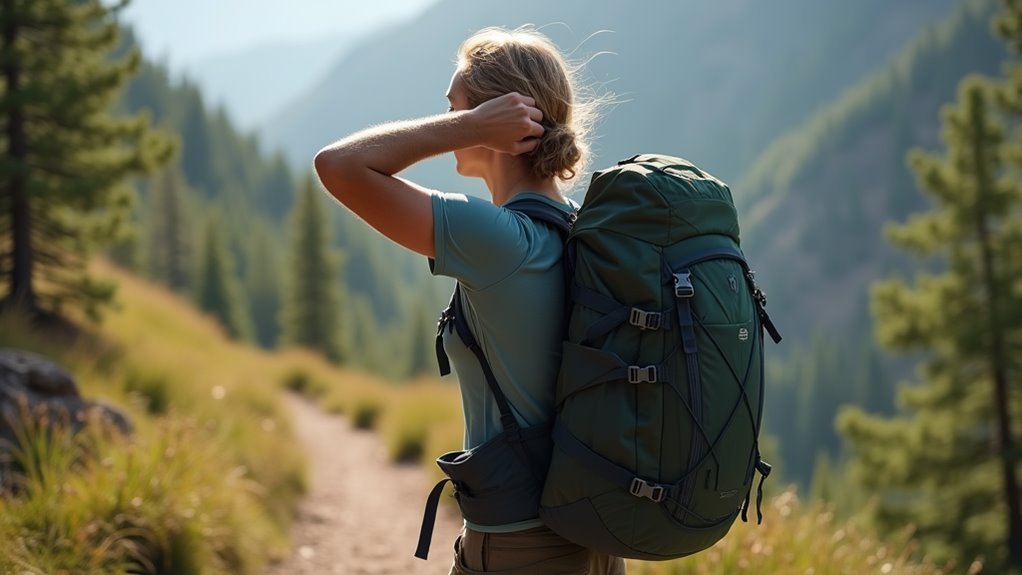
The core zone serves as the powerhouse of your backpack, requiring careful attention to weight distribution.
Let's master your core zone layout by placing the heaviest items close to your spine and centered in the pack. We'll want to position dense gear like food, cookware, and your stove in this critical area to maintain stability and prevent the dreaded backward pull that can strain your back.
Think of packing efficiency like building a solid foundation. We'll start by positioning your bear canister or food bag against your back, then nestle your cooking system and camp clothes around it. Hip belt usage is essential for effectively distributing weight during extended treks.
Don't forget to use compression bags to squeeze down bulky items – this helps us maximize every inch of space while keeping the weight centered. By focusing on proper weight distribution, we'll guarantee about 70% of the load rests comfortably on your hips.
Remember to balance the weight from side to side and fill any gaps with smaller items or compressible gear.
When we get this core zone right, you'll notice the difference immediately – your pack will feel more stable and comfortable on those long trail days.
Top Loading Best Practices

Once you've established your core zone, it's time to focus on top-loading efficiency. The top load advantages become clear when we pack with organizing priorities in mind. We'll want to place items we need frequent access to within easy reach, making our journey more enjoyable and practical. First-aid supplies should always be readily accessible in the top section.
The top zone of your pack shouldn't be an afterthought – it's prime real estate for items you'll need throughout the day. We recommend keeping your trail essentials like snacks, light jacket, and navigation tools here.
Remember to utilize those external pockets and lash points for quick-grab items that you don't want buried in your pack.
- Place navigation tools and emergency gear in easily accessible top compartments
- Store snacks and water filters where you can grab them during short breaks
- Keep rain gear and light layers near the top for unexpected weather changes
- Utilize external pockets for items like sunscreen and trail maps
Think of your top zone as your mobile command center – everything you need for efficient hiking should be within arm's reach.
External Attachment Points
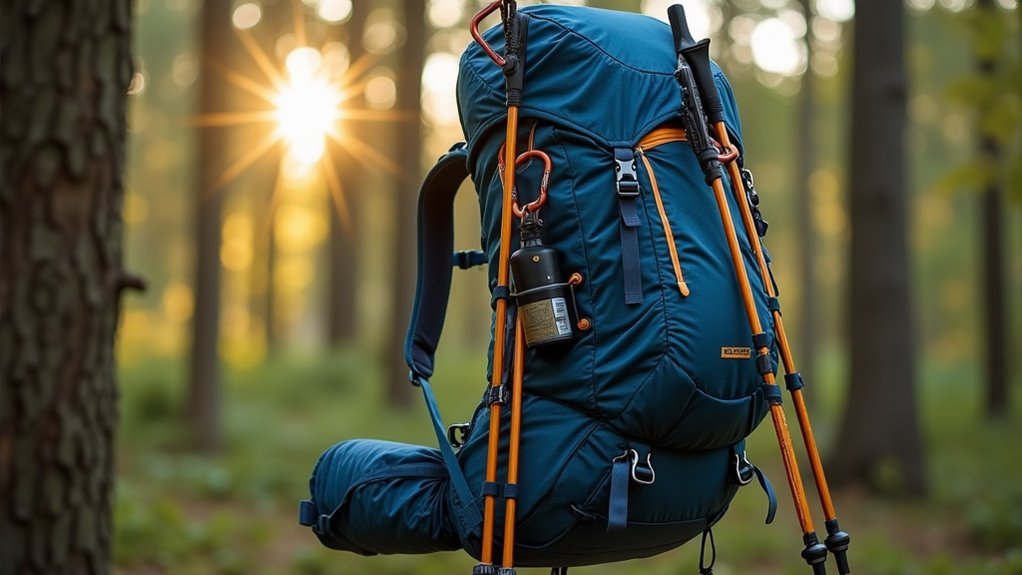
Modern backpacks come equipped with an array of external attachment points that expand carrying capacity beyond the main compartment.
We'll help you maximize external attachment efficiency through features like daisy chains, gear loops, and compression straps that let you customize your load.
When we're securing gear externally, it's vital to maintain balance and stability. Let's make sure we're using those side compression straps to keep everything snug against your back, and we'll distribute items evenly to maintain your center of gravity.
While external attachments offer great convenience for wet gear or bulky items, we don't want to overload them – that's a common mistake that can throw off your balance. Regular strap inspections during breaks help ensure your gear remains securely fastened throughout your hike.
For safe gear securing, we'll thread straps properly through loops and double-check all attachment points before hitting the trail.
Remember, anything on the outside of your pack faces greater exposure to weather and potential snags.
We'll use those hip belt gear loops for items we need quick access to, and those rear sleeping pad straps for bulkier gear that's okay getting a bit dirty.
Just keep the heavy stuff inside, close to your back, where it belongs.
Common Weight Distribution Mistakes

While proper external attachment methods keep gear secure, many backpackers still struggle with fundamental weight distribution errors that can derail their hiking experience.
Let's explore some common mistakes and their overpacking consequences to help you maintain better balance strategies on the trail.
The key to avoiding these errors lies in understanding how weight affects our movement and comfort. Using zone packing methods ensures systematic organization and better weight management. We'll often see hikers placing heavy items at the bottom of their packs or ignoring their hipbelts, which can throw off their center of gravity and lead to unnecessary strain.
Here are the most critical mistakes to avoid:
- Exceeding the 20% body weight rule and failing to adjust straps accordingly
- Placing heavy items too far from your back instead of close to your spine
- Neglecting to use load-bearing hip straps, putting excess pressure on shoulders
- Ignoring terrain-specific packing needs when organizing gear
Quick Access Items Placement
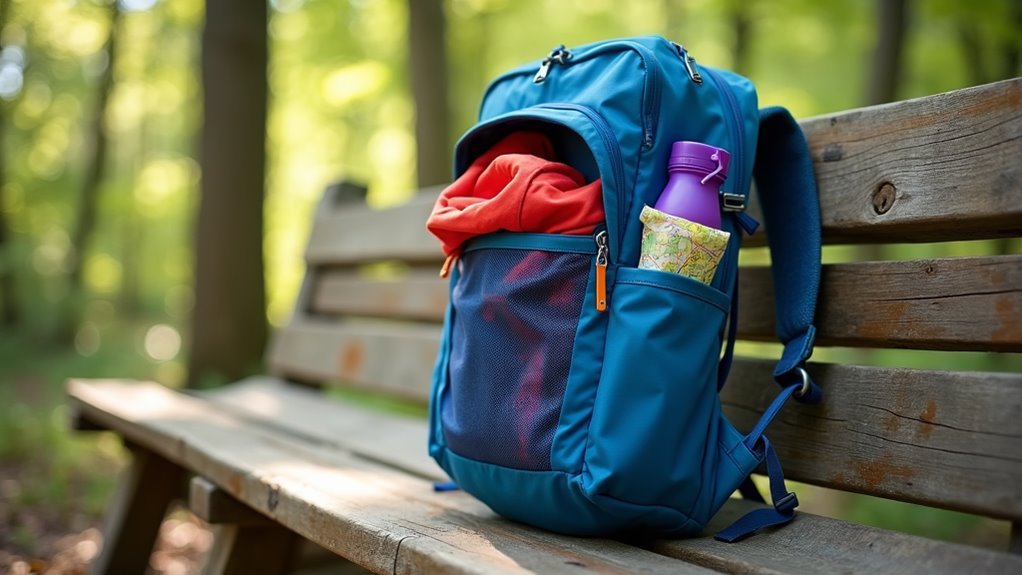
Strategic placement of quick-access items can make or break your hiking experience.
We'll show you how to master backpack organization so you can grab what you need without unpacking everything on the trail.
Let's start with the essentials you'll need throughout the day. We recommend keeping snacks, water filters, and emergency items like first aid kits in the top compartment or external pockets of your pack. These spots give you instant access when you need it most.
For smaller items that tend to get lost, we've found that organizing them into compact pouches works wonders for quick retrieval. Maintaining a center of gravity close to your spine helps prevent balance issues while accessing these items.
When it comes to item accessibility, think about your hiking routine. Place frequently used gear in external pockets and top compartments, while storing less-needed items like sleeping bags and evening clothes at the bottom.
Don't forget to use those handy side pockets for water bottles and gear you might need in a pinch. By keeping your most-used items within easy reach, you'll spend less time digging through your pack and more time enjoying the freedom of the trail.
Frequently Asked Questions
How Often Should I Readjust My Pack's Weight Distribution During a Hike?
Let's check our pack's load balancing every few hours and whenever we notice discomfort. We'll also readjust after snack breaks or terrain changes for ideal comfort optimization during our journey.
Does Body Type Affect the Ideal Weight Distribution in a Backpack?
Ever notice how we're all built differently? We'll need to adapt our load balance based on our unique body shape, which means finding gear that fits our specific curves, angles, and proportions.
Should Weight Distribution Change When Hiking in Different Weather Conditions?
We'll need to adjust our pack's weight distribution for weather effects. Let's move cold-weather gear closer to our back in winter and redistribute for temperature adjustments during seasonal changes.
How Does Pack Weight Distribution Differ Between Men and Women?
Like adjusting a seesaw, we balance weight differently for male and female biomechanics. Women's lower center of gravity means we distribute weight closer to hips, while men's equipment design favors shoulder-focused loads.
What's the Maximum Percentage of Body Weight Recommended for Backpack Loads?
We can't rely on a single percentage since ideal backpack weight varies. While 20% is common, smaller hikers might carry 40%+ safely, while larger hikers should stick to 15% for safe hiking limits.
Conclusion
We've explored how strategic packing can transform our backpacking experience, and it's fascinating that 70% of our pack's weight should rest on our hips, not our shoulders. By mastering these weight distribution techniques, we'll prevent unnecessary strain and make our adventures more enjoyable. Let's remember to check our pack's balance regularly, fill those empty spaces wisely, and keep heavy items close to our spine. When we pack smart, we hike better.