We've all experienced that heart-sinking moment when our favorite backpack suffers a catastrophic malfunction – whether it's a busted zipper that ruins a hiking trip or a torn strap that dumps our belongings across the sidewalk. But before you rush to replace your trusted companion, let's consider a more practical approach. With just a few basic tools and some simple techniques, we can tackle most common backpack repairs right at home. In the following sections, we'll show you how to breathe new life into your gear and save money in the process.
Essential Tools and Materials
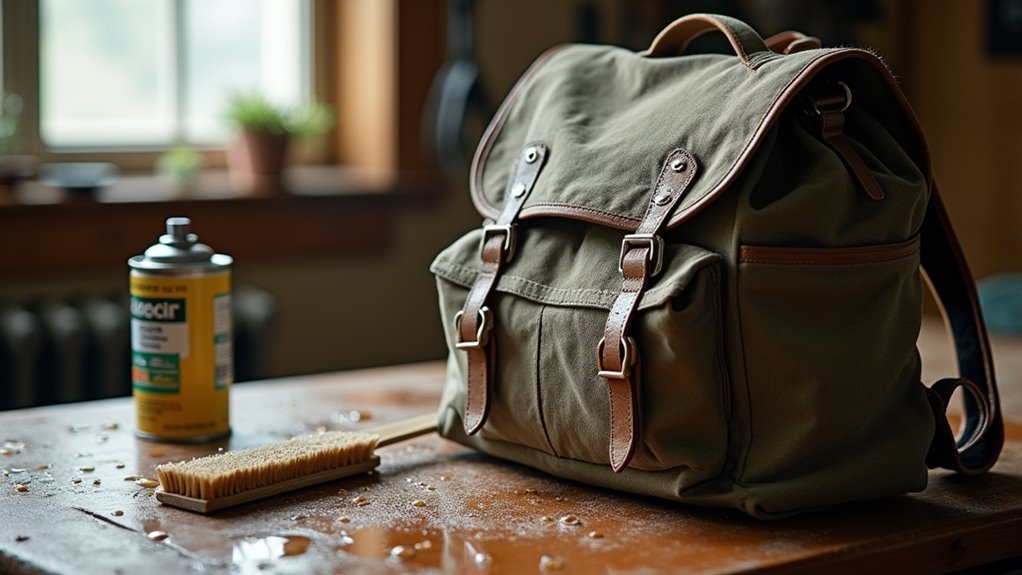
A well-stocked repair kit is essential for fixing backpacks on the go or at home. We've found that smart tool organization makes all the difference when you're dealing with unexpected tears or broken straps. A compact zip bag makes the perfect lightweight storage solution for all your repair tools. Let's get you set up with the basics you'll need for most repairs.
Start with a multi-tool and duct tape – they're absolute lifesavers for quick fixes. You'll want a good sewing kit with strong needles and thread, plus some safety pins for temporary solutions. One of our favorite repair tips is keeping a lighter handy; it's perfect for sealing frayed nylon edges.
Don't forget about materials! We recommend stocking up on fabric patches and nylon repair tape for covering holes and tears. Strong thread, like nylon or upholstery grade, will keep your stitches secure. Webbing and paracord are great for major repairs, especially when dealing with broken straps.
For preventive care, grab some waterproofing spray and alcohol prep pads – they'll help your repairs last longer. Keep everything together in a small pouch, and you'll be ready to tackle almost any backpack emergency.
Repairing Broken Zippers
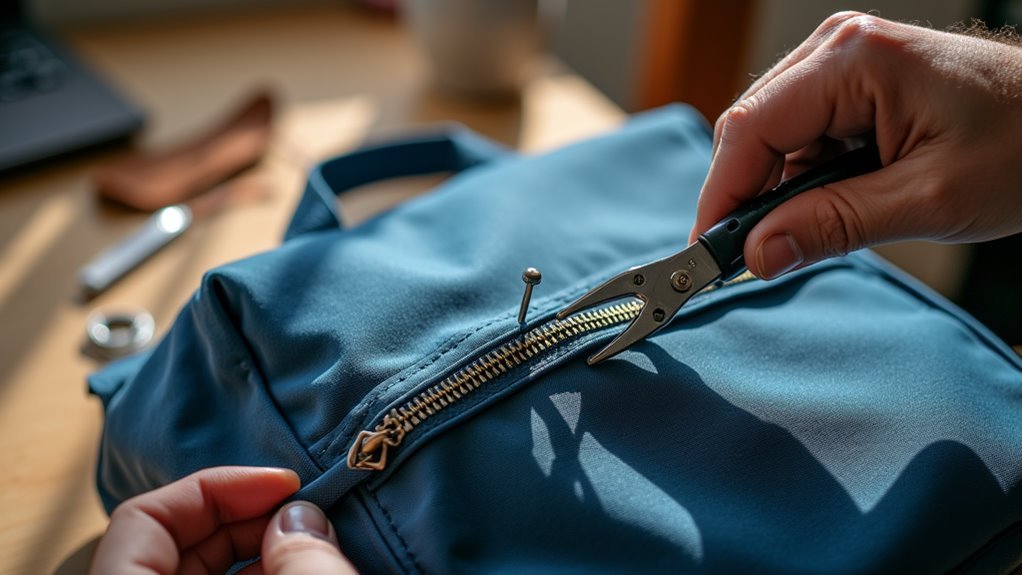
When your backpack's zipper starts acting up, it's often the first sign of trouble that needs immediate attention.
Let's explore some simple fixes that'll get your pack back in action quickly, whether you're dealing with metal or plastic zipper types.
For stuck zippers, we'll start with basic zipper maintenance by applying everyday items like bar soap or graphite from a pencil to help it glide smoothly. Making these repairs yourself can save valuable money compared to professional repairs or replacements.
If you spot debris caught in the teeth, we can carefully remove it using pliers. Sometimes the slider itself is the culprit – we can reshape metal ones or replace plastic ones that are beyond repair.
When teeth aren't lining up properly, we'll need to remove the slider and realign them by hand.
Working from bottom to top, we'll make sure everything's perfectly matched before reattaching the slider.
If the slider's completely broken, don't worry! We can either reshape it with pliers or swap in a new one.
For severely damaged zippers, we'll walk through a complete replacement.
We'll measure carefully, remove the old zipper, and install a new one using proper stitching techniques.
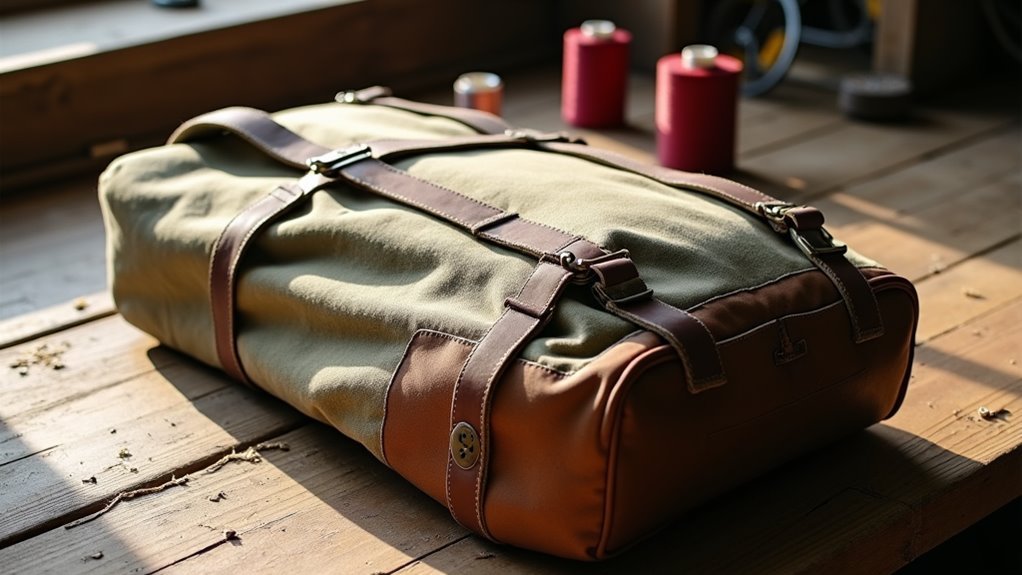
Fixing Torn Straps
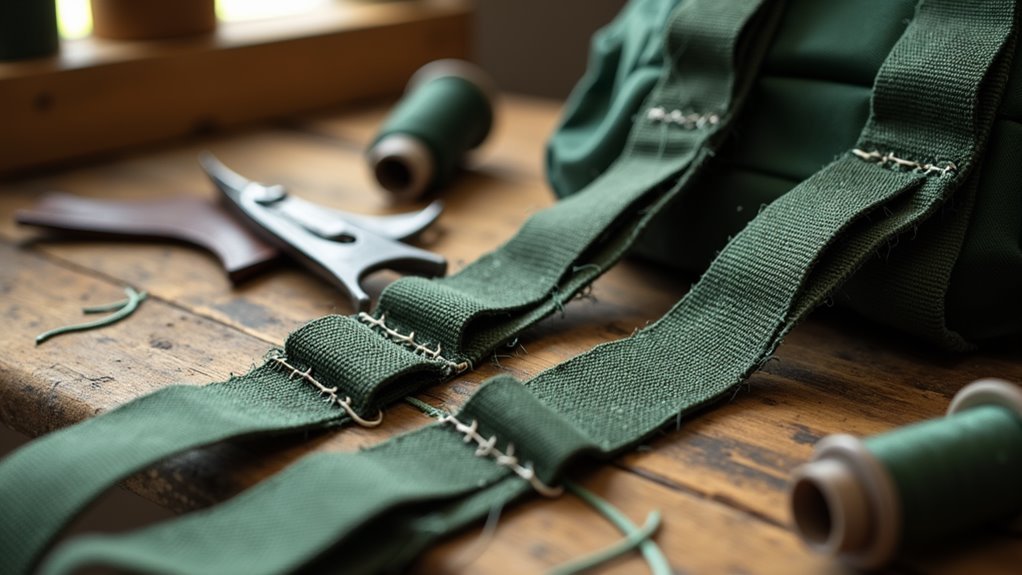
Just as zipper issues can halt your backpack's use, torn straps present another common challenge that needs fixing.
Let's tackle this repair head-on with some straightforward solutions that'll get you back on the trail quickly.
We'll start by gathering our supplies: a sturdy needle, heavy-duty thread, scissors, and a lighter for sealing thread ends.
For emergency repairs, you might want to keep a small repair kit with these items in your pack.
Before we begin sewing, we'll clean up any frayed edges and align the torn sections perfectly. Adding a fabric patch for reinforcement helps strengthen weakened areas significantly.
For minor tears, we'll use a strong backstitch technique, going over the area multiple times for extra durability.
If you're dealing with a completely detached strap, we'll need to carefully realign it and create multiple reinforcement points.
Don't worry if you're not confident with needle and thread – there are strap alternatives like heavy-duty repair tape or fabric glue that can work as temporary fixes until you can make a permanent repair.
Patching Holes and Tears
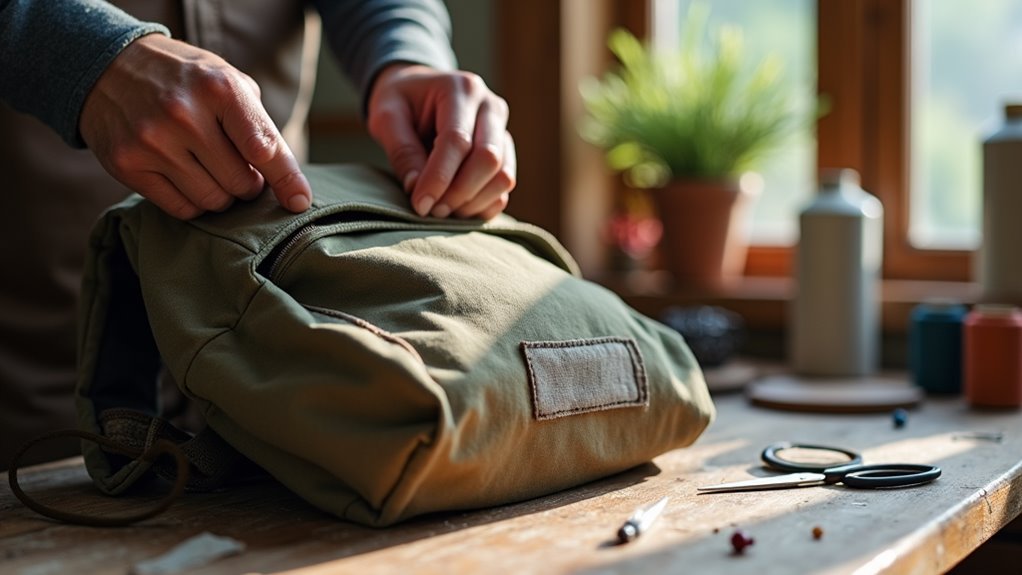
Dealing with holes and tears in your backpack calls for careful preparation and the right materials to guarantee a lasting fix.
Before we get started on patch care, let's get everything ready by cleaning the damaged area with a damp cloth and letting it dry completely.
We'll want to trim any loose threads around the tear to create a clean workspace. For the best patch durability, we'll cut our patch material about an inch larger than the tear on all sides. A circular shape works great since it won't catch on things later.
Duct tape makes an excellent temporary fix until you can do a proper repair at home. Now, we'll brush seam grip onto the patch and stick it firmly to the outside of the backpack. Don't forget to repeat this process on the inside – double-patching makes the repair extra strong.
Here's a pro tip: stuff your backpack with pillows while you work to keep the fabric nice and taut.
Then, use clamps or heavy objects to apply even pressure while the adhesive dries. Once everything's set, we'll seal those edges with extra seam grip and give it a thorough inspection to make sure there aren't any loose spots.
Replacing Broken Buckles
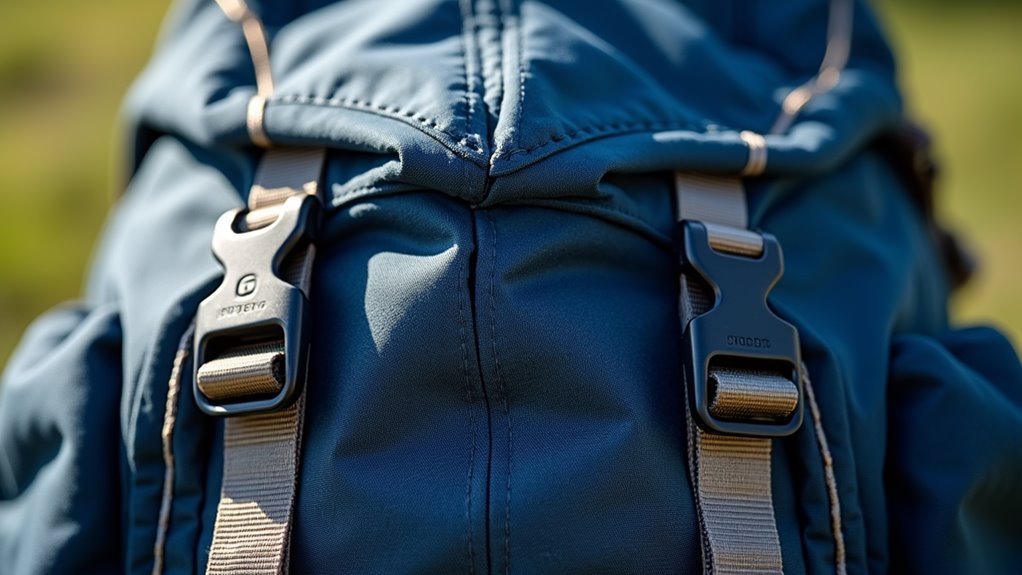
Throughout the life of your backpack, broken buckles are one of the most common issues you'll encounter.
Before we get into fixing them, let's start with proper buckle sizing and strap assessment to guarantee we get the right replacement parts. We'll need to measure the width of your broken buckle or strap and check if there's any additional damage that needs attention.
Using stainless steel wire helps ensure your repair will be durable and long-lasting. We've got three great ways to tackle this repair. If you're not comfortable with sewing, we can use a wire bending method where we'll create loops to hold the new buckle in place.
For those who don't mind some stitching, we'll show you how to sew on a new buckle using a machine – it's stronger and more permanent.
The quickest solution is using quick-release buckles, which snap right into place without any tools.
Whatever method you choose, we'll want to test the buckle thoroughly once it's attached. Make sure it clicks securely and releases smoothly.
Remember to choose high-quality replacement buckles – they're worth the extra cost since they'll last longer and won't crush easily under pressure.
Waterproofing Your Backpack
Now that your buckles are securely fastened, let's make sure your backpack can handle wet conditions.
We've got several waterproofing methods to choose from, and we'll help you pick the right one for your adventure needs.
For most backpacks, we recommend starting with a waterproofing spray. First, clean your pack thoroughly and let it dry. Then apply the spray evenly – and don't forget to look for eco-friendly options without PFCs.
Pay special attention to the seams, where water loves to sneak in, by adding seam sealer for extra protection. Remember to let your pack dry for 24 hours before taking it on the trail.
Want bulletproof water protection? Consider using waterproof liners or dry bags inside your pack. These are perfect for keeping your gear bone-dry in heavy rain or during river crossings.
For canvas packs, we can use wax or silicone-based treatments that'll give you long-lasting protection while maintaining that classic look you love.
Reinforcing Weak Points
Every backpack has two vital weak points that need special attention: the bottom and the straps.
Let's explore some reinforcement techniques that'll keep your pack going strong for years to come.
For the bottom reinforcement, we'll start by thoroughly cleaning the surface with hot soapy water. Once it's dry, we can apply washable fabric glue and attach our chosen reinforcing fabric. It's important to select durable materials – nylon works great for this! Regular maintenance through proper cleaning methods helps prevent premature wear of the reinforcement.
We'll clip the fabric in place while it dries, then trim any excess to match the existing seams.
When it comes to strap repairs, fabric selection is vital. We want something tough that can handle daily wear and tear.
For minor issues, we'll use strong thread to stitch up small tears. If we're dealing with bigger problems, we'll add patches of sturdy material over the damaged areas.
Don't forget to reinforce high-stress points with extra stitching or bar-tacking.
Frequently Asked Questions
How Long Should I Expect My DIY Backpack Repairs to Last?
We'll see our repairs last anywhere from weeks to years, depending on our repair materials and techniques. Quality supplies and proper methods make the biggest difference in extending longevity.
Can I Wash My Backpack After Making Repairs?
Like testing a patched boat, we'll want to wait 24-48 hours after repairs before washing our backpack. Then we can follow standard backpack cleaning methods, being extra gentle around repaired areas.
Which Brands of Backpacks Are Easiest to Repair at Home?
We've found Osprey and Patagonia backpacks consistently offer the easiest home repairs, with readily available repair kits and quality materials. REI Co-op and The North Face follow closely behind.
Should I Attempt Repairs on an Expensive, Warranty-Covered Backpack?
Playing with fire isn't wise here. We'd strongly advise against repairing a warranty-covered expensive backpack yourself. Let's avoid repair risks and potential warranty implications by using professional services instead.
How Can I Prevent My Backpack From Needing Frequent Repairs?
Let's keep our backpacks strong through regular maintenance tips like weekly cleaning, using rain covers, and avoiding overloading. Smart damage prevention strategies include gentle handling and proper storage between adventures.
Conclusion
We've explored a world of DIY backpack repair that'll save you a mountain of money and keep your favorite pack going strong. With our simple tools and techniques, we've learned how to tackle everything from stubborn zippers to worn-out straps. Now that we're armed with these repair skills, we can extend our backpacks' lives almost indefinitely and hit the trails with confidence, knowing we can fix whatever comes our way.