Your backpack isn’t just gear—it’s your lifeline on the trail, and right now it’s bleeding stuffing through that jagged tear. We’ve all been there: favorite pack gets snagged, ripped, or straight-up destroyed by sharp rocks or overpacking. Here’s the brutal truth: most “quick fixes” fail within weeks because people skip the prep work and use garbage materials. But we’ll show you repairs that outlast the original fabric.
Essential Tools and Materials for Backpack Repairs

The right tools separate quick fixes from permanent solutions.
We’re talking about a seam ripper that’ll save your fabric when removing busted hardware—no shredding allowed.
Your sewing kit needs needles, double thread, and a thimble because fingers weren’t meant for battle.
Gear Aid Silnylon patches cut ½ inch larger than tears create waterproof barriers when alcohol-prepped.
For stuck zippers, zipper lubricant like lip balm works miracles alongside pliers for slider realignment.
Seam Grip glue from REI or Amazon bonds everything permanently—just let it cure flat for twelve hours.
These aren’t suggestions; they’re requirements for repairs that actually last.
Additionally, consider using a lighter for sealing frayed edges to prevent further unraveling of nylon materials.
Fixing Small Holes and Tears With Patches
Small holes turn into gaping tears faster than you’d think, so we’re stopping them dead with proper patches.
First, clean the area with rubbing alcohol—dirt kills adhesion.
Cut the tape at least ½ inch larger than the damage on all sides, rounding corners to prevent fraying.
Lay flat on a hard surface, then apply your piece of tape directly over the hole. Press firmly to activate the adhesive.
For tears, sandwich between two patches for bulletproof durability.
Choose repositionable patches from REI or Amazon—they won’t stick until you press hard.
Wait 24 hours for waterproof bonding.
To maintain your backpack’s overall integrity, integrate regular cleaning into your routine to prevent issues like zipper misalignment.
Repairing Large Rips and Damaged Seams

Major rips demand serious intervention—forget the gentle touch we used on pin-sized holes.
Clean with rubbing alcohol, then apply Gear Aid Silnylon patches ½ inch larger than the rip. Round corners to prevent peeling. Skip duct tape—it’s temporary garbage.
For damaged seams, use power tape extending 2 centimeters beyond damage on both sides. Follow with double-thread sewing using needle and thread, placing stitches closer to zippers than original seams. Cut away frayed edges first.
Never sew large rips directly—sandwich between adhesive patches instead. Clamp repairs for 24 hours.
Proper technique creates waterproof, long-lasting fixes. To enhance durability, always test your repairs using controlled water exposure for reliable performance.
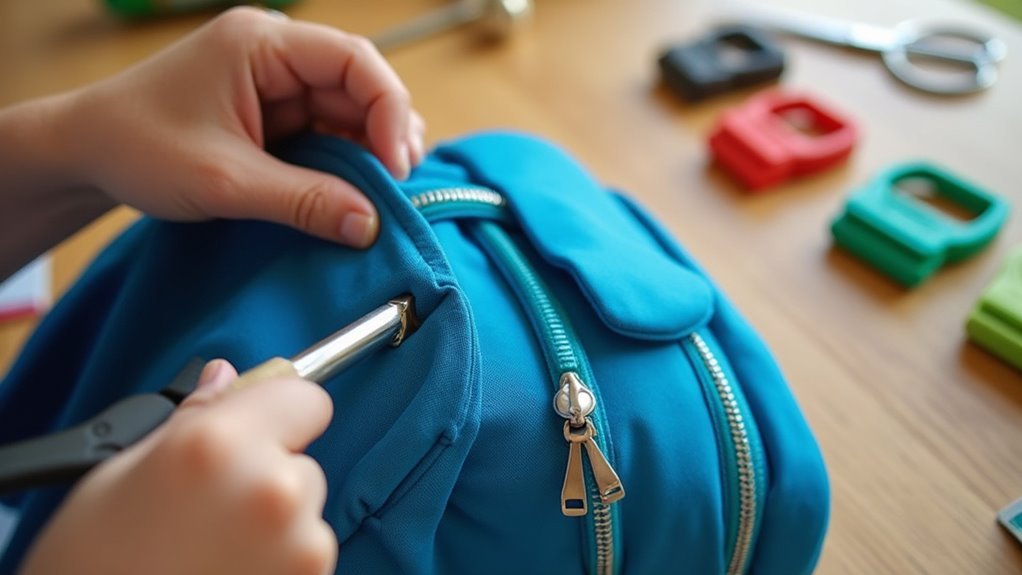
Troubleshooting Zipper Problems and Replacements
Why do zippers always fail at the worst possible moment?
We’ll fix that.
Start with simple steps: apply lip balm to sticky zippers for instant lubrication.
Missing pull? Attach paracord or key rings instead of replacing the entire zipper.
Bent slider? Squeeze gently with pliers to realign.
For complete failures, use a seam ripper to remove the old zipper, then install a replacement from Wawak or Etsy.
Secure with Gear Aid Seam Grip for waterproof bonding.
Zipper repair kits handle damaged teeth when basic fixes fail.
These repairs extend lifespan by years.
For long-term prevention, check zippers monthly to catch any potential issues early.
Replacing Broken Buckles and Hardware
When will manufacturers stop making buckles from bargain-bin plastic that snaps under pressure?
We’re stuck fixing their shortcuts.
Measure your broken buckles first—width matters for compatibility.
Rip out damaged hardware with pliers, but don’t massacre the webbing.
Hunt down your replacement buckle at REI or Amazon; choose metal if animals destroyed the original plastic.
Thread that new buckle on, then secure with Gear Aid Seam Grip or singe the end.
Here’s the critical step: reinforce with three parallel backstitches using heavy-duty thread.
Your strap back will outlast the original junk they installed.
For better overall backpack stability, incorporate compression straps into your repairs to ensure gear remains securely attached.
Restoring Mesh Pockets and Webbing Straps
Tear open that mesh pocket one more time and we’re confronting another manufacturer cost-cutting disaster.
Skip buying a new piece of outdoor gear.
We’ll fix this ourselves using fishing wire or dental floss, sewing sideways then vertically to recreate the original grid pattern.
For complete replacement, cut nylon to size, sew three sides, add elastic cord at top.
Apply seam grip for waterproofing.
Broken webbing straps? Remove damaged buckles with pliers, cannibalize from less-critical areas.
Thread the replacement back onto webbing, glue or singe ends, then reinforce with three parallel backstitches.
Your pack’s operational again. After repairing, consider using seam sealing methods to maintain waterproof integrity.
Frequently Asked Questions
How Do You Fix a Ripped Backpack?
Like medieval seamsters with modern gear, we’ll mend your pack using proper sewing techniques and manual mending. Choose durable thread options, select matching fabric choices, then patch both sides for lasting repairs.
What Is the Best Repair Tape for Backpacks?
We’d recommend Gear Aid’s Silnylon repair tape among top tape brands for its exceptional waterproof features and durability ratings. While eco-friendly options exist, Gear Aid consistently delivers reliable performance for backpack repairs.
What Kind of Glue Do You Use to Repair a Backpack?
We recommend Gear Aid Seam Grip over epoxy choices for backpack repairs. This flexible glue variety requires proper adhesive storage and 12-hour curing times, but it’s specifically designed for nylon materials and maintains waterproof integrity.
Do Iron on Patches Work on Backpacks?
Yes, iron-on patches work on backpacks with proper heat settings and fabric adhesion. We’ve seen mixed user reviews regarding patch longevity, so we recommend reinforcing with stitching for durability.