We’ve all been there—standing in front of a broken backpack zipper, watching our gear spill out like a punctured grocery bag. Here’s the brutal truth: you don’t need to throw money at a repair shop or wrestle with needle and thread. Armed with basic tools and five minutes of focused effort, we’ll strip out that busted slider and install a replacement that’ll outlast your next camping trip. The secret lies in understanding zipper anatomy.
Tools and Materials You’ll Need
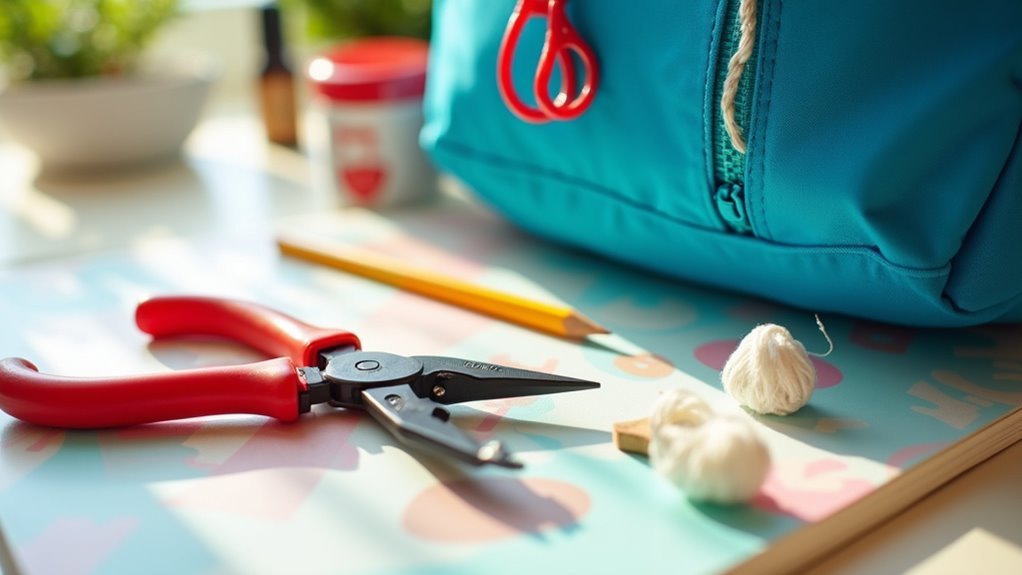
The right tools make or break this repair – literally.
We’ll need needle nose pliers for gripping zipper components and manipulating stubborn top stops.
Flush cutters safely remove damaged zipper teeth without destroying the zipper tape.
Safety glasses aren’t optional – flying debris happens.
A lighter singes frayed tape edges, preventing unraveling.
Most importantly, grab a replacement zipper slider that matches your zipper’s size.
Source one from old items or buy online for under five bucks.
These repair tools handle 99% of zipper failures.
No fancy equipment, no sewing machine – just smart tool selection.
To keep your zipper functioning smoothly, remember that regular cleaning helps prevent debris buildup and extends its lifespan.
Removing the Top Stopper Safely
With tools in hand, we’re targeting the top stopper – that tiny metal or plastic piece that keeps your zipper slider from flying off the track.
First rule: wear safety glasses. Debris flies when you least expect it.
Use flush cutters to carefully nip factory-applied top stops, minimizing zipper tape damage.
Identify your enemy first – coil, plastic top stops, or metal top stops require different repair techniques.
Handle plastic components gently; they crack easily.
After removal, inspect the zipper track immediately. Look for damage, bent teeth, or fabric tears before proceeding.
This inspection prevents future headaches.
Additionally, if bent teeth are detected during your inspection, perform teeth realignment to restore the zipper’s functionality.
Extracting and Adjusting the Zipper Pull
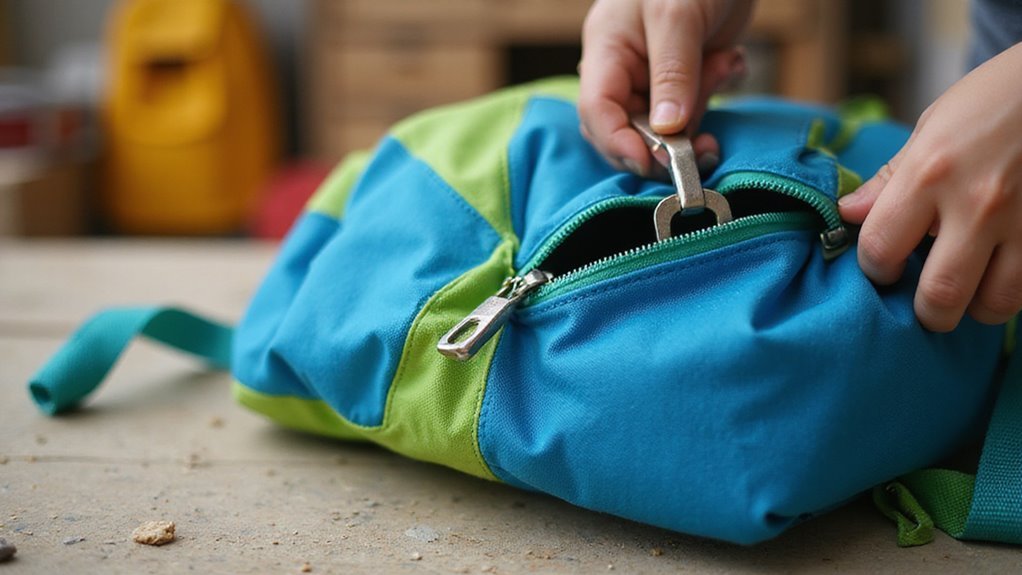
Now we’re diving into zipper pull surgery – the make-or-break moment that’ll determine if your backpack lives or dies.
With the iron stopper removed, extracting the damaged pull becomes straightforward.
Grab your pliers and squeeze those metal sides back into shape – no mercy here.
If the pull’s beyond salvation, we’re replacing it entirely.
Source a compatible pull from an old jacket, ensuring size matches perfectly.
Reinstalling requires patience as you thread it onto the zipper teeth.
Focus on proper alignment during this step.
Your tools and technique will determine whether this repair succeeds or fails spectacularly.
This fix will help maintain the same metal zippers durability that ensures your gear stays secure during adventures.
Reinstalling the Pull Onto the Zipper Teeth
Position your replacement slider where the missing teeth create that crucial entry point – this gap becomes your gateway to zipper resurrection.
We’ll guide the slider onto both sides of the zipper tape simultaneously, ensuring perfect alignment from the start.
Use needle-nose pliers to grip and maneuver the slider into position – vice grips are overkill here.
Push the slider forward, catching the teeth on both sides.
If teeth are misaligned, pull the bubbled section and skip damaged areas.
Once the slider tracks properly, secure it with a top stop or hand stitching.
Your backpack zipper lives again.
Securing the Stopper to Complete the Repair
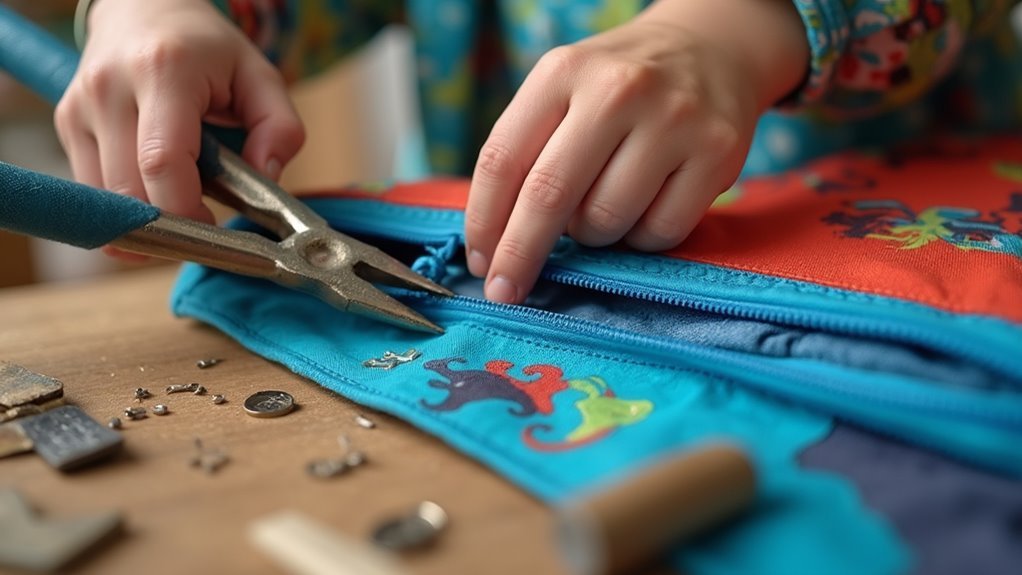
Your slider’s back on track, but it’s worthless without a proper stopper – think of it as installing a door without a doorframe. We’ll secure this repair with surgical precision.
For plastic zippers, clamp plastic tooth top stops onto toothless tape areas.
Position the stopper exactly where damage occurred – no guesswork allowed.
Metal coil zippers need coil top stops: those three-pronged pieces puncture tape like tiny anchors.
Grab your pliers.
Squeeze that stopper until it bites the tape permanently.
Test the slider – it should hit the stopper and stop dead.
No sliding off, no slipping past.
This final step transforms your broken zipper into bulletproof hardware.
Properly securing the stopper ensures the backpack remains watertight, akin to seam sealing for maintaining overall gear protection.
Frequently Asked Questions
How to Fix a Zipper Without Sewing?
We’ll use pliers for pull adjustment and the slider method for teeth realignment. Try zipper lubrication with DIY lubricant or adhesive technique. Regular zip maintenance and fabric guard provide common prevention for closure options.
How to Fix Broken Zippers on Backpacks?
Don’t throw in the towel! We’ll fix broken backpack zippers by realigning zipper teeth, isolating sliders around damage, and installing new components. Regular preventive checks beat costly repair alternatives and warranty claims later.
How to Fix a Broken Zipper Fast?
We’ll use QuickFixes like pliers to reshape the pull, apply Coca-Cola for lubrication, or remove iron stoppers for InstantMethods. These RapidTechniques and SwiftOptions create SpeedySolutions without needing replacement parts.
How to Fix a Broken Zipper on a Bag Without Replacement?
Like a stubborn door refusing to budge, we’ll revive your zipper using soap lubrication, pliers adjustment, and pencil rub techniques. Apply wax treatment, realign with tension relief, then use heat application for smooth operation without replacement.