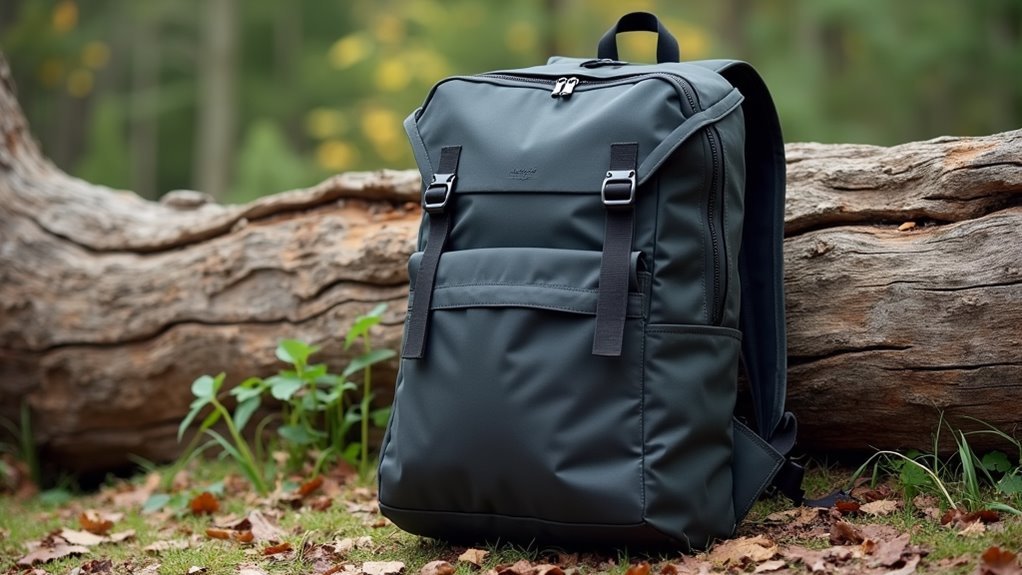
When we're getting ready for a weekend in the wilderness, how we pack our backpack can make or break the entire camping experience. It's not just about tossing gear into a bag and hoping for the best – there's actually a strategic approach that'll keep us comfortable, organized, and prepared for whatever nature throws our way. Whether we're seasoned outdoors enthusiasts or first-time campers, mastering the art of backpack packing means understanding key principles of weight distribution, weather protection, and gear accessibility. Let's explore the essential techniques that'll transform our packing game from chaotic to systematic.
Essential Gear Checklist
For a successful camping trip, you'll need to pack essential gear across four key categories: clothing and personal items, shelter and sleeping equipment, cooking and hydration supplies, and safety tools.
Let's start with clothing – we recommend packing versatile layers that'll keep you comfortable in changing conditions. This includes base layers, insulating pieces, and waterproof outer shells. Don't forget personal hygiene items like biodegradable soap and a quick-dry towel. The Smartwool Classic Thermal makes an excellent base layer choice with its natural moisture-wicking properties.
For shelter, you'll want a reliable tent, sleeping bag, and sleeping pad to guarantee restful nights under the stars. Remember to pack camp entertainment like a deck of cards or a paperback book for downtime.
Your cooking setup should include a portable stove, lightweight cookware, and plenty of water storage options. Don't forget water treatment supplies – we always bring both a filter and backup tablets.
Finally, safety equipment is non-negotiable. Pack a well-stocked first aid kit, navigation tools, reliable light sources, and fire starters. These essentials will keep you prepared for whatever adventures come your way, while maintaining a connection to the great outdoors.
Weight Distribution Basics
Proper weight distribution can make or break your camping experience. We've learned that packing your backpack isn't just about throwing everything in – it's about creating dynamic balance that works with your body's ergonomic design. Let's explore how to distribute weight effectively to keep you comfortable on the trail.
Remember that your total pack weight should stay at 20% of bodyweight for optimal hiking comfort.
To achieve this, ensure that 70% of the pack's weight rests on the hips, not shoulders, which is crucial for maintaining stability and comfort during extended hikes. Here's a quick guide to help you pack like a pro:
| Zone | What Goes Here | Weight Class |
|---|---|---|
| Top | Snacks, rain gear, first aid | Light |
| Upper Back | Food, cooking gear | Heavy |
| Middle Back | Tent body, water | Heavy |
| Lower Back | Clothes, tent poles | Medium |
| Bottom | Sleeping bag | Medium |
We'll want to keep the heaviest items centered and close to your back, which helps maintain stability while hiking. Think of your pack as a tower – if the weight isn't balanced properly, it'll start to lean and make your hike much harder. Don't forget to use those compression straps after you've packed everything – they're essential for keeping items from shifting around and ensuring even distribution. By following these principles, you'll find yourself moving more freely and enjoying the journey more.
Regularly check the pack's balance and fill empty spaces wisely to prevent any discomfort or imbalance during your trek.
Bottom Layer Packing Strategy
At the foundation of your backpack lies the essential bottom layer – a zone dedicated to items you won't need until reaching camp. Let's explore bottom layer optimization to make the most of this vital space.
Start by stuffing your sleeping bag directly into the pack's bottom without its stuff sack – this saves space and creates a solid foundation for everything else. Next, we'll place your sleeping pad alongside or on top of the bag. Heavy items should never be placed at the bottom as this creates instability while hiking.
Now comes the fun part of gear compartmentalization. We'll fill those sneaky dead spaces with smaller, soft items like camp clothes and your inflatable pillow. Think of it like a puzzle where we're fitting the pieces together perfectly. Ensure that you are using color-coded dry bags to keep your gear organized.
Using compression sacks for bulky items helps squeeze out extra air and creates more usable space. If you're expecting wet weather, we'll line the entire bottom section with a trash bag first – it's a simple trick that keeps your sleeping gear dry.
ulong with other essential gear like your tent and food, this layer should be packed efficiently to maintain balance and comfort during your hike.
Core Items and Equipment
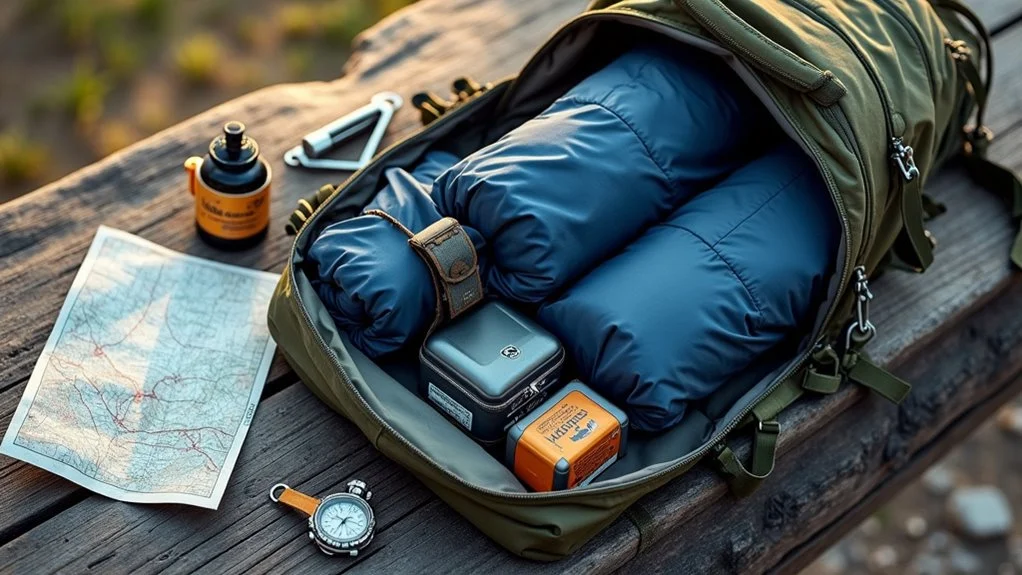
Inside every well-packed camping backpack lies a critical collection of core gear that forms the backbone of your outdoor adventure. When we're heading into nature, we need to guarantee our camp comfort while maintaining a practical load. Consider packing a picnic blanket with padding for versatile use both inside and outside your tent.
To ensure optimal weight distribution, pack heaviest items high and close to the back for stability, using weight placement techniques.
Let's focus on the essential equipment that'll keep us safe and comfortable during our outdoor escape.
Here are the must-have core items we shouldn't leave home without:
- A reliable tent system, including footprint and rain fly, to create our home away from home
- Quality sleeping gear – your bag, pad, and pillow for restful nights under the stars
- A dependable camping stove with fuel to prepare hot meals and drinks
- Basic cooking equipment and eating utensils for meal preparation
Through smart gear customization, we can adapt these essentials to match our specific needs and camping style. Always use an integrated rain cover or pack liner for added protection against unexpected storms.
Remember to pack your tent components together and keep your sleeping gear in waterproof bags. We'll want our stove and cooking equipment easily accessible, preferably in external pockets or near the top of our pack. This organization guarantees we can set up camp efficiently and start enjoying our adventure sooner. Ensure equal weight distribution on both sides of the pack to protect wrists and maintain control during the hike.
Weather Protection Methods
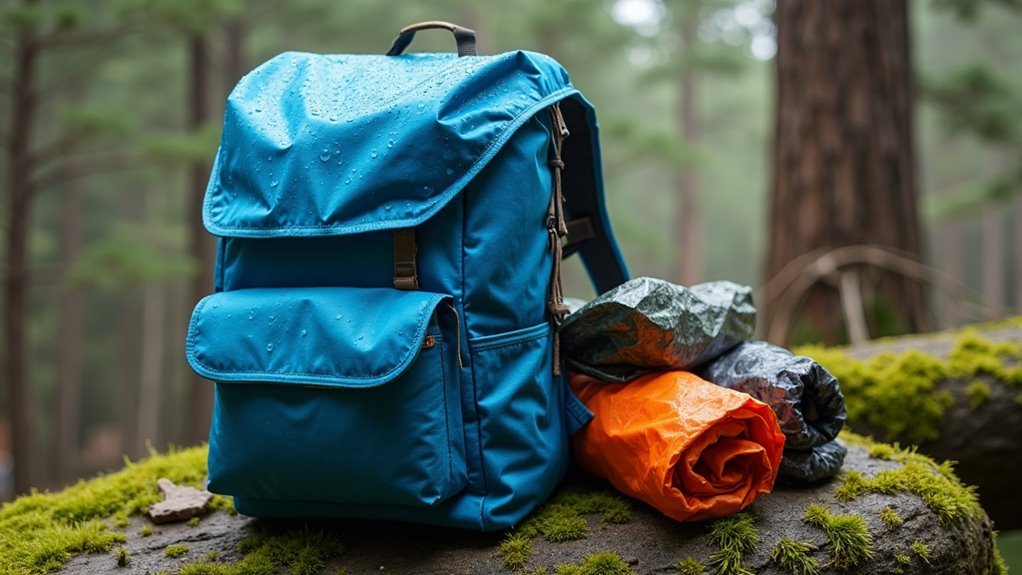
Weather protection represents one of the most essential aspects of camping preparation, demanding both strategic packing and specialized gear. Before we head out, we'll want to check weather forecasting apps to anticipate conditions and pack accordingly.
Let's start with the basics: a quality rain jacket, waterproof pants, and Gore-Tex boots form our first line of defense against wet conditions. It's crucial to select a campsite on slightly sloped ground to ensure proper water drainage. This also helps in avoiding mud and snow accumulation.
We'll need to protect our gear just as much as ourselves. We recommend using multiple layers of protection, starting with a rain cover for your backpack. Using integrated rain covers can be particularly convenient for overall protection.
Inside, we'll line our pack with a trash compactor bag – it's an inexpensive but effective way to keep everything dry. For critical items like sleeping bags and electronics, we'll use separate dry bags for extra protection.
Don't forget about gear maintenance during and after your trip. When we spot a break in the weather, we'll take advantage of it to air out damp items. Proper fit and durability of these protective measures are crucial for their effectiveness.
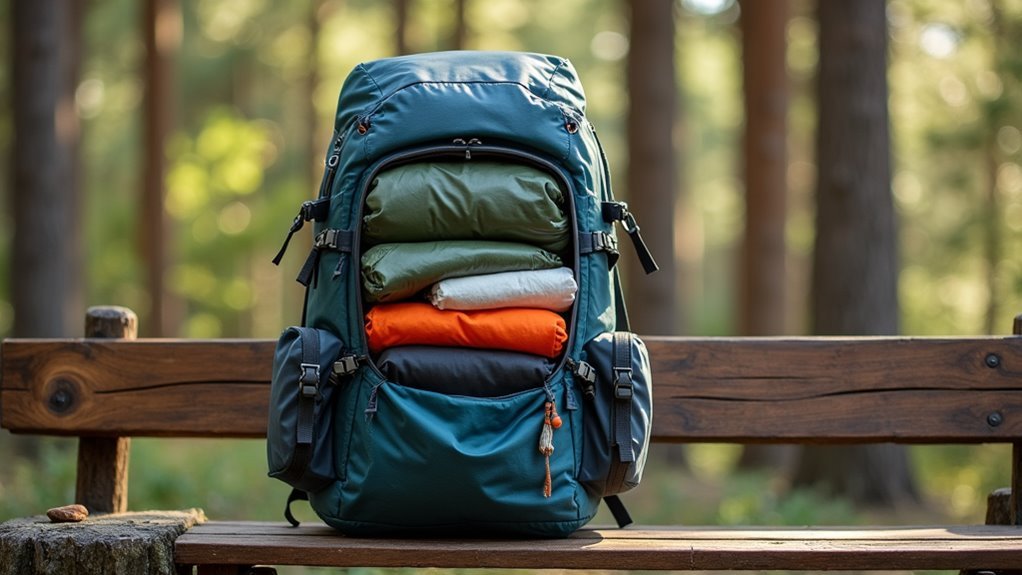
Quick Access Gear Placement
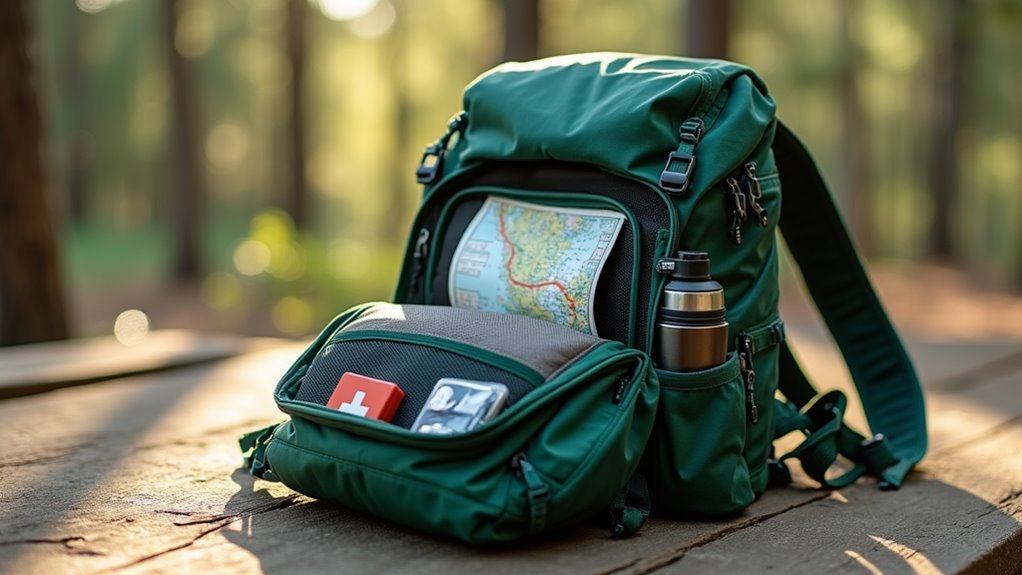
Now that we've covered protecting our gear from the elements, let's focus on organizing our pack for maximum efficiency.
When you start packing, consider the items you will need immediate access to and those that can be stored deeper in your pack. This will help you save time and energy during your trip.
Organize your gear into categories such as clothing, first aid, navigation, and food. This categorization makes it easier to find what you need quickly. Ensure you have a thorough first aid kit for emergency situations.
Use compartments and pockets in your backpack to keep similar items together. For example, store all your navigation tools like maps, compasses, and GPS devices in one pocket. Store your rain gear at the top of your pack for quick access when weather changes unexpectedly.
Pack heavier items closer to your back to maintain balance and comfort. This also helps distribute the weight more evenly, keeping it within the recommended 20% of body weight.
Finally, make sure to leave some extra space in your pack for items you might acquire during your trip, such as souvenirs or additional supplies.
Food and Water Storage
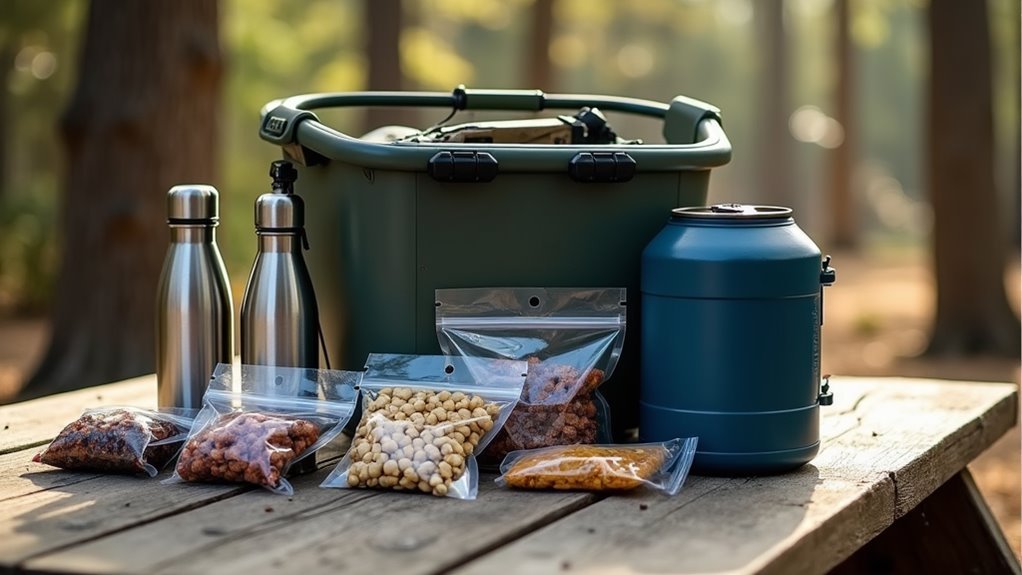
Proper food and water storage can make or break your camping experience. When we're out in the wilderness, we need to protect our supplies while keeping them easily accessible. Let's make sure we're handling our provisions the right way.
For food handling, we'll want to use hard-sided bear canisters or scent-proof bags that we can hang properly. These containers aren't just for bears – they protect our food from all kinds of wildlife. Never leave your food supplies unattended, as even brief moments of exposure can attract animals to your campsite.
We recommend using 8-12 liter food bags for a 4-7 day trip, organizing items like instant noodles, dehydrated dips, and freeze-dried ingredients into separate bags to prevent spills and save space.
To keep everything dry, we'll line our backpack with a trash bag and use dry sacks for our food. Don't forget to follow local regulations about food storage – at night, we'll either store food in our vehicle, a bear box, or hang it properly.
For water purification and storage, we'll want to keep our water supplies accessible but protected from the elements. By organizing our food and water strategically in the center of our pack, we'll maintain a balanced load while keeping essential supplies within reach when needed.
Navigation and Safety Equipment
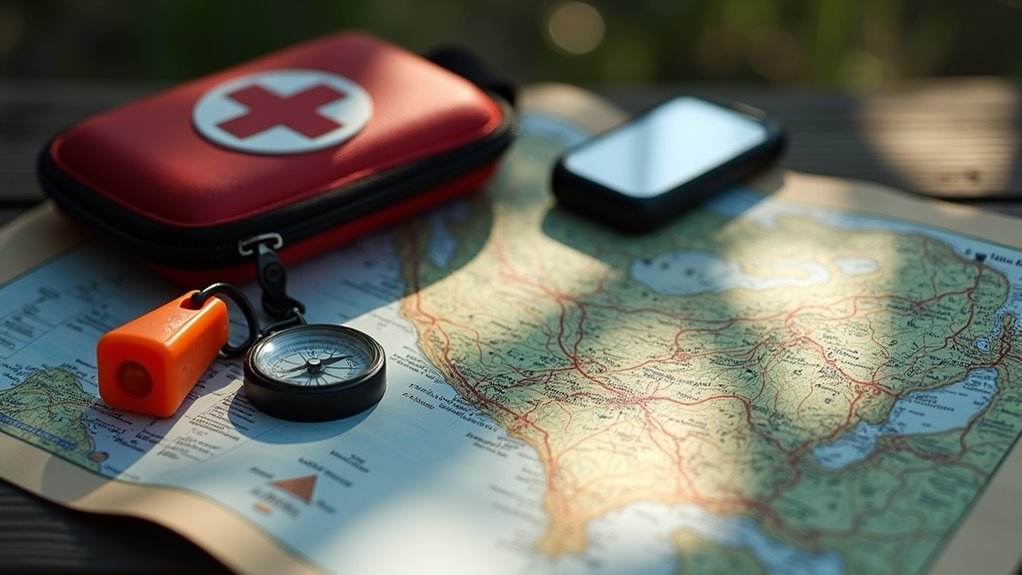
Traversing safely through the wilderness requires reliable tools and equipment that could save your life. When we're packing our backpacks, let's prioritize navigation and safety gear that'll keep us on track and out of trouble.
A GPS unit with fresh batteries guarantees accuracy in pinpointing our location, while a properly calibrated compass serves as our reliable backup. Consider bringing a Garmin Drive GPS for its proven reliability and high customer satisfaction.
- Always pack a detailed paper map in a waterproof case – these never run out of battery
- Carry a satellite messenger or two-way radio for emergency communication
- Include a bright headlamp with extra batteries for visibility after dark
- Keep a well-stocked first aid kit within easy reach of your pack
We'll want to stash these essential items where they're easily accessible, not buried at the bottom of our bags. Don't forget to test your GPS accuracy and compass calibration before heading out – there's nothing worse than discovering equipment issues when we're already on the trail.
It's also smart to pack some emergency basics like a whistle, fire starter, and lightweight emergency shelter. Remember, we're not just carrying gear; we're carrying peace of mind that'll let's focus on enjoying our adventure.
Campsite Setup Tools
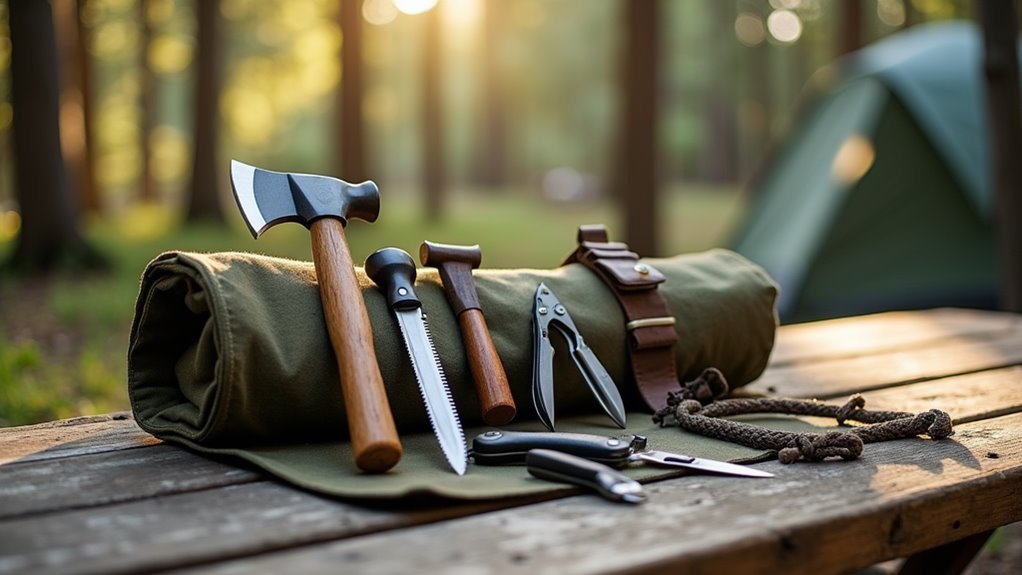
A well-equipped toolbox forms the foundation of a comfortable campsite. We'll need sturdy tent stakes, a reliable mallet, and ground preparation tools to create a stable home base. While the Coleman Rubber Mallet's our go-to choice for hammering stakes, we've found rocks or wooden logs can work as mallet alternatives in a pinch. Tent Kit accessories like a small hand broom and carrying case make campsite organization more efficient.
| Essential Tool | Primary Use | Pro Tip |
|---|---|---|
| Rubber Mallet | Stake Installation | Use the hook end for removal |
| Hikemax Hammer | Ground Clearing | Double-duty as stake puller |
| Heavy Stakes | Campsite Stabilizers | Pre-test in various soils |
When setting up, we'll want to focus on proper stake placement to withstand wind and rain. The Hikemax Lightweight Camping Hammer's built-in stake puller makes breakdown easier, while its high carbon steel guarantees hammer durability through countless camping trips. Don't forget to sweep your tent area before setup – removing rocks and sticks prevents tent floor damage and makes for a more comfortable sleeping surface. Smart ground preparation pays off, especially when unexpected weather rolls in. We've learned that angling stakes slightly away from the tent provides better holding power in loose soil.
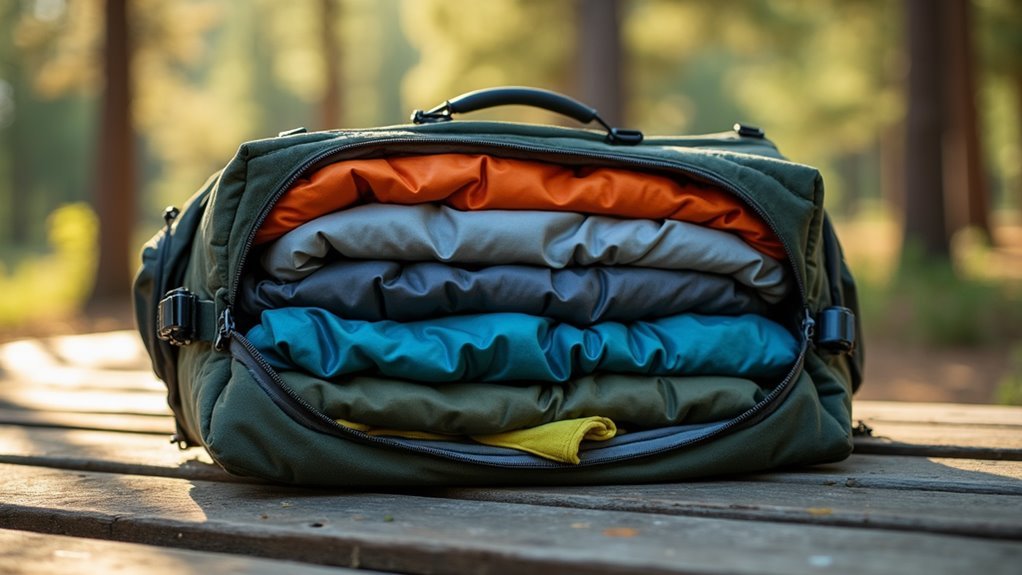
Space-Saving Techniques
Once our campsite tools are ready, we'll need to master the art of fitting everything into our backpack. Instead of stuffing folded garments randomly, we'll use smart packing techniques that maximize every inch of space. Rolling clothes instead of folding them not only prevents wrinkles but also creates more room for other gear. Designating specific pocket zones helps keep essential items organized and easily accessible.
Here's our proven system for efficient packing:
- Use compact containers and packing cubes to organize similar items together
- Roll clothes tightly and secure them with rubber bands to maintain compression
- Fill empty spaces with small items like socks and underwear
- Utilize vacuum bags for bulky items like sleeping bags and jackets
We'll want to think vertically when loading our pack, placing heavier items close to our back and lighter ones toward the outside. By using every nook and cranny, we can fit more while keeping the weight balanced.
Remember to attach items like sleeping pads to the outside of our pack if they're too bulky to fit inside. With these space-saving strategies, we'll have room for everything we need without overloading our backpack.
Frequently Asked Questions
How Long Will My Backpack's Water-Resistant Coating Last Before Needing Reapplication?
We'll need to reapply water-resistant coating every 6-12 months, depending on how often we use our backpack. Heavy use, UV exposure, and harsh conditions accelerate coating durability loss.
Should I Bring a Separate Daypack for Short Hikes From Basecamp?
We'd strongly recommend bringing a daypack for basecamp adventures. It'll give us freedom to explore without lugging our main pack, plus it's perfect for carrying essentials on shorter trail excursions.
What's the Best Way to Clean My Backpack After the Trip?
While fancy backpack sanitizers promise miracles, we'll get better results with simple soap and water. Let's scrub thoroughly, rinse well, then apply fabric protectants to keep our gear adventure-ready.
How Can I Prevent Small Items From Sinking to the Bottom?
Let's keep our small items from disappearing by using item pockets and divider compartments. We'll organize strategically, placing frequently-needed gear in top pockets and creating dedicated spaces for easy access.
Which Compression Sacks Are Most Durable for Repeated Weekend Camping Trips?
We'd trust our lives to the eVac HD's bulletproof 420D fabric or Sea to Summit's 70D nylon – they're basically indestructible. For material durability and sack longevity, these warriors won't quit on you.
Conclusion
We've covered all the ins and outs of packing our outdoor home-away-from-home, and now we're ready to hit the trails! Remember, a well-packed backpack isn't just about stuffing everything in – it's about creating a balanced, comfortable carrying companion for our wilderness adventures. By following these layering strategies and organization tips, we'll spend less time wrestling with our gear and more time soaking in nature's beautiful show.