We’ve all heard that a broken buckle means a dead backpack, but that’s complete nonsense. The truth is, most “ruined” bags just need a ten-minute fix and basic tools you already own. Don’t let gear companies convince you that planned obsolescence is inevitable. With needle-nose pliers, wire cutters, and a replacement buckle, we’ll resurrect your pack and save serious cash. The process is simpler than you think, but one wrong move destroys everything.
Gather Your Tools and Materials for the Repair
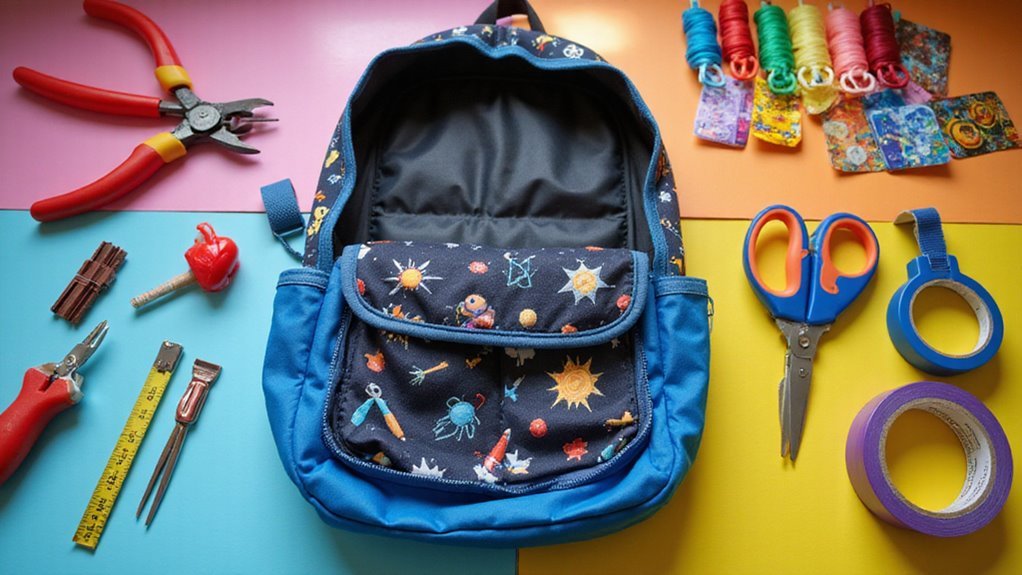
Before we jump into the actual repair, let’s round up everything you’ll need—because nothing derails a simple fix like hunting for tools mid-project.
First, source a new buckle matching your strap width—1-inch webbing requires 1-inch buckles.
Grab two pairs of needle-nose pliers for wire manipulation and wire cutters for precise cuts.
You’ll need measuring tape to determine wire lengths (typically 3 inches for standard straps).
Finally, fashion a wire bending jig—even a dowel works—to create consistent loops.
These tools transform a frustrating breakdown into a 15-minute victory. For added durability, use stainless steel wire to hold the new buckle securely in place.
Remove the Damaged Buckle From Your Backpack
Start by positioning your wire cutters at the buckle’s stress points—we’re going surgical here, not demolition.
Snip the broken buckle into manageable chunks while protecting that nylon strap.
Follow the yellow arrows to push the strap out of the buckle’s initial grip.
Slide the remaining strap material following red arrows—gentle pressure prevents tears.
Continue pulling forward with green arrow direction until the old buckle releases completely.
Stubborn sections? Use your screwdriver to push the strap through the buckle’s guide mechanism.
Clean extraction means zero strap damage and maximum material preservation for your replacement installation.
To extend your backpack’s lifespan, incorporate regular maintenance into your routine as a preventive measure.
Prepare and Form the Wire Replacement Hinge
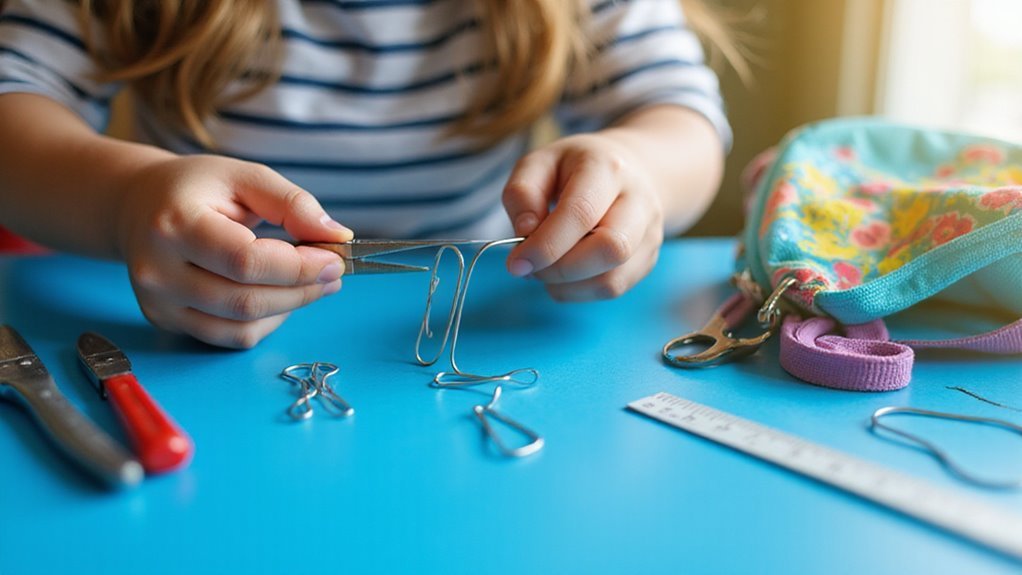
Measure your wire to exactly 3 inches—precision matters when you’re building a hinge that won’t fail under stress. Use wire cutters for clean cuts.
Grab your bending jig and form consistent radius loops on both ends, keeping the straight section matching your strap’s width. That’s typically 1 inch for most nylon straps.
Two pairs of needle-nose pliers work best—one holds, one bends.
Form secure loops that’ll thread through your existing strap hardware. Bunch the nylon slightly during insertion for full engagement.
Your wire hinge’s straight section must align perfectly with the width of the strap for proper buckle integration. Repair small damages early to keep your backpack’s hardware in top condition and extend its lifespan.
Attach the New Buckle Using Wire Threading
With your wire hinge perfectly formed, we’ll thread it through the strap’s existing hardware to create the mounting point for your new buckle. Bunch the nylon slightly and push the wire through the shoulder strap’s loop, keeping open ends pointed upward. This threading technique replicates how the original buckle attached.
| Step | Action |
|---|---|
| Thread | Push wire through existing strap loop |
| Position | Place new buckle over wire loops |
| Secure | Close loops with needle-nose pliers |
Now position your replacement buckle over the wire loops. Close the wire ends tightly—but don’t crush them. You need enough grip to hold the buckle while allowing smooth movement. When securing outdoor gear, remember that compression straps can provide additional stability for attachments like this one.
Test and Adjust Your Repaired Backpack Strap

Thread your shoulder strap through the newly installed buckle and pull it snug—this isn’t a gentle suggestion, it’s your first real test of whether we’ve built something that’ll actually work.
Now wear the backpack and check for slippage or uneven weight distribution.
If you need to remove the buckle without damaging your repair kit, use needle-nose pliers to fine-tune those wire loops.
Pull the strap tight, then loosen it—it should hold without slipping.
Thread the strap through the keeper, ensuring proper alignment.
Takes minutes, but prevents shoulder pain on long treks.
To enhance comfort, incorporate proper weight distribution by placing heavier items closer to your back.
Frequently Asked Questions
How to Replace a Broken Buckle?
We’ll cut the old buckle off, thread wire through the strap loop, attach the replacement buckle, and secure it tightly. Proper buckle maintenance, using correct replacement tools, and prevention strategies help avoid future breaks.
What to Do if Your Backpack Strap Broke?
We’ll create wire loops as hinges for replacement buckles or use split rings for temporary fixes. Check warranty claims first, then apply preventive measures like carrying repair kits with spare buckles and webbing for future usage tips.
Can a Seamstress Repair a Backpack?
Yes, we can take our backpack to a seamstress for professional fabric mending and backpack alterations. Seamstress tips include reinforcing stitching around buckles, repairing torn straps, and ensuring proper weight distribution for lasting repairs.
What Kind of Glue Do You Use to Repair a Backpack?
Why risk adhesive failure when you need reliability? We don’t recommend glue recommendations for backpack repairs. Instead of epoxy alternatives, we use mechanical fixes like wire and replacement parts for superior adhesive durability.