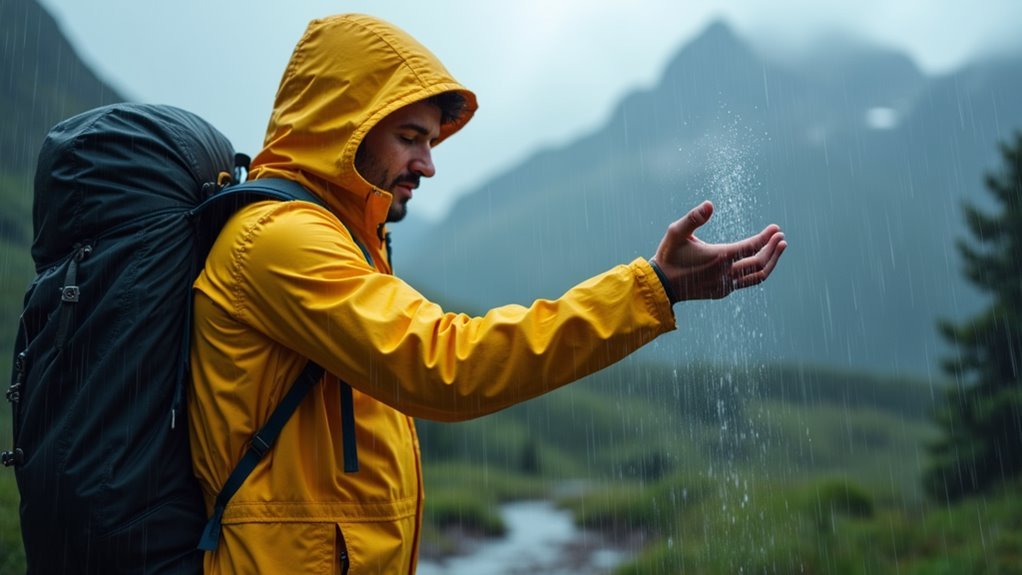
We've all experienced that sinking feeling when water seeps into our outdoor gear, turning an adventure into a soggy ordeal. Whether we're facing unexpected rain on a backpacking trip or crossing a stream with sensitive equipment, keeping our gear dry isn't just about comfort—it's about protecting our investments and ensuring safety in challenging conditions. While many outdoor enthusiasts rely on basic waterproofing methods, there's an art to creating a truly effective moisture defense system. Let's explore the techniques that separate successful gear protection from amateur attempts at staying dry.
Choose the Right Waterproofing Products
Choosing the right waterproofing products is essential for protecting your outdoor gear and equipment. When we're making our product selection, we need to take into account several key factors to guarantee we get the best waterproofing performance for our specific needs.
Let's start by matching the product to our gear's material. For nylon and synthetic fabrics, we'll want to use specialized products like Nikwax TX.Direct or Grangers Performance Repel. These products won't compromise our gear's breathability while keeping water out. Applying spray from 6 inches away ensures even coverage and optimal protection.
For leather and canvas items, products like Kiwi Camp Dry or Atsko offer excellent protection.
We also want to reflect on how we'll apply the product. Spray-on options are great for spot treatment and easier application, while wash-in products work well for entire garments.
Don't forget to check if the product is eco-friendly – brands like Grangers offer fluorocarbon-free options that are better for the environment.
Seam Sealing Basics

Mastering seam sealing fundamentals can make or break your waterproofing project's success.
We'll walk you through everything you need to know about keeping water from sneaking through those pesky seams in your outdoor gear. Whether you're working with tents, rain jackets, or other equipment, understanding seam sealing techniques is essential for maintaining dry, comfortable adventures. These often overlooked needle holes and layers can be major entry points for moisture penetration.
Let's explore the different seam types and how to seal them effectively. We've got several options at our disposal: seam tapes for flat seams, liquid sealants that penetrate stitch holes, and specialized adhesives for heavy-duty applications.
Before we start sealing, we'll always want to clean and dry our seams thoroughly – this step's non-negotiable for proper adhesion.
For most projects, we'll need basic tools like cleaning solutions, applicators, and our chosen sealant type.
Don't forget to factor in drying time – rushing this process won't do us any favors. Remember, we might need to reapply sealants periodically to maintain their effectiveness, but that's a small price to pay for keeping our gear water-tight and ready for action.
Pack Liner Strategy

Every serious backpacker needs a reliable pack liner strategy to keep their gear dry in challenging conditions. The pack liner advantages go beyond simple waterproofing – we're talking about a versatile piece of gear that can serve multiple purposes on the trail. Let's explore how we can maximize pack liner compatibility with our outdoor adventures.
| Situation | Without Liner | With Liner |
|---|---|---|
| Heavy Rain | Gear gets damp | Stays dry |
| River Crossing | High risk | Protected |
| Gear Organization | Mixed contents | Separated wet/dry |
We've found that pack liners work better than rain covers because they protect gear from all angles. The Schnozzel inflation bag is particularly useful for setting up air mattresses at camp. They're especially handy when we need to separate wet boots from dry sleeping bags, or when we want to use them as inflation bags for our sleeping pads. While they might take some practice to master – you'll need to insert them before loading your pack – the protection they offer is worth the extra effort. When you're miles from shelter and facing unexpected weather, you'll be glad you've got this reliable barrier between your gear and the elements.
Dry Bag Best Practices
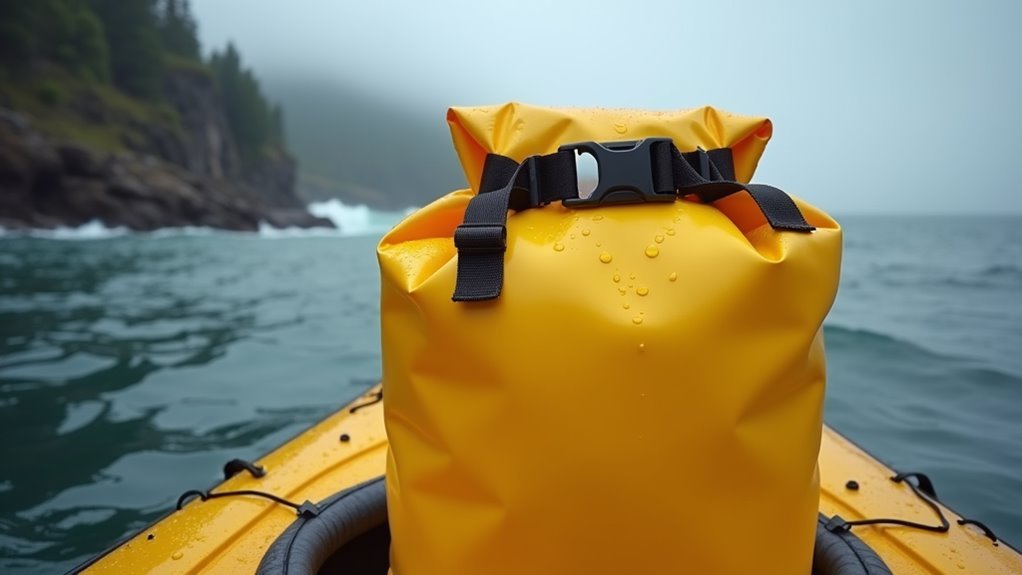
In accordance with proper dry bag use, successful outdoor adventures depend on mastering a few key practices.
Let's explore how to make the most of these essential waterproofing tools. When selecting dry bag features, we'll want to focus on those with reliable roll-top closures and air-tight seals that keep our gear protected. These bags typically provide IP67 protection rating for optimal waterproofing.
When it comes to packing essentials, we'll organize strategically by placing heavier items at the bottom and using packing cubes for better organization. We shouldn't forget to push out excess air before sealing, and we'll want to roll the top down 3-5 times for the best protection.
It's smart to use different colored bags or labels to quickly identify our gear.
To maintain our dry bags, we'll rinse them after each use, especially if we've been around salt water. We should always let them air dry completely before storage to prevent mold growth.
Electronics Protection Methods
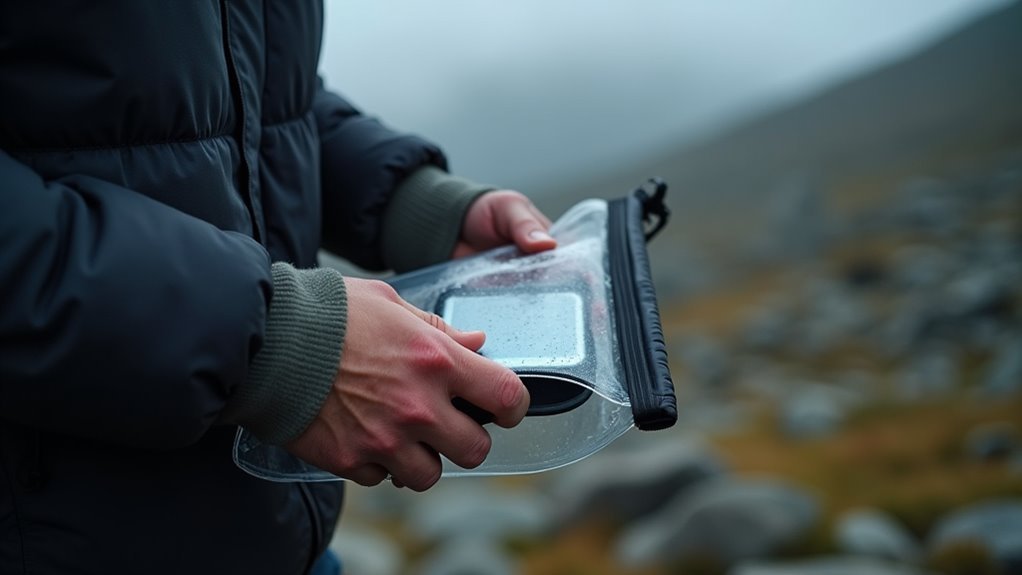
Several proven techniques exist for protecting electronics from water damage, with three main approaches leading the industry.
Let's explore these waterproofing innovations that can help safeguard your devices.
Low Pressure Molding (LPM) is one of our gentler methods, using special hot-melt adhesives that create a protective seal around your electronics. This technique offers fast production cycles compared to traditional methods.
We love this technique because it won't harm sensitive components while still providing excellent water resistance.
Next up is conformal coating, where we'll spray or brush a thin protective layer over your device.
It's perfect when you need flexibility and the option to make future repairs.
For the ultimate in electronics durability, we turn to potting.
While it's the most complex method, it offers unbeatable protection by completely encasing your electronics in waterproof resin.
We'll warn you though – once it's potted, repairs become challenging.
When choosing between these methods, consider how much protection you need and whether you'll need to access the components later.
Each technique brings its own benefits, and we'll help you select the right one for your specific situation.
Clothing Waterproofing Techniques
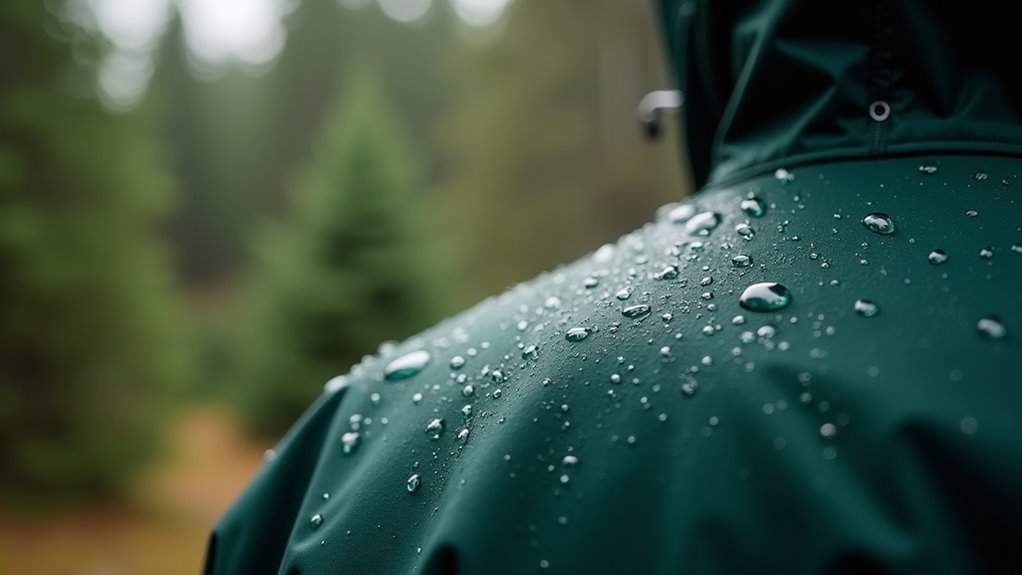
Moving from protecting electronics to safeguarding clothing, we've got multiple proven ways to keep your garments dry and weather-resistant.
Let's bust some common waterproofing myths – you don't need expensive products to achieve great results, and different fabric types respond well to various waterproofing methods.
For quick protection, we recommend silicone sprays, which work well on most materials except down-filled items. Seam sealers can be applied to reinforce the waterproofing at hems and stitches.
Make sure you're applying an even coat on clean, dry clothes, and don't forget those hidden folds and seams.
If you're looking for a more natural approach, wax coating is your friend. Simply rub beeswax across your fabric and use a hair dryer to help it penetrate – though keep in mind it might darken your clothing slightly.
We've also found success with DIY solutions like the alum powder method or linseed oil mixture, but always test these on a small area first.
Whatever method you choose, remember to maintain your waterproofing through regular cleaning and reapplication.
Use special detergents designed for waterproof gear, and don't forget to pay extra attention to those vulnerable seams.
Testing Your Waterproofing System
Testing your waterproofing system's effectiveness requires both rigorous methods and careful observation. When we're checking how well our moisture barriers and drainage systems work, we'll want to use several proven methods that simulate real-world conditions.
Let's make sure our waterproofing holds up by putting it through its paces. Proper testing helps enhance product longevity and prevents costly water damage.
One of the most reliable ways we can test our system is through controlled water exposure. We'll want to check for any weak spots by examining how our waterproofing handles different types of water contact.
Here are the key tests we can perform:
- Spray testing to simulate heavy rain conditions
- Flood testing by covering surfaces with 2 inches of water for up to 48 hours
- Electronic leak detection to find hidden breaches
- Pressure testing to check for water resistance under stress
If we're testing basement waterproofing, we'll need to pay extra attention to our sump pump performance and check that our interior drainage systems are working properly.
Remember to inspect all seals and barriers after testing, and don't forget to look for signs of water intrusion in less obvious places like corners and joints.
Frequently Asked Questions
How Long Does Waterproofing Treatment Typically Last Before Needing Reapplication?
We'll typically need to reapply waterproofing every 6-10 months for ideal treatment effectiveness, though high-quality materials and proper maintenance can extend waterproofing longevity up to a full year.
Can Waterproofing Products Damage Sensitive Materials Like Gore-Tex or Event Fabrics?
Let's bust waterproofing myths: Using wrong products can wreck Gore-Tex and eVent fabrics. We'll protect our gear's freedom to breathe by sticking to manufacturer-approved treatments for proper fabric care.
What Temperature Conditions Are Ideal for Applying Waterproofing Treatments?
We'll get the best results applying waterproofing treatments when temperatures are above 40°F, and substrate temps are 5°F above dew point. Let's time our applications during warm, dry conditions.
Is Waterproofing Effective in Extreme Conditions Like Prolonged Submersion or High Pressure?
Let's bust waterproofing myths – properly applied treatments absolutely work in extreme environments. We're seeing materials withstand 231 feet of water pressure and survive years of continuous submersion without failing.
Should Waterproofing Be Applied Differently to Synthetic Versus Natural Materials?
We'll find that synthetic materials offer superior waterproofing advantages through membrane treatments, while natural materials have inherent limitations requiring different approaches like wax or oil treatments for basic protection.
Conclusion
We've covered the essential waterproofing techniques that'll keep our gear protected like a shield in stormy weather. By choosing the right products, mastering seam sealing, using pack liners strategically, and protecting our electronics, we're ready to face wet conditions with confidence. Remember, regular testing guarantees our waterproofing system stays effective, so let's stay dry and adventure-ready through all our outdoor experiences.