I’ve seen countless hikers fumble with water bottles on challenging terrain, and honestly, installing a hydration bladder changed everything for me. You’ll need a compatible backpack with a hydration compartment—I recommend brands like Unigear or Cherainti for reliability. Simply insert your bladder vertically against the back panel, thread the hose through the port, and secure with clips to prevent shifting. The hands-free hydration transforms your entire outdoor experience, and there’s definitely more to optimizing this setup.
Understanding Hydration Bladder Benefits for Outdoor Activities
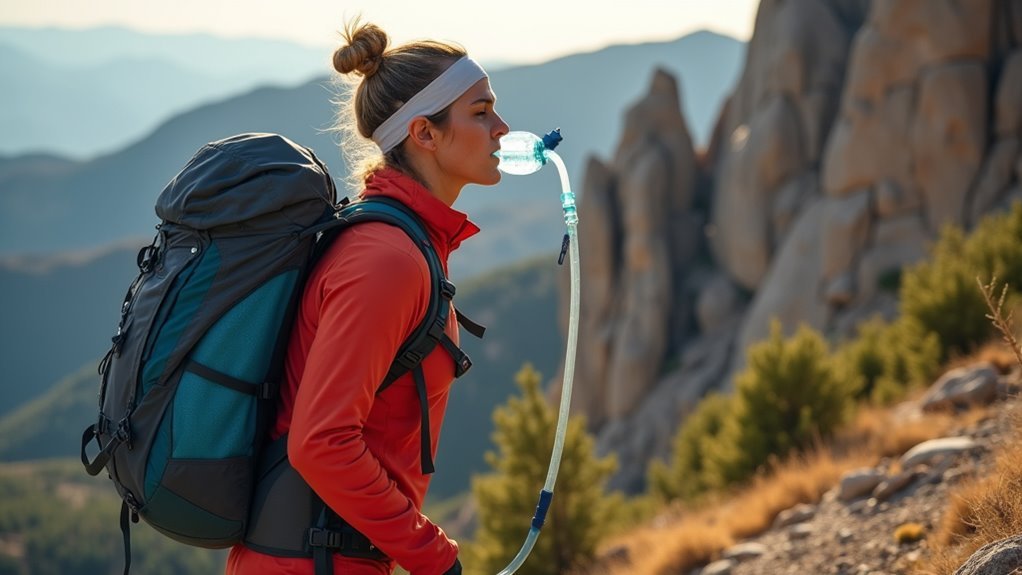
When you’re hitting the trails for hours at a time, staying properly hydrated becomes one of those challenges that can make or break your entire outdoor experience. I think hydration bladders are actually game-changers for anyone who craves that hands-free freedom on the trail. You don’t have to stop, dig through your pack, or fumble with bottles anymore. The convenience is incredible – well, it’s like having water on tap while you’re conquering peaks. They integrate seamlessly with most hiking backpacks, giving you efficient water access without breaking stride. Your adventure flow stays uninterrupted. Plus, hydration bladders offer easy cleaning options, which are crucial for maintaining hygiene during your outings.
Essential Equipment and Recommended Products for Setup
The right gear makes all the difference between a smooth setup and a frustrating wrestling match with your equipment. I’ve found that choosing the right hydration bladder – well, it’s honestly half the battle won.
For bladders, I’d recommend checking out Unigear or Cherainti models. They’re reliable and won’t let you down when you’re miles from anywhere. Your backpack matters too – the OutdoorMaster 50L or Gregory Mountain Jade 28 work beautifully with most bladders.
Here’s the thing: make sure your bladder actually fits snugly in your pack. No tools needed, just the right combination of gear. Additionally, consider a pack that offers breathable mesh panels to enhance comfort during intense activity.
Choosing the Right Bladder Size for Your Backpack
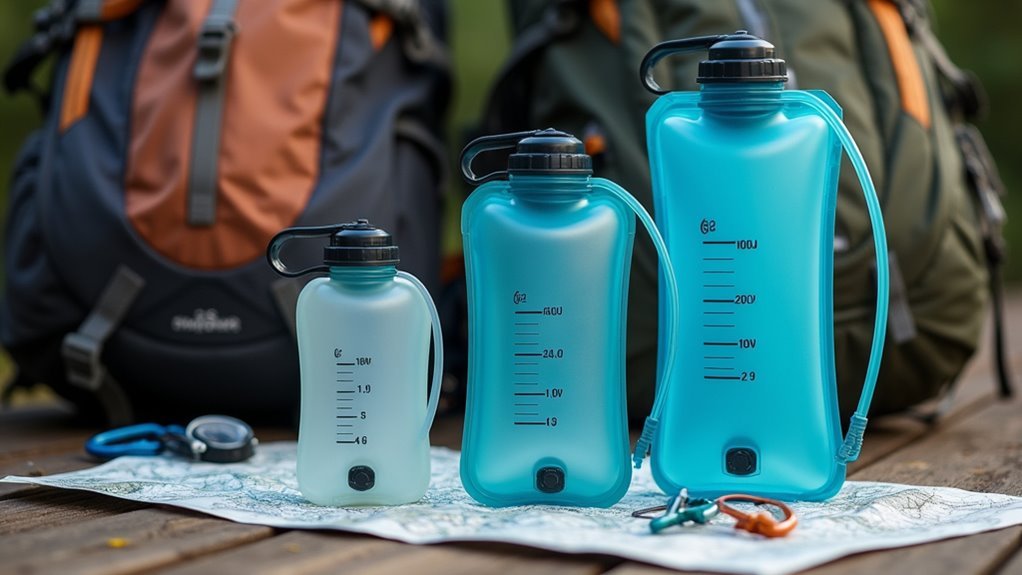
How do you know if you’re picking the right size bladder for your pack? Well, it’s actually pretty straightforward once you think about it. I always match my bladder capacity to my adventure length. For day hikes, a 2-liter works perfectly – it’s like having just enough fuel without the extra weight dragging you down. Longer trips? I’ll bump up to 3 liters, maybe more.
Here’s what I’ve learned: your bladder should fit snugly in your pack‘s hydration compartment without creating awkward bulges. Test the fit first. Freedom means moving naturally on trails, and the right size guarantees you’re not fighting your gear every step. Also, remember to carry extra water to ensure you stay hydrated throughout your journey.
Step-by-Step Installation Process
Installing your hydration bladder properly is like assembling a puzzle – each piece needs to fall into place just right. I’ve found that taking it slow prevents frustration later on the trail.
Here’s my straightforward approach:
- Locate the hydration pocket – Look for a sleeve or compartment near your back panel
- Insert bladder hose-down – Thread the tube through the designated port or clip
- Secure with clips – Attach any retention straps to prevent shifting
Well, honestly, you’ll probably need to adjust the positioning a few times. Don’t worry if it feels awkward initially – that’s normal. Test everything before heading out.
Proper Positioning and Securing Techniques

Several key positioning tricks can make the difference between a bladder that stays put and one that becomes a sloshing annoyance. I always place mine vertically against my back panel—it’s like having a perfectly balanced water wall. The hose should exit from the bottom, threading through the left shoulder strap. Actually, well, make sure you clip that tube to your chest strap about shoulder height. This prevents the dreaded hose-flop while you’re moving. I think the key is keeping everything snug but not compressed. A loose bladder will shift around and throw off your balance on technical terrain. Additionally, ensuring that your center of gravity remains close to your spine helps maintain stability while hiking.
Testing Your System Before Hitting the Trail
Once you’ve got everything positioned and secured properly, you’ll want to take your setup for a test run—and I don’t mean waiting until you’re three miles into the wilderness. Think of it like a dress rehearsal before the big show. I always test my system at home because well, there’s nothing worse than discovering a problem when you’re already committed to the trail.
Test your hydration setup at home first—discovering equipment failures three miles into the wilderness isn’t anyone’s idea of a good time.
Here’s my testing checklist:
- Fill the bladder completely and check for leaks
- Sip through the hose to guarantee smooth water flow
- Walk around with your loaded pack to verify stability
Trust me, this saves headaches later.
Troubleshooting Common Installation Issues
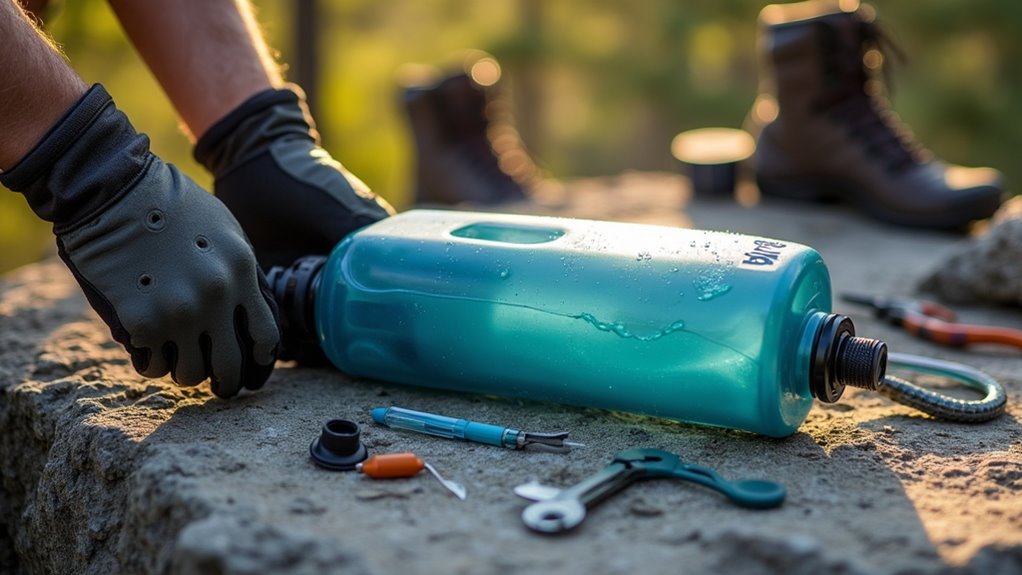
Even though hydration bladder installation is pretty straightforward, you’ll probably run into a snag or two along the way—I certainly have. The most common issue? That pesky hose getting pinched somewhere. I’ve learned to trace the entire tube from bladder to bite valve, checking for tight spots or sharp bends. Sometimes the reservoir shifts during hiking, creating weird angles. Another headache is air bubbles blocking flow—just squeeze the bladder and suck hard to clear them. If you’re getting zero water, well, double-check that bite valve is actually open. These little fixes save your adventure.
Maintenance Tips for Optimal Performance
While most hikers treat their hydration bladders like disposable water bottles, I’ve learned that a little maintenance goes a long way—actually, it’s the difference between fresh-tasting water and something that tastes like it’s been sitting in a garden hose all summer.
A little maintenance is the difference between fresh-tasting water and something that tastes like it’s been sitting in a garden hose all summer.
Here’s what I do to keep mine performing like new:
- Clean after every trip with warm soapy water and let it air dry completely
- Store it in the freezer between adventures to prevent mold growth
- Replace the bite valve annually since they’re cheap and wear out quickly
Trust me, your taste buds will thank you.
Frequently Asked Questions
Can I Use Sports Drinks or Electrolyte Solutions in My Hydration Bladder?
Like fuel for your freedom machine, I can fill my hydration bladder with sports drinks or electrolyte solutions. However, I’ll thoroughly clean it afterward since sugary beverages can promote bacterial growth and damage the system.
How Often Should I Replace My Hydration Bladder?
I replace my hydration bladder every 6-12 months depending on usage frequency. You’ll know it’s time when you notice persistent odors, cloudy water, or cracks in the material that cleaning can’t fix.
Are Hydration Bladders Safe for Freezing Temperatures During Winter Hiking?
I don’t recommend using hydration bladders in freezing temperatures because water freezes inside the tube and bladder, blocking flow and potentially damaging the system. You’ll want insulated alternatives for winter hiking.
Can I Retrofit Any Backpack to Work With a Hydration System?
Want total freedom on trails? I can’t retrofit every backpack, but most work with external pockets or spacious compartments. You’ll need proper hose routing and secure bladder placement for ideal performance during adventures.
What’s the Maximum Recommended Water Temperature for Hydration Bladders?
I recommend keeping your hydration bladder water below 104°F (40°C). Higher temperatures can damage the bladder material and encourage bacterial growth. You’ll get the best performance and longevity by sticking to cool or lukewarm water temperatures.