Studies show that backpackers carry an average of 2-3 pounds of cooking gear, which can account for up to 10% of their total pack weight. We've discovered that eliminating a stove system doesn't mean sacrificing satisfying meals on the trail – in fact, it's opened up new possibilities for lightweight, efficient hiking. While many hikers can't imagine hitting the trail without their trusty stove, we'll explore how going stoveless can actually enhance your backpacking experience through creative meal planning, smart food choices, and innovative preparation techniques that'll transform how you think about trail food.
Why Go Stoveless
Anyone looking to lighten their pack and simplify their backpacking experience should consider going stoveless. The stoveless benefits are immediately noticeable – we can shed up to two pounds by leaving behind our stove, fuel, and cooking gear. That's a significant weight reduction that'll make those long miles feel easier on our legs and back.
When we embrace cold soak techniques, we're choosing a simpler way to adventure. No more fussing with fuel canisters, dealing with stove repairs, or spending precious trail time cooking meals. Instead, we can add water to our food, keep hiking while it rehydrates, and eat whenever we're ready. With over 100 trail-tested recipes available, there's plenty of variety to keep meals interesting.
We'll also stay safer on the trail since we won't attract wildlife with cooking odors or risk accidents with fuel spills.
Going stoveless isn't just about convenience – it's also budget-friendly and better for the environment. We'll save money on fuel and equipment while reducing our environmental impact.
There's no need to worry about disposing of fuel canisters or carrying empty ones in our packs. It's a win-win for our wallets and the wilderness.
Essential No-Cook Foods
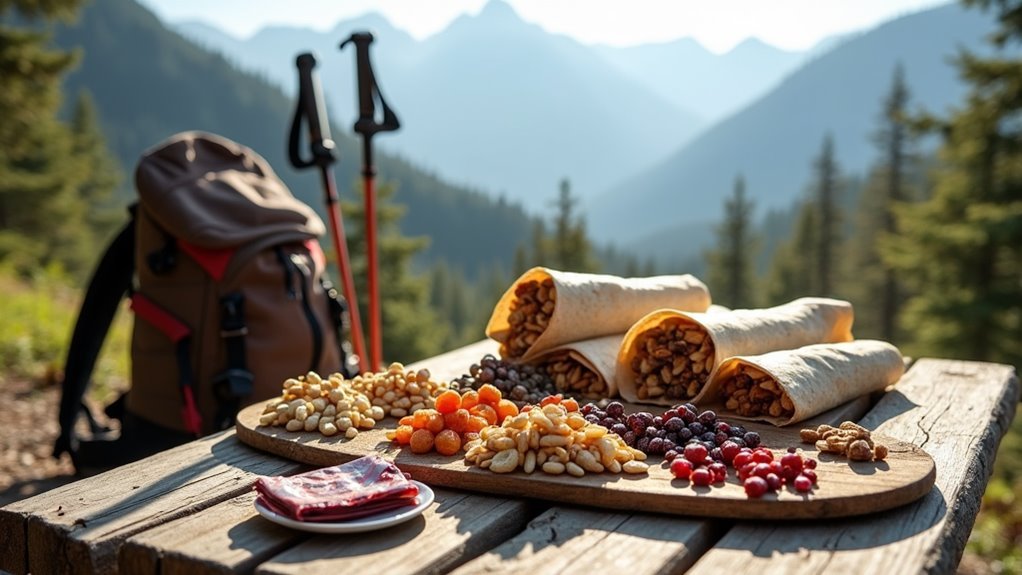
Success on the trail begins with packing the right no-cook foods. We'll show you how to combine nutrient density with flavor variety to create satisfying meals without ever lighting a stove. From protein-packed tuna packets to energy-rich dried fruits, we've got plenty of options to keep you moving on the trail. You can enhance your meal variety with overnight oats, which require minimal preparation and provide excellent nutrition.
Let's look at some trail-tested favorites that perfectly balance weight and nutrition:
| Easy Protein | Quick Energy | Fresh Additions |
|---|---|---|
| Beef Jerky | Dried Fruit | Bagels |
| Tuna Packets | Mixed Nuts | Pita Bread |
| Sardines | Granola | Fresh Produce |
These lightweight options give us freedom from cooking while delivering the nutrition we need. We especially love cold-soaked meals like couscous and pasta salad, which only need water and time to transform into delicious trail food. Don't forget about convenient combos like bagels with shelf-stable cheese or pita bread with tuna packets. When we're feeling fancy, we'll pack some smoked salmon and cream cheese for a protein-rich feast that requires zero prep time.
Meal Planning and Prep
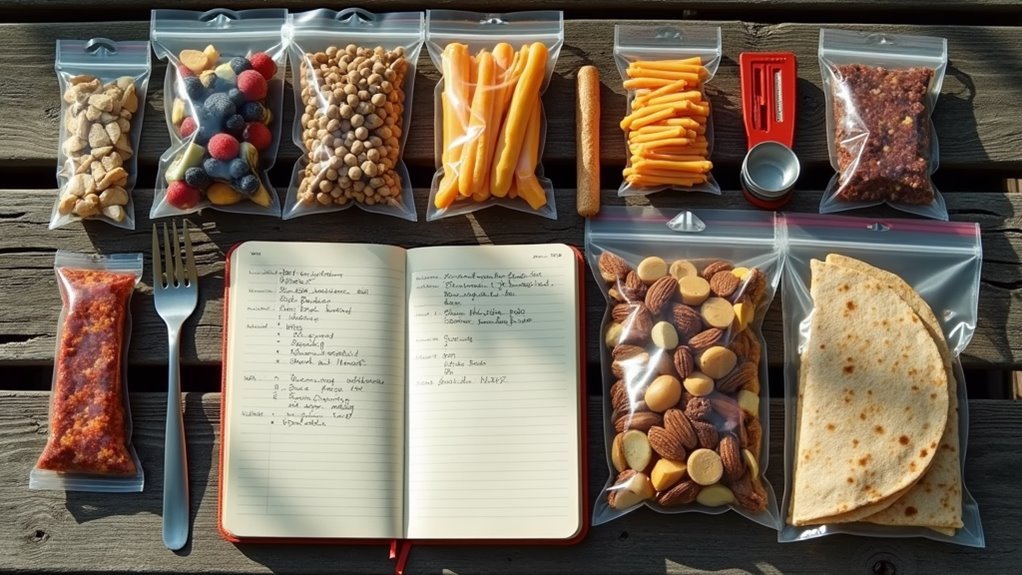
With our favorite no-cook foods in mind, we'll now focus on turning these ingredients into satisfying trail meals. The key to successful meal planning starts before we even hit the trail, as we'll want to test our combinations at home first. This way, we're confident our food will energize us when we need it most.
Let's embrace meal variety by mixing both store-bought and homemade options. We can source food from bulk bins for dried fruits and nuts, while also preparing our own dehydrated ingredients at home. Maintaining a target of 5000 calories per 2 pounds of food will help ensure proper energy levels during your thru-hike.
When planning, we'll aim for about 125 calories per ounce and include a balance of 50% carbs, 35% fat, and 15% protein each day.
To keep things interesting, we'll rotate our meals and include different textures and flavors. Some ingredients might need cold soaking, so we'll plan accordingly. We can boost calories by adding healthy oils to our meals, and we'll pack fresh produce like bananas or avocados for the first day or two.
Breakfast Without Heat
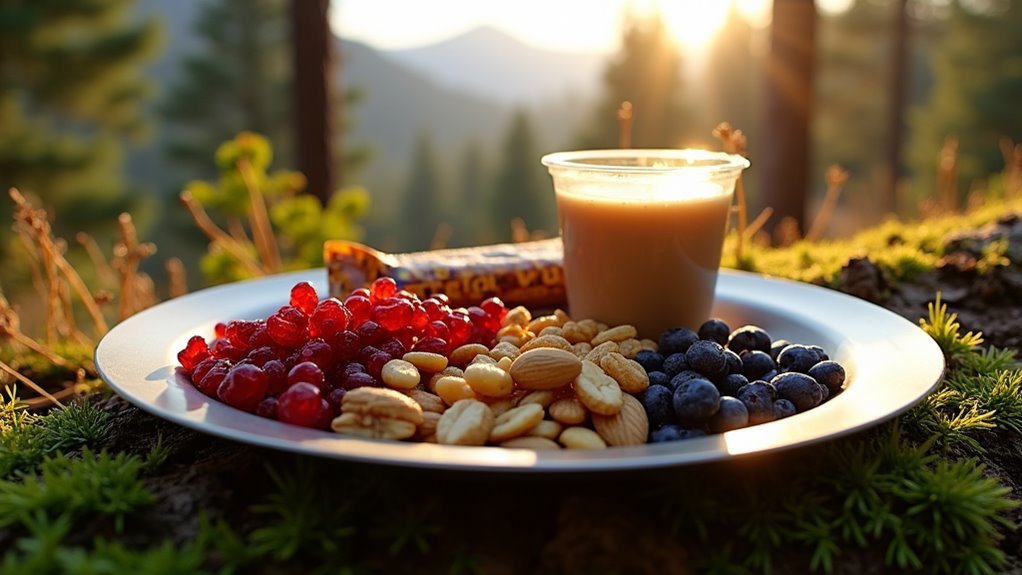
Early mornings on the trail call for breakfasts that energize without the hassle of cooking. We'll show you how to fuel your adventures with simple, no-heat options that'll keep you moving strong. From quick instant oatmeal soaked in cold water to protein-packed energy bites you can prep ahead, there's something for every trail enthusiast. For an extra nutritional boost, add some homemade trail mix to your breakfast as a versatile topping or standalone option.
| Breakfast Option | What You'll Need |
|---|---|
| Cold Soak Oats | Instant oatmeal, dried fruit, nuts |
| Energy Bites | Peanut butter, flax seeds, chia seeds |
| Chia Pudding | Chia seeds, nut milk, vanilla |
| Loaded Bagel | Bagel, cream cheese, salmon pouch |
| Avocado Wrap | Tortilla, avocado, seasonings |
Let's break free from traditional hot breakfasts and embrace the simplicity of no-cook options. By soaking your instant oatmeal the night before or grabbing a few energy bites from your pack, you'll save time and weight while still getting the nutrition you need. Remember to pack foods rich in protein and healthy fats – they'll keep you energized longer as you tackle those morning miles.
Trail-Ready Lunch Ideas
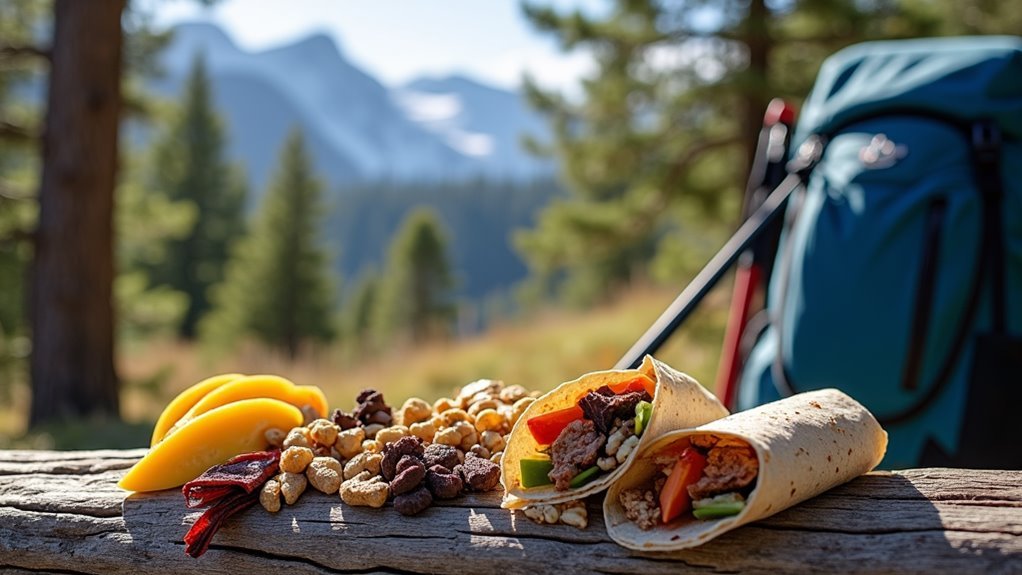
Preparing satisfying lunches without cooking requires smart planning and lightweight ingredients that pack serious nutrition. We've found that combining dehydrated snacks with protein options creates the perfect midday fuel that won't weigh down your pack.
Let's start with protein-rich foundations like beef jerky, which pairs wonderfully with dried fruits and nuts. Our go-to combination provides 280 calories per serving. We love mixing these with trail mix for a classic combo that keeps us energized on long hikes.
For heartier meals, we'll pack protein-packed sandwiches or bagels with spreads that don't need refrigeration.
When we're craving variety, we'll reach for convenient pre-packaged options like chicken teriyaki or salmon packets. These ready-to-eat proteins taste great with pita chips or wrapped in tortillas.
Don't forget about plant-based alternatives – chickpea pasta and quinoa provide sustained energy without cooking.
For quick energy boosts between meals, we rely on Clif bars, honey stinger waffles, or homemade energy balls. These compact snacks fit easily in hip belt pockets, so we can munch while maintaining our pace on the trail.
Cold-Soak Dinner Strategies
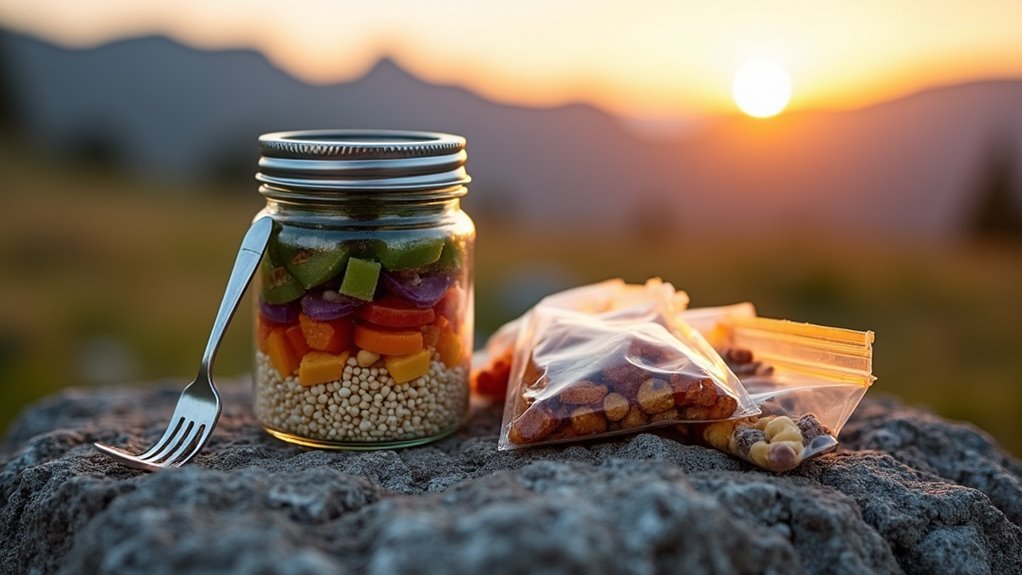
Seasoned backpackers regularly rely on cold-soaking techniques to create satisfying dinners without the hassle of cooking. We've found that mastering these cold soak techniques starts with choosing the right container – a watertight jar or reservoir that's perfect for rehydrating meals while we're on the move. Testing different recipes at home first will help you perfect your trail meals and avoid any unexpected issues during your adventure.
Let's explore some winning ingredient combinations that'll fuel your evening adventures. We love starting with quick-rehydrating bases like couscous or ramen noodles, then adding protein-rich elements such as TVP or dehydrated lentils. For extra flavor and nutrients, we'll toss in freeze-dried vegetables and pre-measured seasonings that we've packed in lightweight bags.
The key to dinner success is timing – we'll start soaking our meals about an hour before we plan to eat. While we're setting up camp or relaxing after a long day's hike, our food is quietly transforming into a satisfying meal.
Remember to give your container a good shake every now and then to guarantee even hydration. We've discovered that transparent containers help us monitor the process, letting us know exactly when dinner's ready to enjoy.
Food Safety on Trail
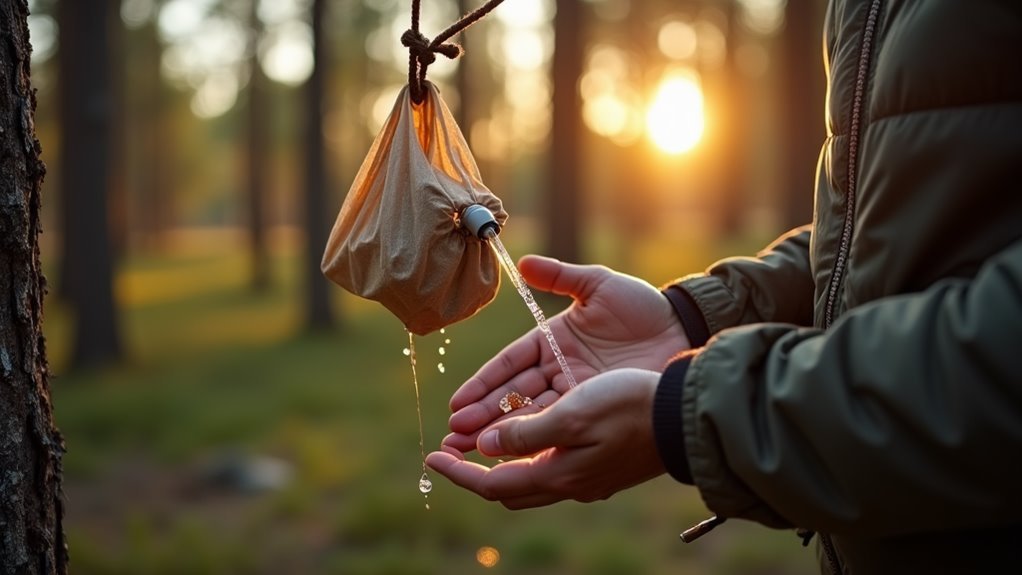
While cold-soaking offers convenient meal solutions, staying on top of food safety can make or break your backpacking experience.
We'll need to be extra vigilant about trail hygiene when we're not using heat to kill bacteria. Let's make sure we're keeping our cold-soaked meals safe by following some essential guidelines. Consider packing two separate containers for storing drinks and food items to prevent cross-contamination.
First, we've got to keep time on our side. Don't let food sit in the danger zone (between 40°F and 140°F) for more than two hours. When it's over 90°F outside, that window shrinks to just one hour.
We'll want to rehydrate our meals in a clean container and keep them out of direct sunlight. Always start with clean hands – carry hand sanitizer with at least 60% alcohol or biodegradable soap for washing.
For multi-day trips, we'll stick to shelf-stable foods that don't need refrigeration. Think dried fruits, nuts, and dehydrated meals.
When we're using water to cold-soak, we'll make sure it's properly filtered or treated. Remember to seal our food containers tightly and store them properly to keep our meals safe and critter-free.
Frequently Asked Questions
What Are the Weight Savings Between Traditional Cooking Vs No-Cook Backpacking Methods?
We'll save 1-2 pounds by ditching traditional cooking gear, enhancing meal efficiency. Weight comparison shows we're carrying less water and equipment, letting us move freely through the wilderness.
How Do You Mentally Adjust to Eating Cold Meals for Multiple Days?
Like adapting to a new trail, we'll embrace cold meals by focusing on meal variety, adding flavor enhancements, and reminding ourselves that ditching hot food means we're free to explore without limits.
Which Foods Should Absolutely Be Avoided When Planning No-Cook Backpacking Meals?
Let's avoid all perishable items that need refrigeration, raw meats, and heavy condiments. We'll also skip anything requiring hot water to be safe or edible for our trail meals.
Are There Special Dietary Considerations for No-Cook Meals at High Altitudes?
As the saying goes, aim high but plan smart. At high altitude, we'll need more nutrient density and calories while our bodies work harder – focus on easily digestible carbs and electrolyte-rich foods.
How Do Weather Conditions Affect the Rehydration Time of Cold-Soaked Meals?
We'll find our rehydration techniques work faster in warmer weather, while cold temps slow things down. Let's use direct sunlight and insulation when possible to optimize temperature impact on soaking times.
Conclusion
Through our journey exploring no-cook meals, we've discovered that ditching the stove doesn't mean sacrificing delicious trail food. Like skilled backpackers who learn to read the landscape, we've learned to craft satisfying meals from simple ingredients. We're now equipped with the know-how to fuel our adventures while keeping our packs light and our spirits high. No-cook meals aren't just an option – they're our gateway to simpler, smarter hiking.