Like Odysseus preparing for his epic journey, we're about to commence a quest to master the art of backpack packing. Most of us have experienced the frustration of an overstuffed, poorly organized pack that makes hiking feel like a burden rather than an adventure. Whether you're planning your first multi-day trek or you're a seasoned wanderer looking to refine your technique, we'll show you how to transform your packing strategy from chaotic to calculated. Let's explore the essential methods that'll help you hit the trail with confidence and comfort.
Essential Gear Selection
Backpackers often struggle with selecting the right gear, but a successful 3-day trip requires careful consideration of essential equipment.
Let's break down what we'll need for a comfortable and safe adventure in the wilderness, focusing on the must-have items that won't weigh us down.
For shelter considerations, we'll start with a reliable backpack between 50-65 liters – perfect for a long weekend trip. A fully packed bag should weigh between 25 to 40 pounds.
We'll want a lightweight 3-season tent that weighs no more than 4 pounds, paired with a 20°F rated down sleeping bag and a comfortable sleeping pad.
These items create our cozy home away from home.
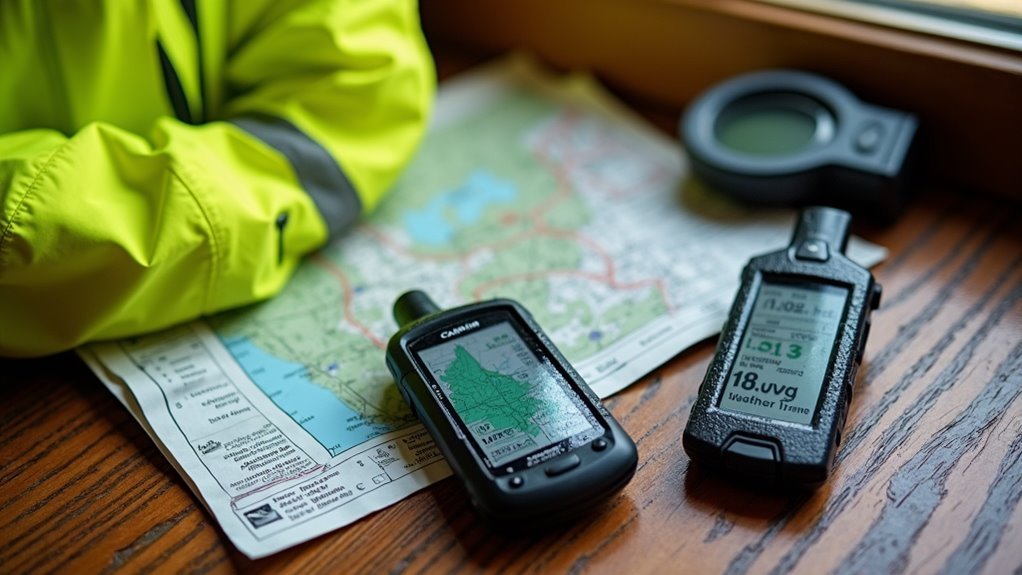
When it comes to navigation essentials, we can't forget our GPS device – something like a SPOT Gen3 or Garmin inReach will keep us connected in emergencies.
We'll also pack a headlamp with multiple settings, a thorough first aid kit, and an emergency bivvy for unexpected situations.
For hydration and food prep, we'll need at least two 1-liter water bottles, a reliable water filter, and a lightweight cooking stove.
Weather Planning and Preparation
Every successful backpacking trip starts with careful weather planning and monitoring.
Since weather systems typically move west to east, checking conditions several hundred miles west of our destination can help predict what's coming.
We'll want to check multiple weather forecasting sources, including the National Weather Service and Mountain-Forecast.com, to get the most accurate picture of what we'll face on the trail.
For our 3-day adventure, let's focus on short-term forecasts while being prepared for quick changes in conditions.
Climate considerations are essential, and we'll need to adjust our gear based on elevation and local geography.
We're smart to check current conditions through local ranger stations and hiking forums, giving us real-time intel from folks who've recently been on our planned route.
- Nothing beats the freedom of hiking confidently in any weather because we've packed the right layers and rain gear.
- We'll feel more secure knowing we've planned alternate routes in case mother nature throws us a curveball.
- There's an incredible sense of accomplishment when we've successfully navigated changing weather conditions by staying informed and prepared.
Space-Saving Packing Techniques

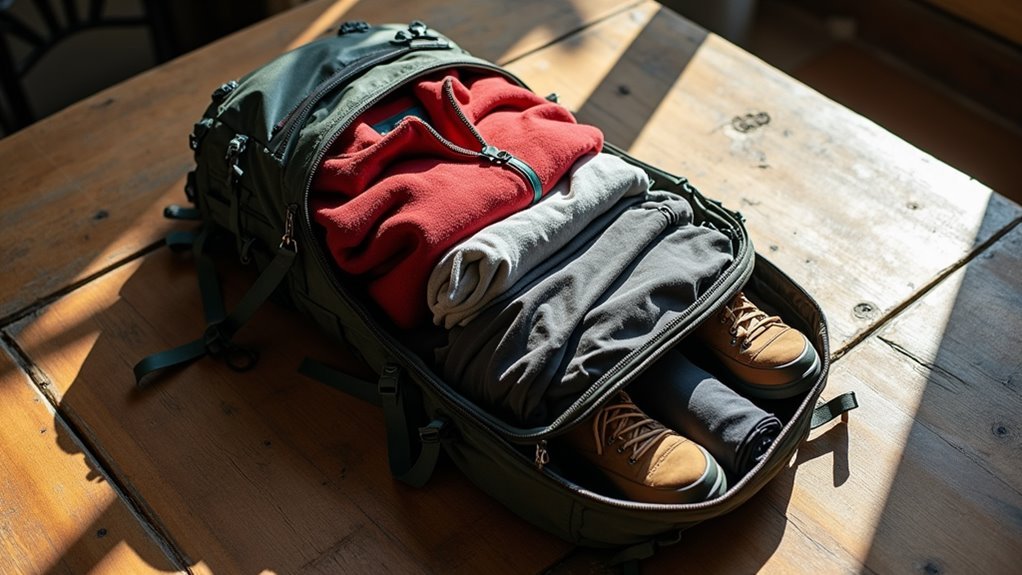
Now that we've got our weather planning sorted, let's maximize every inch of our backpack space. We'll use proven space optimization techniques to fit everything we need without overloading our pack. Rolling clothes instead of folding them is our first game-changer – it saves space and lets us pack more layers without adding bulk.
| Location | What Goes There | How to Pack |
|---|---|---|
| Bottom | Sleeping bag & clothes | Roll & compress |
| Middle | Heavy gear & food | Layer horizontally |
| Top | Quick-access items | Keep loose |
| External | Bulky gear | Strap securely |
Let's boost our packing efficiency by using packing cubes to organize gear by category. We'll place heavier items close to our back and center of gravity, while lighter items go toward the outside. Don't forget to utilize those corners and crevices – they're perfect for rolled socks and smaller items. Remember to compress everything you can, and use the external straps to secure bulky items like sleeping pads and tents. This strategic approach guarantees we're making the most of every available space while keeping our load balanced and accessible. Using camp mugs and stoves as storage containers, you can maximize space by filling these empty cooking vessels with small items like coffee packets and snacks.
Organizing Your Backpack Zones
A well-organized backpack operates like a finely-tuned machine, with each zone serving a specific purpose for your 3-day adventure.
Let's explore how zone prioritization can transform your packing strategy and create ideal backpack balance for your journey.
Start with the bottom zone, where we'll place your sleeping bag and nighttime clothes – items you won't need until camp.
The core zone becomes home to your heavier gear, keeping the weight centered against your back for maximum stability.
In the top zone, we'll store those items you'll reach for throughout the day, like your rain jacket or first-aid kit. Just like a drop zone at home, this strategic organization system helps streamline your daily routine on the trail.
Here's why smart zoning matters for your freedom on the trail:
- You'll move faster and more confidently when your pack is properly balanced.
- Quick access to essential gear means you're always ready for unexpected weather changes.
- Your back and shoulders will thank you at the end of each day.
Don't forget about those handy exterior pockets – they're perfect for snacks, maps, and other items you'll want to grab without breaking stride.
When each item has its place, you're free to focus on the adventure ahead rather than digging through your pack.
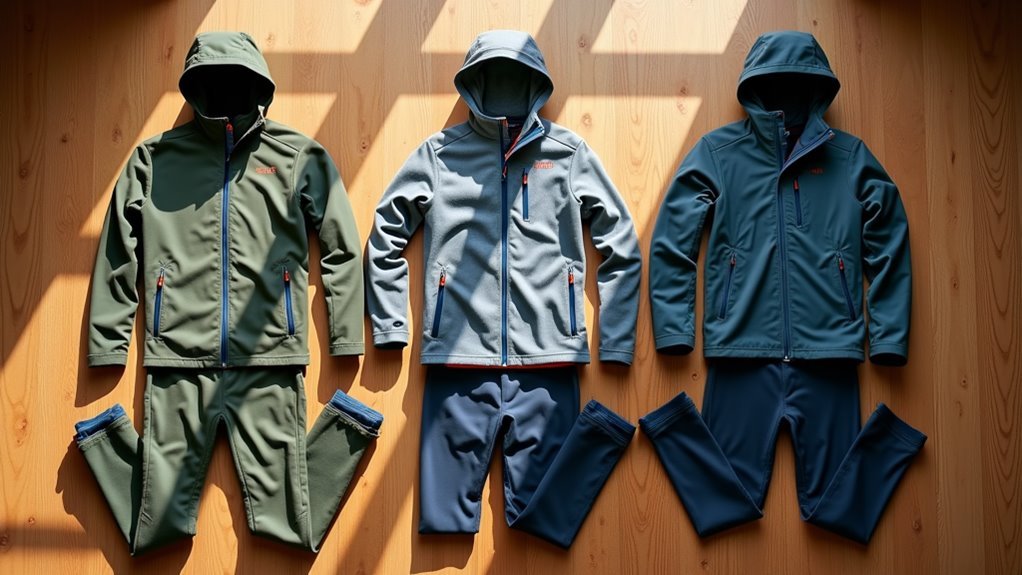
Daily Outfit Strategy
The key to packing smart lies in creating a versatile daily outfit strategy that maximizes your limited wardrobe options.
We'll show you how to create an efficient outfit rotation that'll keep you looking fresh throughout your three-day adventure while maintaining a lightweight pack.
Start by selecting a simple color palette that makes coordination effortless. We recommend choosing three main colors that work well together, like navy, white, and gray. This way, every piece you pack can mix and match with the others.
Plan your outfits day by day, considering your activities. For instance, if you're hiking on day one and dining out on day two, pack items that can shift between both scenarios with simple adjustments. Using packing cubes can help keep your daily outfits organized and easily accessible.
Don't forget to layer strategically! A basic t-shirt can work under a light sweater for chilly mornings, then stand alone for warm afternoons.
Pack pieces that pull double duty – those comfy shorts can pair with different tops to create unique looks each day. The key to color coordination is thinking ahead and ensuring each piece works with at least two others in your pack.
Personal Care and Toiletries

While planning your outfits keeps you looking fresh, maintaining personal hygiene during your three-day trip requires smart packing of toiletries and personal care items.
Store all toiletry liquids in a quart-sized bag for hassle-free security screening.
We'll help you organize your essentials while keeping toiletry storage efficient and manageable.
Start with the basics: a travel toothbrush, compact hairbrush, and multi-purpose moisturizer. Consider eco-friendly options like solid shampoo bars and natural bug spray to minimize your environmental impact while traveling light.
For organization, use small ziplock bags to separate dry items from liquids, and downsize your favorite products into 1-oz containers.
Here's why smart toiletry packing makes such a difference:
- You'll breeze through airport security with properly sized containers
- You'll feel confident and fresh throughout your adventure
- You'll have everything you need without weighing down your pack
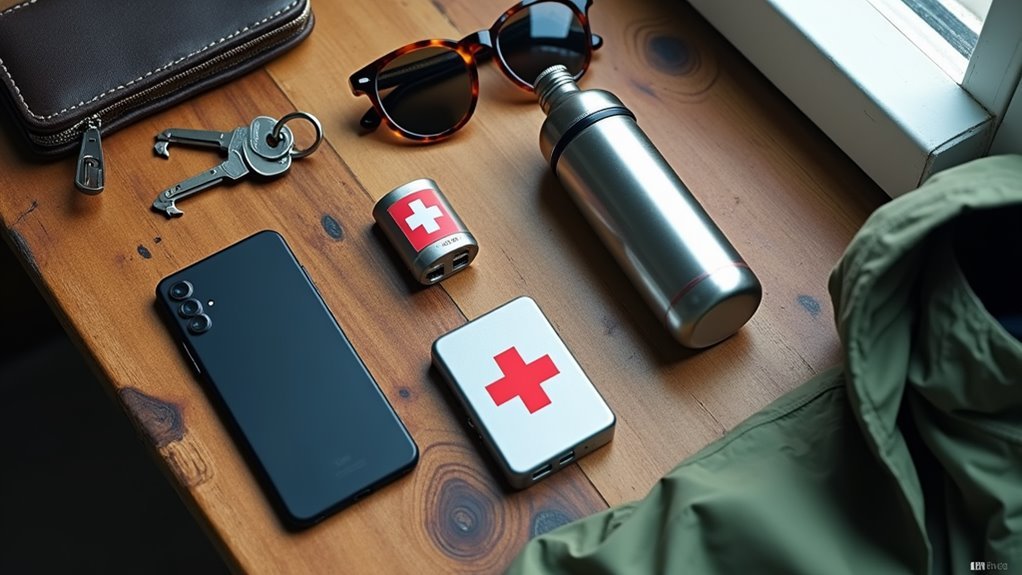
Don't forget health essentials like a basic first aid kit, sunscreen, and hand sanitizer. Keep frequently used items in external pockets for easy access.
Quick Access Items
Smart organization of quick-access items can make or break your backpack's functionality during a 3-day trip.
We'll want to use our front pouch and accessory pockets strategically to keep emergency essentials and frequently needed items within easy reach.
Let's start with the front pouch, which is perfect for items we might need in a hurry, like our rain jacket or trail snacks. The brain pocket at the top adds extra storage for quick-grab necessities.
Remember to keep these items lightweight to maintain good balance. For our emergency essentials, like first aid kits and bear spray, we'll want to distribute them between hip belt pockets and quick access zones where we can grab them instantly if needed.
The top zone of our pack is where we'll store bulkier items that we'll need throughout the day.
Think sunscreen, extra snacks, and navigation tools like our compass and maps.
We've also got those handy side pockets for water bottles, while lid pockets work great for sunglasses and other small items we'll reach for regularly.
Frequently Asked Questions
How Do I Protect My Backpack From Theft While Traveling?
Let's protect our backpacks with anti-theft features like lockable zippers and RFID-blocking pockets. We'll keep valuables close, use travel safety tips, and always stay alert in crowded spaces.
What's the Ideal Weight Distribution Ratio for a Properly Packed Backpack?
We'll maximize our comfort by keeping weight distribution at 20% of body weight, packing heaviest items in the middle against our back, and lighter items around them for balance.
Should I Bring Cash or Cards for a 3-Day Backpacking Trip?
Let's bring both cash and cards for flexibility. We'll use cash for daily expenses and local vendors, while keeping cards as backup cash alternatives and for emergency budgeting tips.
How Do I Prevent Shoulder and Back Pain While Carrying My Backpack?
Let's optimize our backpack ergonomics by tightening adjustable straps snugly against both shoulders. We'll keep heavy items close to our back and limit weight to 15% of our body weight.
What Should I Do if My Backpack Gets Wet Inside?
Like a wet dog shaking off water, let's tackle this head-on. We'll separate wet items immediately, employ drying techniques with sunlight and airflow, and add moisture prevention tools like waterproof liners.
Conclusion
We've covered all the bases to help you pack like a seasoned explorer. Just like a well-oiled machine, your backpack should now run smoothly with everything in its perfect place. By following these packing strategies, we'll transform those overwhelming pre-trip jitters into confident preparation. Remember, successful outdoor adventures start with smart packing, and now you've got the knowledge to tackle your next 3-day journey with confidence.