I’ve learned that protecting your backpack during travel requires three critical steps: wrap it in a solid cover like the Salzmann 3M Reflective for cargo hold protection, bundle all straps tight against the frame using zip ties and duct tape, and secure everything with TSA-approved combination locks. Don’t forget to double-wrap liquids in plastic bags and pack heavy items close to your back for stability. These strategies will help your gear survive the journey intact and ready for adventure.
Essential Protective Covers for Checked Backpacks
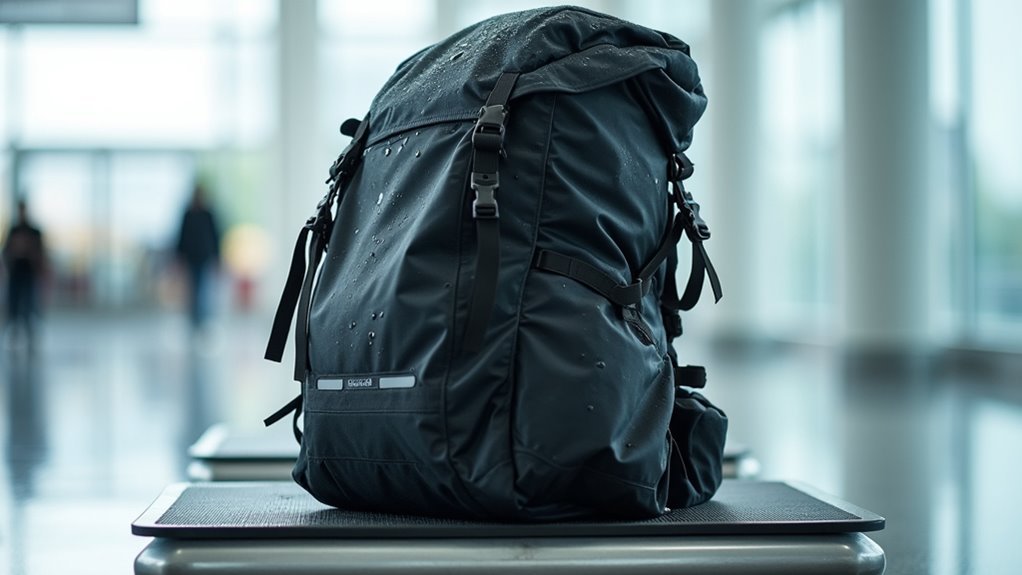
When you’re throwing your backpack into the cargo hold of an airplane, it’s basically entering a war zone of conveyor belts, rough handling, and who knows what else. I think the smartest move is protecting that baby with a solid cover. Rain covers aren’t just for storms—they’re like armor for your pack’s fabric. The Salzmann 3M Reflective cover actually works pretty well, or maybe try the Joy Walker if you want something waterproof. Just wrap it tight, hit every corner, and you’re golden. Your backpack will thank you when it survives the journey intact. Additionally, using a cover can help maintain the effectiveness of your pack’s waterproofing treatments, ensuring it stays in top shape for future adventures.
Proper Strap Management Techniques
Now that you’ve got your backpack wrapped up nice and protected, those dangling straps are probably your next nightmare—and trust me, they really are. I’ve watched conveyor belts grab loose straps like hungry monsters, turning adventure gear into twisted wreckage.
Loose backpack straps are conveyor belt nightmares—I’ve seen those hungry monsters devour adventure gear into twisted wreckage.
Here’s how I tackle this freedom-killer:
- Bundle shoulder straps tight against the frame using zip ties
- Wrap waist belts around the pack’s body with duct tape
- Secure chest straps by tucking them under the main compartment
- Tape down any remaining loose ends
You’re basically turning your pack into a streamlined torpedo that glides through baggage handling. Additionally, ensuring proper backpack storage not only protects your gear but also enhances its lifespan.
TSA-Approved Lock Selection and Usage
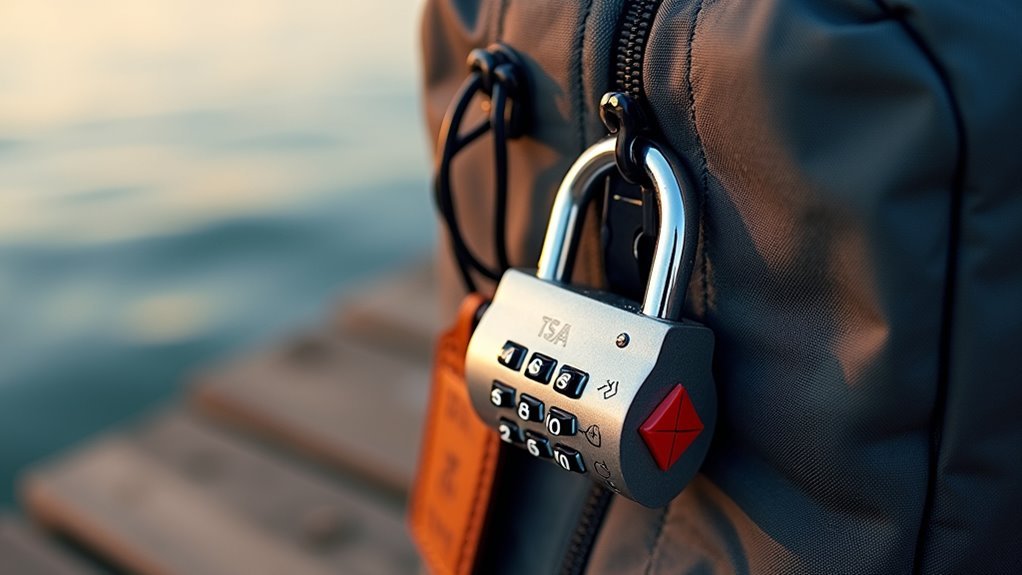
After you’ve tamed those wild straps, your backpack needs one more layer of protection—actually, it’s more like insurance for your peace of mind. I’m talking about TSA-approved locks. These aren’t your average padlocks—they’re designed so security agents can open them without cutting them off. Think of them as diplomatic passports for your belongings.
I recommend combination locks over key locks because, well, losing keys while traveling is basically a nightmare. Set a combination you’ll remember—maybe avoid your birthday though. Secure the lock to your backpack with tape so it doesn’t snag on conveyor belts and disappear into airport purgatory.
Liquid Container Security Protocols
Your backpack’s locked down tight, but there’s one sneaky saboteur that can turn your carefully packed belongings into a soggy mess—liquids. I’ve learned this lesson the hard way, and trust me, you don’t want to discover your favorite shirt swimming in shampoo.
Nothing ruins a trip faster than opening your backpack to find everything drenched in leaked shampoo or sunscreen.
Here’s my bulletproof liquid security system:
- Double-wrap every bottle in plastic bags like you’re protecting precious cargo
- Tape bottle caps so they can’t wiggle loose during rough handling
- Pack liquids in the center of your bag, cushioned by clothes
- Check caps twice before sealing everything up
Additionally, using waterproof bags for your liquids can provide an extra layer of security against unexpected leaks.
Freedom means being prepared for anything.
Strategic Packing for Maximum Protection
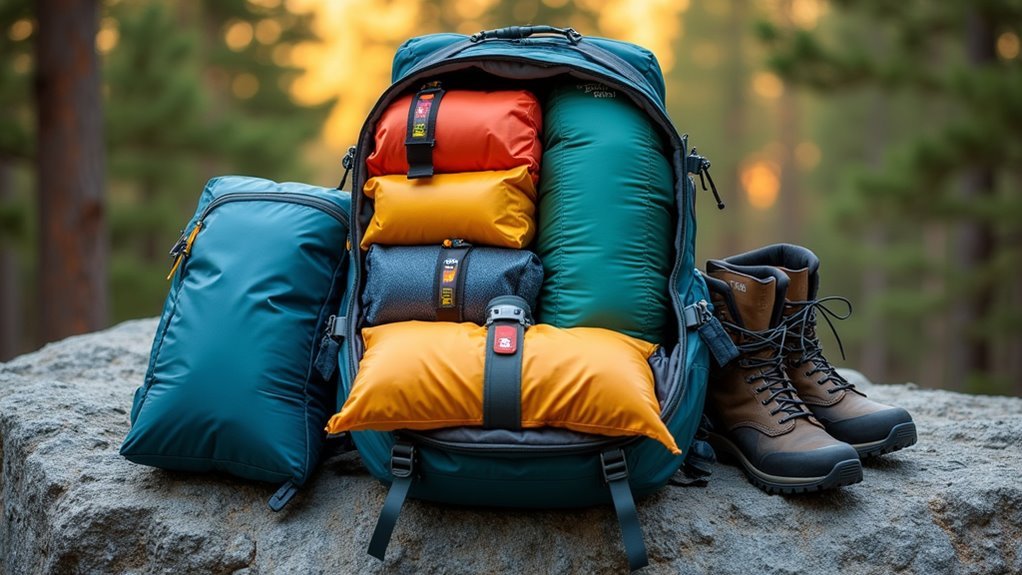
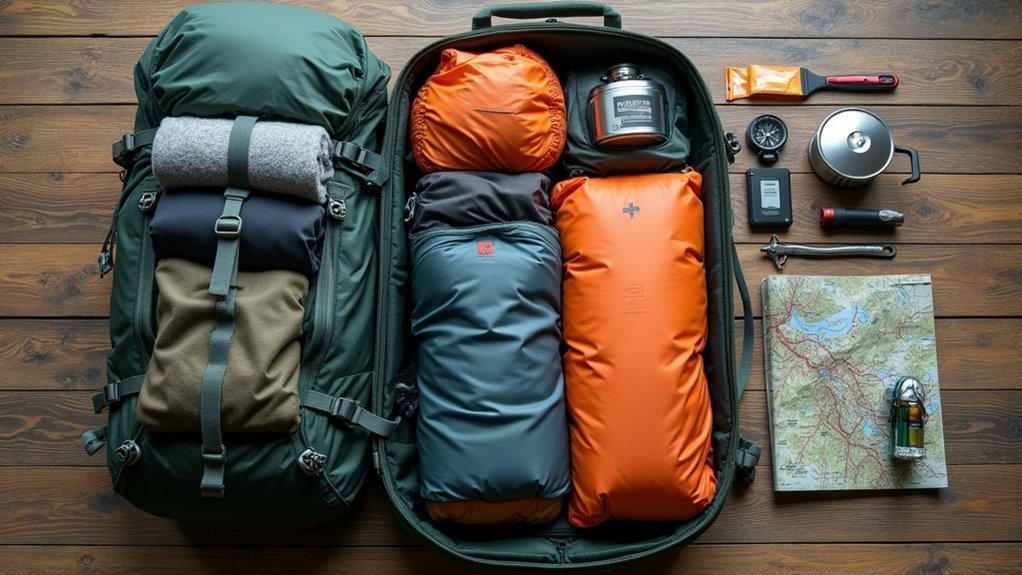
While liquid protection keeps your belongings dry, smart packing distribution acts like body armor for everything inside your backpack. I’ve learned that heavy items should sit close to your back – this creates a solid foundation that won’t shift during rough handling. Fragile stuff? Well, sandwich it between soft clothes like a protective cocoon. Actually, I distribute weight evenly across compartments rather than cramming everything into one section. Think of it as creating multiple small fortresses instead of one vulnerable target. This strategy has saved my gear countless times when baggage handlers get… let’s say enthusiastic. Additionally, using compression sacks for your sleeping bag and clothes can help save space and maintain organization.
Airport Handling Damage Prevention
Even with perfect packing, your backpack still faces the gauntlet of airport baggage systems – and trust me, those conveyor belts don’t exactly handle luggage with kid gloves. I’ve seen backpacks emerge looking like they’ve been through a blender.
Here’s how I protect mine from rough handling:
- Wrap it in a durable rain cover – creates a protective shell against tears.
- Secure all loose straps with zip ties – prevents them from getting yanked or caught.
- Add TSA-approved locks – keeps compartments closed during the chaos.
- Tape down zippers and seams – reinforces weak points that baggage handlers love to stress.
Additionally, it’s wise to choose a backpack with security features that can help prevent theft during transit.
Your freedom depends on your gear surviving the journey.
Pre-Travel Preparation Checklist
All the protective measures in the world won’t help if you’ve forgotten something important at home. I learned this the hard way during a spontaneous trip to Iceland—well, actually, let me rephrase that. Nothing ruins your sense of freedom like realizing you’re missing essentials.
Create a simple checklist weeks before departure. Double-check your passport expiration date, medications, and chargers. I think most travelers underestimate how vital backup batteries are. Pack duplicates of critical items in separate compartments—it’s like having insurance for your adventure. Trust me, this preparation ritual transforms chaotic packing into confident wandering. Additionally, consider including emergency essentials to ensure you’re ready for unforeseen circumstances.
Emergency Backup Plans for Lost Luggage
Despite your best efforts with protective measures, airlines lose approximately 25 million bags each year—and yours might be among them. I’ve learned that freedom means being prepared for anything, even when your backpack decides to take its own adventure.
Here’s what I always pack in my carry-on as backup:
- One complete outfit plus extra underwear and socks
- Essential medications and toiletries in travel-sized containers
- Phone charger and important documents (copies work fine)
- Cash for emergency purchases
Think of it as your survival kit—you’ll feel liberated knowing you’re covered, whatever happens. Additionally, having a durability expectation for your backpack can help ensure that it withstands the rigors of travel.
Frequently Asked Questions
What Are the Airline Size and Weight Restrictions for Checking Backpacks?
Coincidentally spotted oversized bags rejected at check-in today! I’ve learned most airlines allow 50-62 linear inches and 50 pounds for checked backpacks, but you’ll want to verify your specific carrier’s restrictions before departure.
How Much Does It Cost to Check a Backpack on Different Airlines?
I can’t provide specific checked bag costs since airlines constantly change their fees. You’ll find most domestic carriers charge $30-50 for your first checked bag, while budget airlines often charge more. Check each airline’s website directly.
Can Hiking Boots and Camping Gear Be Packed in Checked Backpacks?
I can confirm you’re allowed to pack hiking boots and camping gear in checked backpacks. However, I’d recommend securing sharp items like tent stakes properly and checking airline restrictions on fuel canisters or pressurized equipment.
What Items Are Completely Prohibited in Checked Backpack Luggage by TSA?
I can’t pack explosives, flammable liquids, lithium batteries over 100Wh, or hazardous chemicals in my checked backpack. TSA prohibits items that could ignite or explode during flight, so I’ll research their complete list beforehand.
How Long Should I Arrive Early When Checking a Backpack?
Time’s your compass when checking a backpack—I’d arrive 2-3 hours early for international flights, 1-2 hours for domestic. You’ll dodge stress, handle any surprises, and cruise through security without feeling rushed or trapped.