We've all been there: miles from civilization when gear failure strikes. Whether it's a torn tent seam during a downpour or a splitting boot sole on a rocky trail, these mishaps can quickly derail our outdoor adventures. While we can't prevent every equipment breakdown, we can prepare for the inevitable with smart repair strategies and a well-stocked fix-it kit. Let's explore the essential techniques and tools that'll help us tackle common trail emergencies, turning potential trip-enders into minor setbacks that we can handle on the spot.
Essential Repair Kit Contents
A well-stocked repair kit is essential for any successful backpacking trip. When we're miles from civilization, having the right repair toolkit essentials can mean the difference between a great adventure and a miserable experience. We've learned that carrying basic items like fabric patches, duct tape, and a sewing kit lets us tackle most common gear problems right on the trail. The complete repair kit weighs just 62 grams in total, making it an ultralight addition to any pack.
For reliable gear maintenance tips, we always recommend starting with the basics. Our go-to repair items include a multi-tool, paracord, and safety pins – they're lightweight but incredibly versatile.
We've found that seam sealer and tenacious tape are perfect for waterproofing and patching tears in tents or rain gear. Don't forget to pack some nylon cord and a tent pole repair sleeve; they're lifesavers when structural issues pop up.
We also make sure to include specialized items like super glue and bailing wire for those unexpected fixes. Extra batteries, spare camera batteries, and backup memory cards might seem less obvious, but they're vital for keeping our devices running and capturing those unforgettable moments on the trail.
Tent and Shelter Fixes
During backcountry trips, tent and shelter repairs stand among the most important skills to master.
We can protect our investment and reduce waste through proper maintenance and care of our camping gear.
Let's explore how we can tackle common tent issues that might pop up while we're out exploring the wilderness.
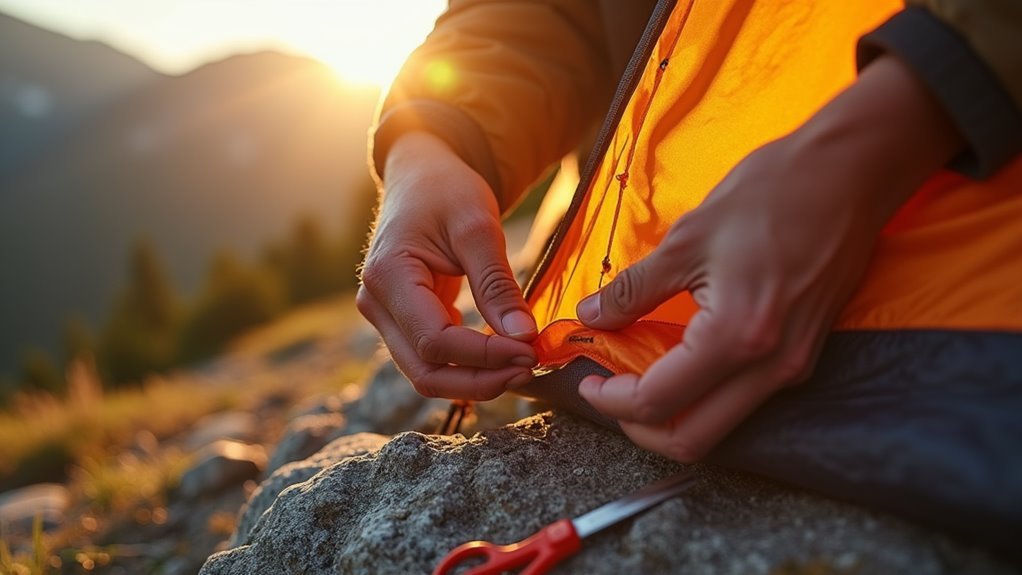
When dealing with tent fabric tears, we'll want to start by cleaning the area with rubbing alcohol and applying repair tape, making sure to round the corners for better adhesion.
For added strength in high-stress areas, we recommend adding a patch to both sides.
Seam sealing is another vital skill – we'll need to inspect our tent's seams regularly and apply new sealer where the old coating has worn away.
If we encounter broken tent poles, we can quickly stabilize them using a repair sleeve or, in a pinch, a tent stake wrapped with duct tape.
For those pesky mesh tears that seem to appear out of nowhere, we've got options too.
Small snags can often be worked back together, while larger holes will need mesh patches.
Remember to let any repairs cure for a full day before packing up, ensuring our fixes will hold up when we need them most.
Quick Boot and Shoe Repairs
Reliable boots can make or break a backcountry adventure, so knowing how to fix common footwear issues is essential. When we're deep in the wilderness, even minor boot problems can quickly become major headaches if we don't address them promptly. A Speedy Stitcher tool allows for quick and durable repairs to damaged boot sides.
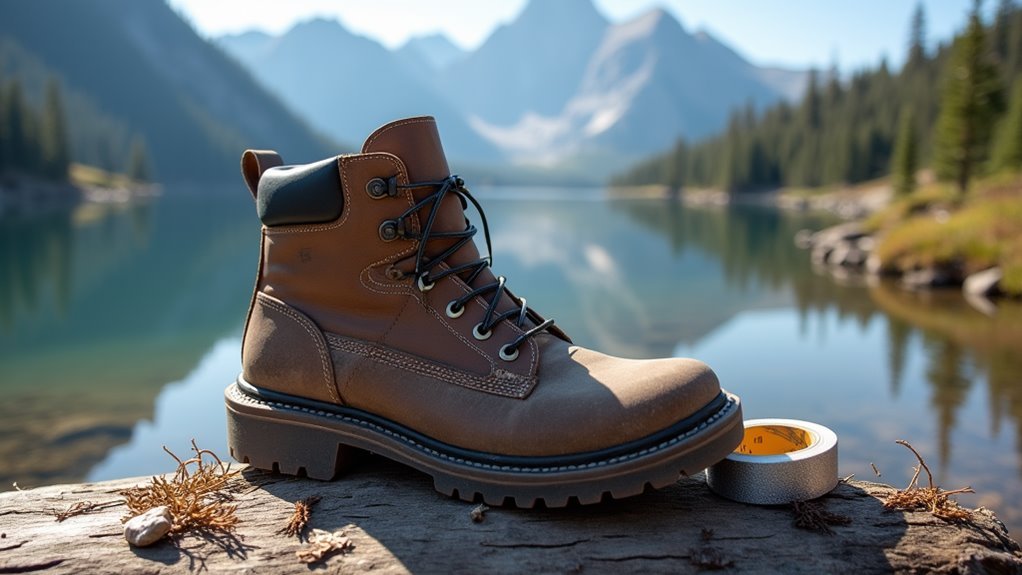
For boot sole repairs, we'll want to start by cleaning the damaged area with isopropyl alcohol and a stiff brush. Then, we can apply Aquaseal SR adhesive evenly across the sole, securing it firmly with either a clamp or duct tape while it cures for 8-12 hours.
For upper repairs, we'll follow a similar cleaning process before applying adhesive to both sides of any tears or splits.
In emergency situations when we don't have proper repair materials, we can use dental floss to stitch loose soles and reinforce with duct tape. This temporary fix will usually hold until we can make it back to civilization.
To prevent future issues, we should regularly inspect our boots for wear and tear, seal seams before heading out, and store them properly when we're not hitting the trails.
Backpack Emergency Solutions
With our backpacks serving as lifelines in the wilderness, keeping emergency supplies and repair tools readily available can mean the difference between a minor inconvenience and a significant situation.
We've learned that preparedness isn't just about having gear – it's about maintaining quick access to essential solutions when things go wrong. Our packs include a glow-in-the-dark identifier to help locate supplies in low-light conditions.
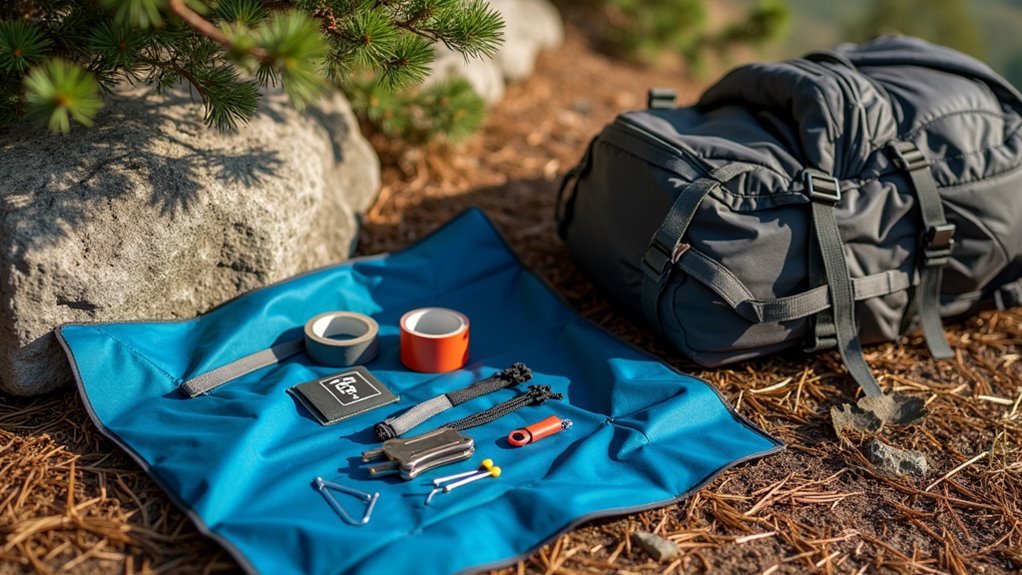
In our packs, we always keep a few key items within easy reach. Water purification tablets or filters are non-negotiable, as clean water becomes vital when we're miles from civilization. Emergency blankets might seem like overkill on a sunny day, but they're lightweight lifesavers when temperatures drop unexpectedly.
We store these items in waterproof zip bags near the top of our packs.
Don't forget basic repair tools like duct tape, safety pins, and utility cord – they're invaluable for quick fixes.
We organize our emergency supplies in clear pouches, making it easy to grab what we need without dumping out our entire pack.
Remember to check and replenish these supplies regularly, especially before heading out on longer adventures.
Sleeping Bag Patch Jobs
Even the best sleeping bags can suffer tears and punctures during backpacking adventures. When we're out on the trail, knowing the right repair techniques can save us from a cold and uncomfortable night.
Let's explore how to patch up your sleeping bag effectively when damage occurs. Using a sleeping bag liner can help prevent tears and extend the life of your gear.
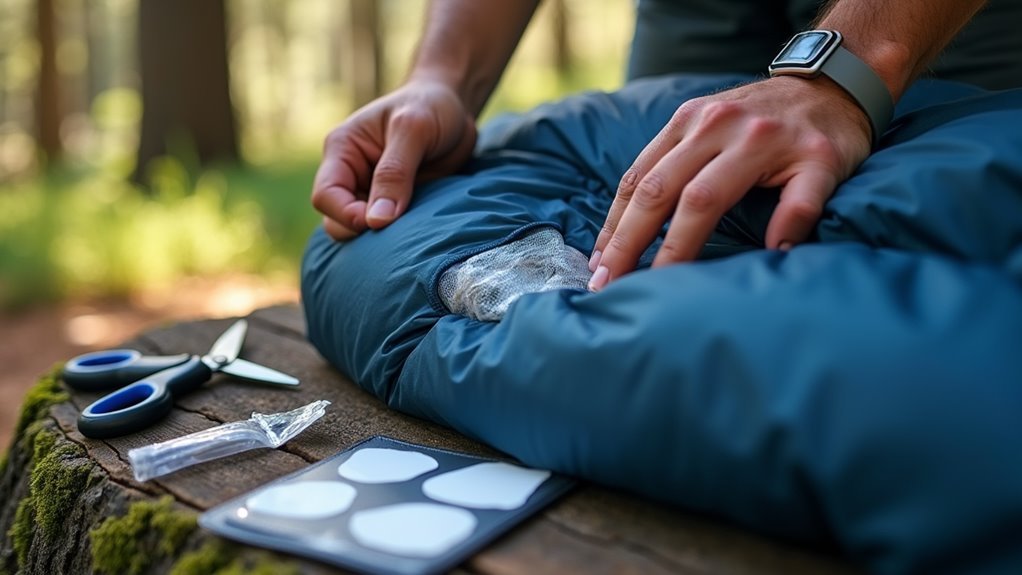
Before we start any repairs, we'll want to clean and dry the damaged area thoroughly. We'll need to choose our patch materials carefully – nylon patches work best for synthetic bags, while down-proof patches are essential for down bags.
When we're ready to apply the patch, we'll cut it so it extends an inch beyond the tear on all sides. For self-adhesive patches, we'll peel and stick, making sure to smooth out any bubbles. With non-adhesive patches, we'll apply fabric glue evenly before pressing the patch in place.
Down sleeping bags need special attention. We'll want to contain any escaping down by temporarily taping the tear before applying our patch.
After the repair, we'll test the patch by gently stretching the fabric to verify it's holding strong. Remember to let repairs dry completely before using the bag again.
Clothing and Outerwear Maintenance

Maintaining outdoor clothing and gear requires careful attention to each material's unique needs.
Let's walk through the essential fabric care tips that'll keep your adventure wear performing at its best. When it comes to synthetic materials like nylon and polyester, we'll want to wash them in cold water with mild detergent, avoiding fabric softeners that can damage their moisture-wicking properties. Quick drying properties make these fabrics ideal for multi-day hikes.
For our wool items, we recommend professional cleaning whenever possible, but if you're handling it at home, use gentle wool-specific detergent and never wring or stretch the fabric.
Spandex-based clothing needs similar gentle care – cold water washing and air drying are your best friends here. Remember to keep similar fabrics together during washing to prevent unwanted pilling or damage.
Let's not forget about proper drying techniques – we always want to lay our gear flat or hang it to dry, steering clear of direct sunlight and high heat.
Trekking Pole Field Repairs
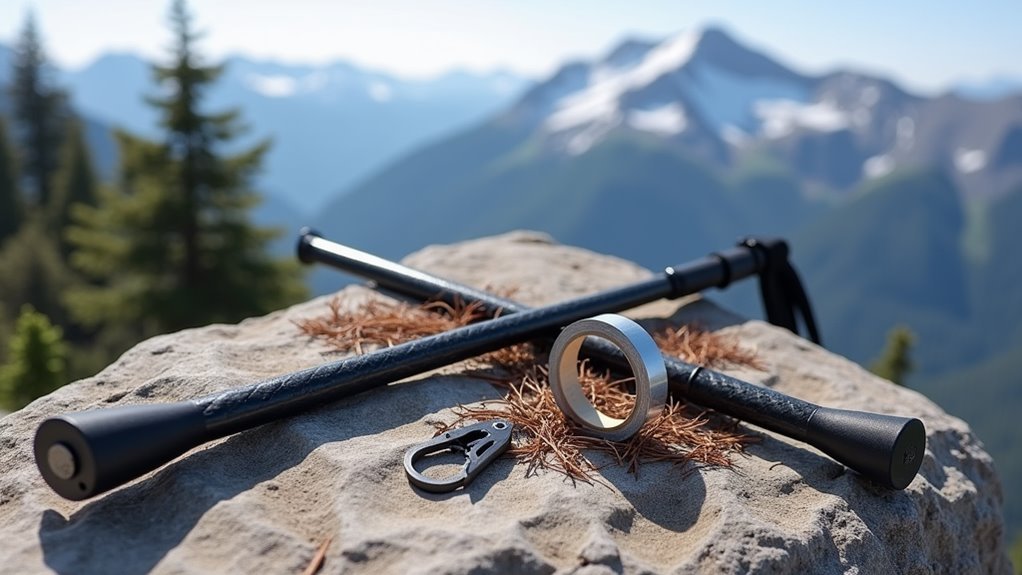
Trekking poles frequently encounter issues during backcountry adventures, but most problems can be fixed right on the trail. When we're miles from civilization, knowing basic trekking pole maintenance can save our hike and prevent frustrating situations. Regular inspection can help identify worn carbide tips before they fail completely during a trek.
Let's learn three common repairs we can handle in the field:
| Problem | Quick Fix | Tools Needed |
|---|---|---|
| Stuck Sections | Use pliers on plastic tip, twist skinnier pole | Channel lock pliers |
| Bent Pole | Slide PVC pipe over bend, secure with tape | PVC pipe, duct tape |
| Worn Tips | Boil water to soften glue, twist off old tip | Pliers, water |
| Loose Sections | Turn counterclockwise to adjust expander | None |
For pole tip replacement, we'll need to plan ahead by bringing spare tips and basic tools. If our poles get stuck, we can use the double pliers technique – one on each section – while turning in opposite directions. For emergency repairs on bent poles, we can stabilize them with available materials like tent poles or sturdy branches until we're back in civilization.
Frequently Asked Questions
How Long Should I Wait Before Using Repaired Gear Under Heavy Stress?
We recommend waiting 24 hours for repair timeline completion, then performing gradual stress testing. Let's verify repairs are fully cured before putting heavy demands on our gear.
What's the Best Way to Prevent Gear Damage During Transport to Trails?
Let's protect our gear with proper organization and sturdy cases during transport. We'll pack heavier items at the bottom, use compression bags, and secure everything with straps for worry-free trail adventures.
Can Repair Supplies Be Safely Stored in Extreme Temperatures While Hiking?
We can't safely store repair supplies in extreme temperatures – they'll deteriorate. Let's protect them using insulated pouches and small waterproof containers to minimize temperature effects during our hiking adventures.
Which Repairs Should Never Be Attempted Without Professional Help?
We shouldn't attempt repairs on safety gear like climbing ropes or harnesses, even with proper sewing techniques or adhesive options – one failed DIY fix could mean life or death.
How Do I Know When Temporary Fixes Have Reached Their Safety Limit?
We'll spot temporary fix indicators through regular inspection: look for peeling, cracking, unusual sounds, and performance drops. Let's trust our safety assessment methods and replace fixes when these signs appear.
Conclusion
We've explored essential trailside repairs that can save your outdoor adventures. Did you know that 87% of backpackers report experiencing at least one gear failure during extended trips? That's why we're firm believers in being prepared with the right repair skills and tools. By mastering these simple fixes, we'll stay safe and comfortable on the trail, turning potential trip-enders into minor setbacks. Let's get out there and explore with confidence!